Garden Decor Ideas: 34 Whimsical Touches to Fall For
Your garden deserves to be more than just a patch of grass and a few flower pots. Sometimes, the smallest decorative touches can turn an ordinary outdoor space into something truly special.
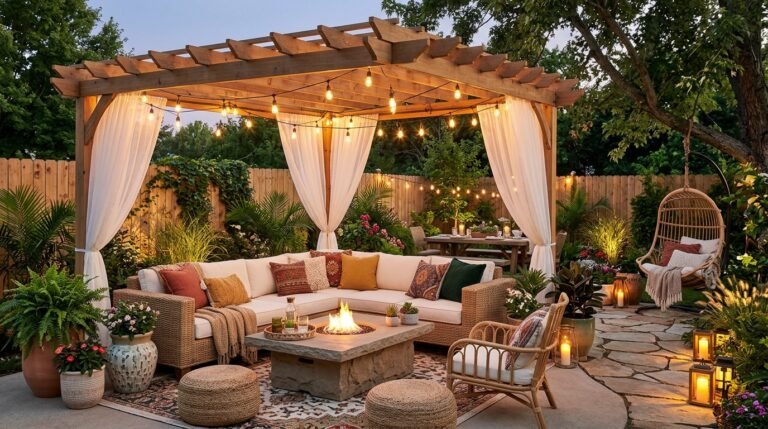
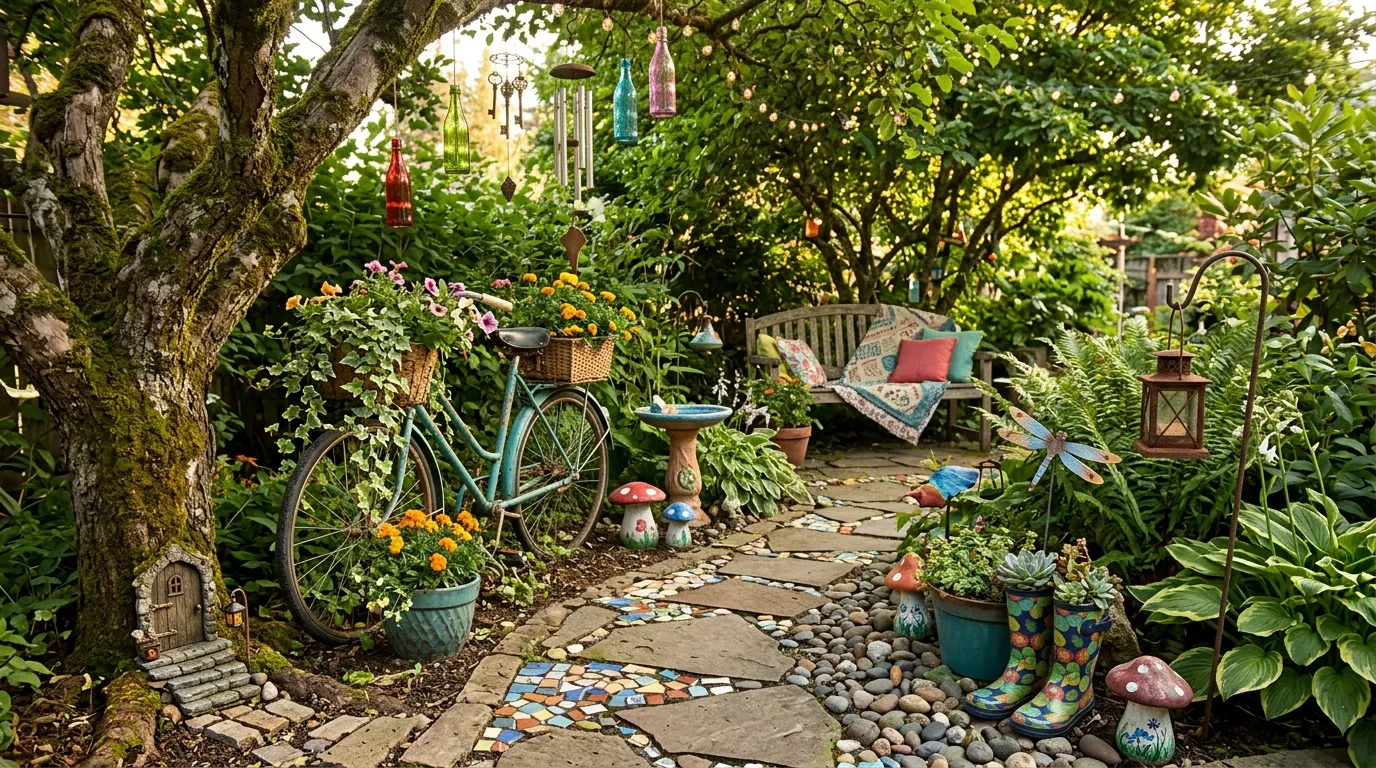
These Garden Decor Ideas will help you add personality, color and whimsical charm to your backyard, patio or flower beds without spending a fortune. From miniature fairy doors and vintage teacup planters to glowing lanterns and painted garden stones, there are plenty of creative ways to make your garden feel welcoming and unique.
You don’t need a large yard or professional landscaping skills to get started. Simple recycled materials, a little creativity and a few carefully chosen decorations can make a noticeable difference. I’ve found that combining natural greenery with personal decorative details helps outdoor spaces feel more inviting. Explore these 34 ideas, discover your favorite styles and find inspiration for creating a garden you’ll love spending time in.
Whimsical Fairy Garden
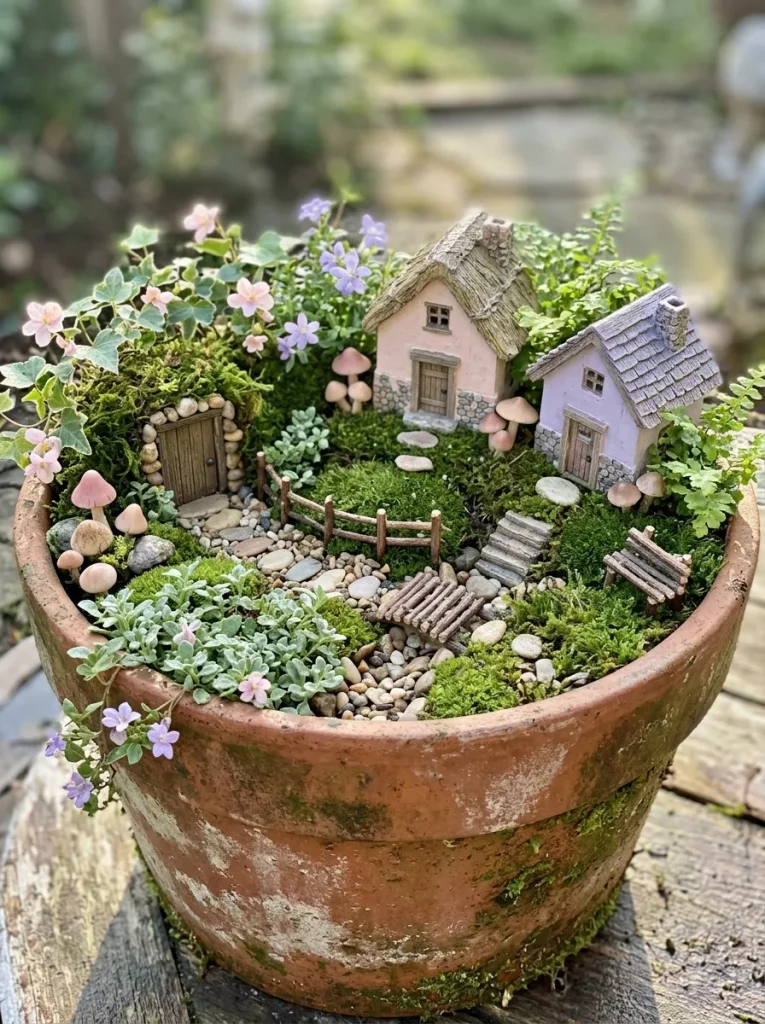
A tiny fairy garden can turn an ordinary corner into a delightful little world. Start with a shallow planter or a large terracotta pot, then arrange miniature cottages, small stepping stones and moss around a few compact plants. Leave open spaces so every detail remains visible.
For a natural look, combine miniature decorations with living greenery such as small ferns or creeping thyme, provided the growing conditions suit them. Choose weather-resistant ornaments if the display will stay outdoors. I’ve noticed that keeping the color palette to soft pink, green and earthy brown makes miniature scenes feel charming rather than cluttered. Even a small container can become a memorable garden feature.
Vintage Teacup Planters
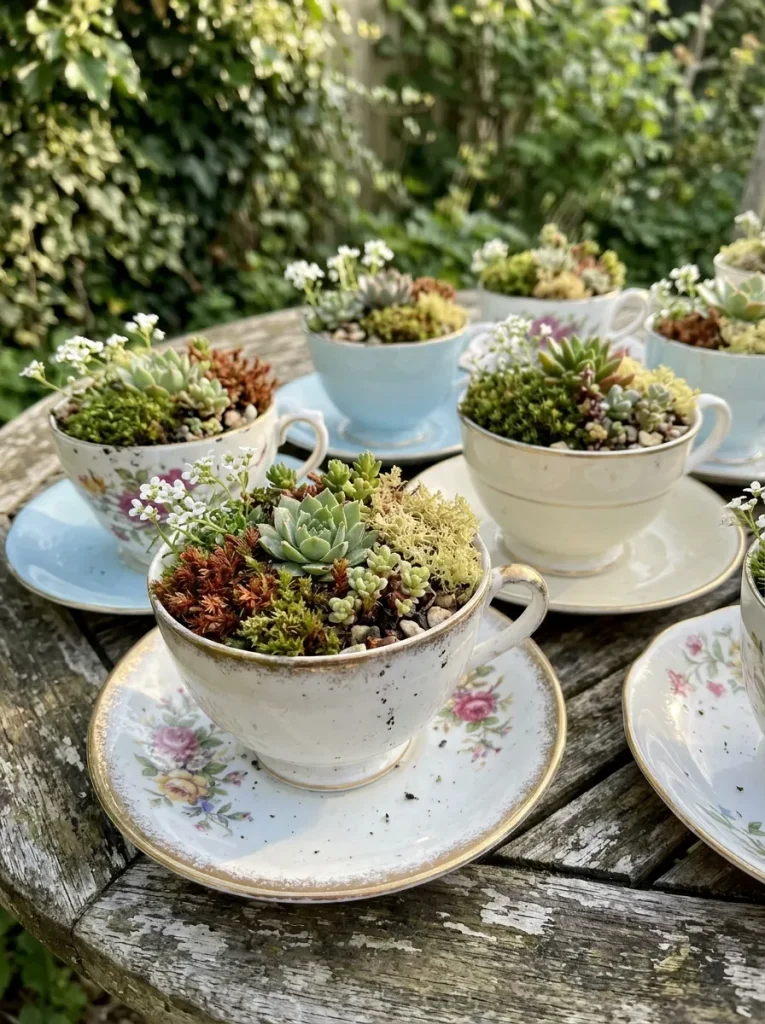
- Choose sturdy cups. Look for vintage teacups with interesting floral patterns or pastel finishes.
- Select compact plants. Small succulents work well when drainage and growing conditions are suitable.
- Provide drainage. Use a carefully drilled hole or keep plants in removable nursery pots inside the cups.
- Group different heights. Arrange cups on a wooden tray, garden shelf or old potting bench.
- Protect delicate pieces. Bring fragile porcelain indoors during freezing weather or strong storms.
Teacup planters add personality to garden shelves, patio tables and sheltered corners. Mix two or three complementary patterns rather than collecting too many competing designs in one display. If you prefer not to drill vintage porcelain, use removable inner pots and avoid overwatering. This small decorating project also gives chipped but stable teacups a new purpose instead of leaving them unused in a cupboard.
Painted Garden Mushrooms
Quick Tip:
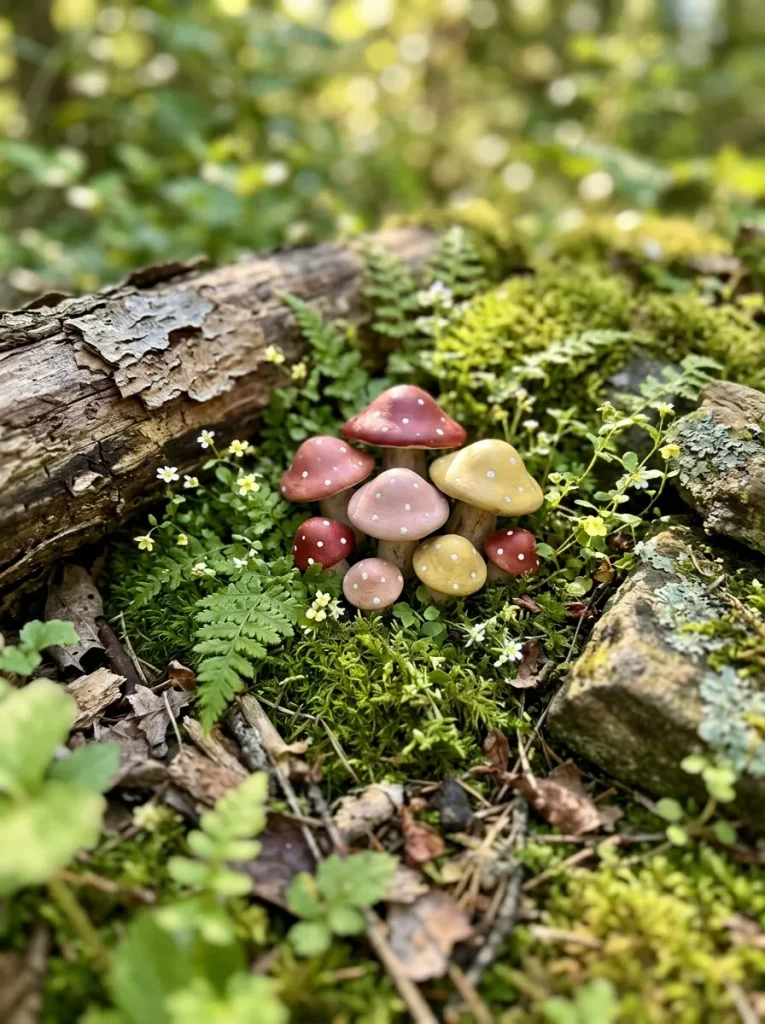
Choose outdoor-rated mushroom ornaments made from ceramic, resin or sealed wood. If painting your own, use exterior-grade paints and a compatible protective finish, following the manufacturer’s instructions.
Decorative mushrooms bring a playful woodland feeling to flower beds, pathways and shaded garden corners. Place a few different sizes among ferns or low-growing plants so they appear naturally integrated into the landscape. Red and white create a classic storybook look, while muted pink, crea and sage offer a softer cottage aesthetic. Keep ornaments clear of mowing paths and avoid placing them where children or pets might mistake small decorative pieces for edible mushrooms.
Rustic Garden Sign
Before:
A garden corner can feel unfinished when there is no clear focal point or personal detail to bring everything together.
After:
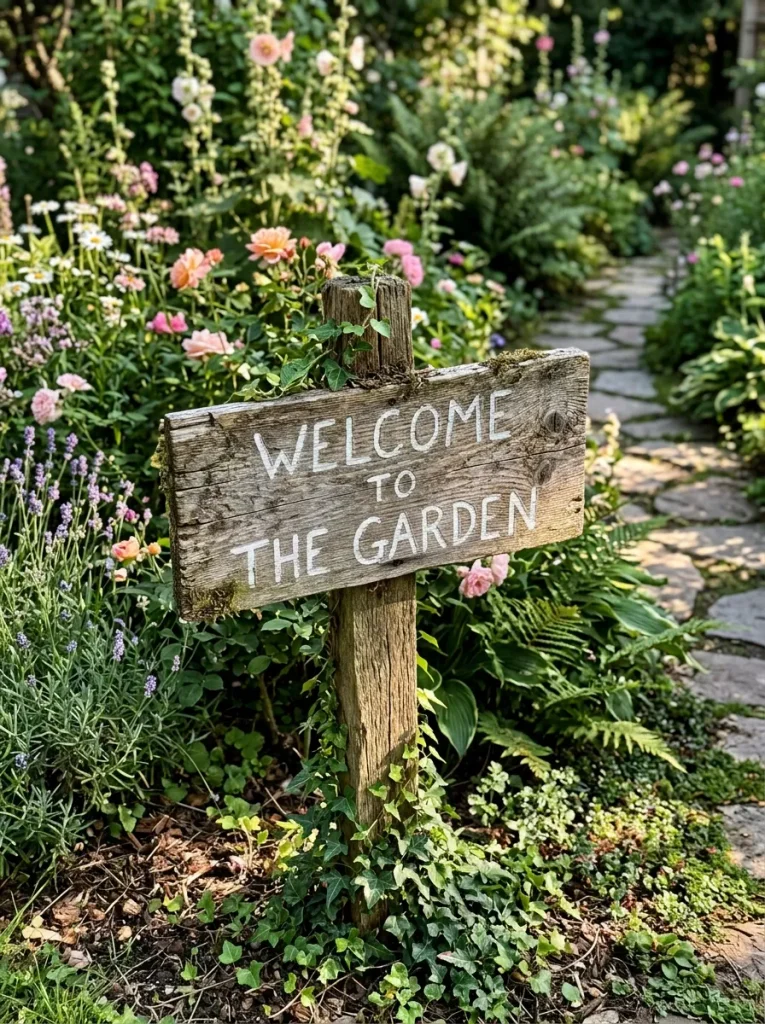
Add a rustic wooden sign with a welcoming message, plant name or playful phrase. Place it beside a flower bed, near the entrance or along a garden path. Choose weather-resistant wood and outdoor paint to help it last through changing weather.
Colorful Bottle Edging
- Collect clean glass bottles in different colors and similar heights.
- Remove labels and wash each bottle thoroughly.
- Mark the border where you want to place them.
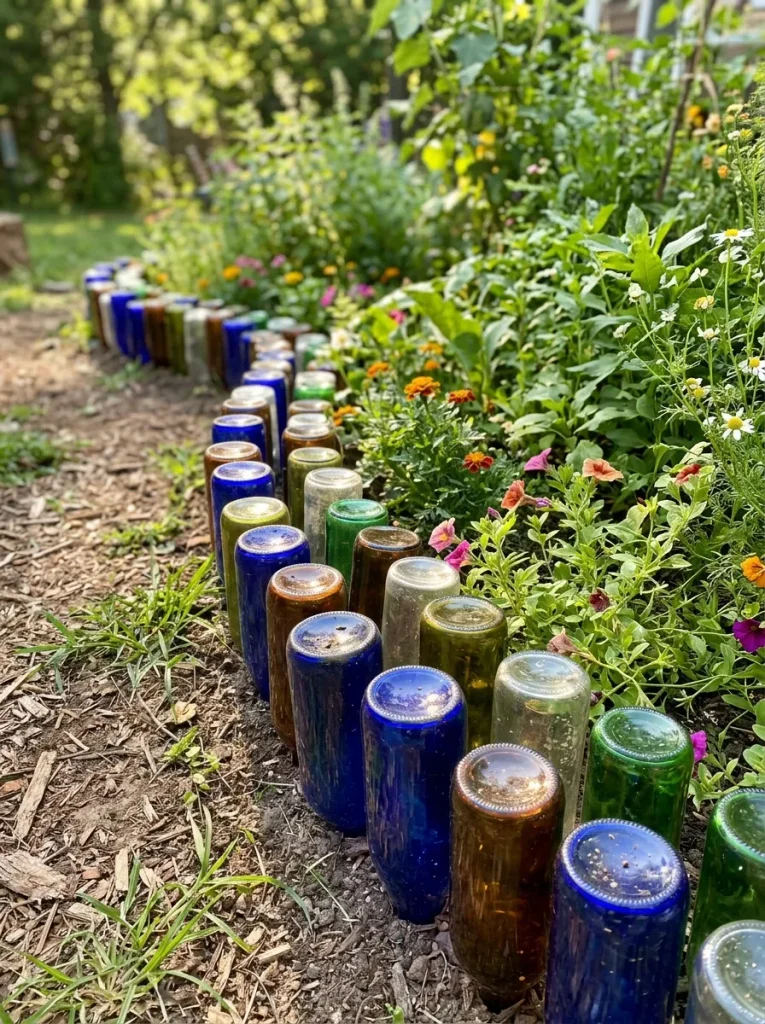
- Push the neck of each bottle carefully into the soil, keeping the bases visible.
- Space the bottles evenly for a neat, decorative finish.
Use this idea to separate flower beds from lawns or pathways without buying expensive edging materials. Keep the bottles firmly secured, avoid chipped glass and position them away from busy play areas. For a softer look, mix bottle colors with low-growing flowers or decorative ground cover.
Whimsical Garden Arch
| Feature | Simple Arch | Flower-Covered Arch |
| Appearance | Clean and minimal | Romantic and colorful |
| Planting | No climbing plants needed | Requires suitable climbing varieties |
| Maintenance | Occasional cleaning and checks | Pruning, watering and training |
| Best location | Small gardens and narrow paths | Entrances, walkways and garden focal points |
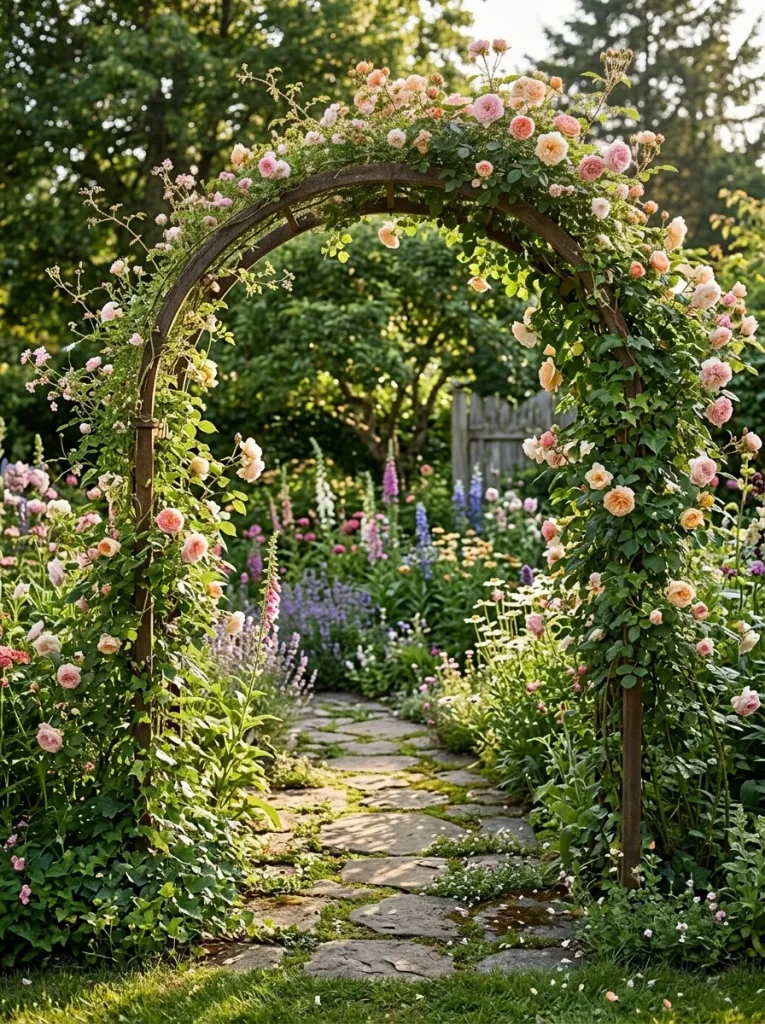
A garden arch can make an ordinary path feel special while adding height to your outdoor space. Choose a sturdy, weather-resistant structure and secure it properly in the ground. If you want a flower-covered finish, select climbing plants suited to your climate and available sunlight.
Hanging Teapot Planters
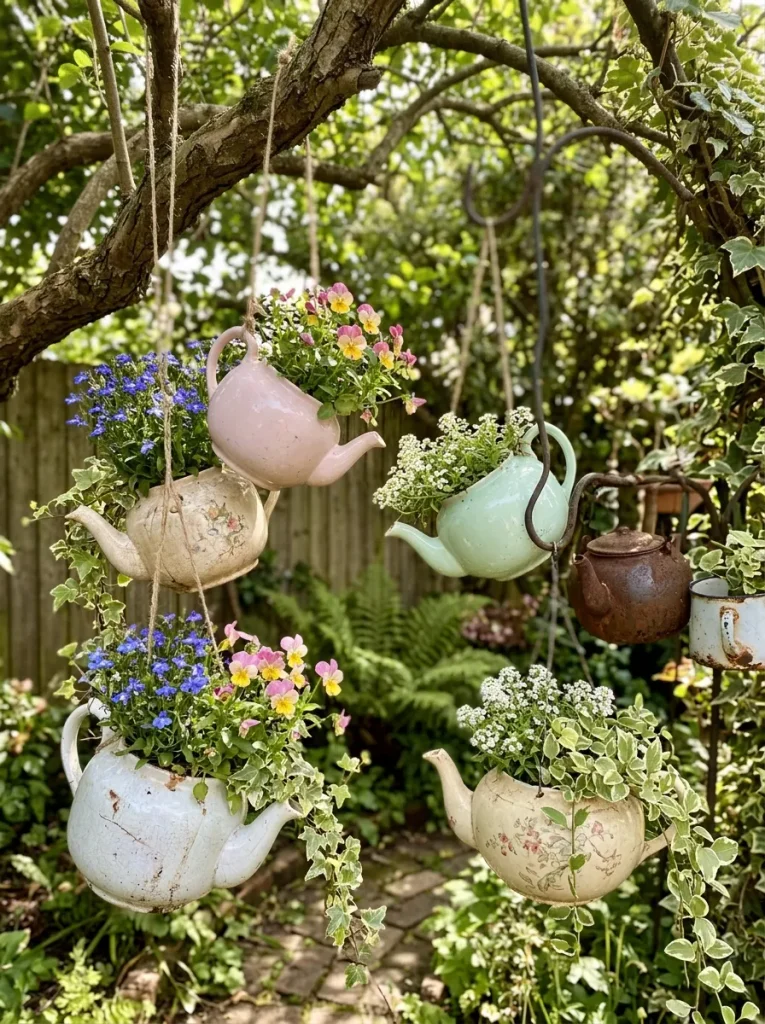
Hanging teapot planters are a lovely way to reuse old crockery and add personality to an outdoor space. Choose teapots with drainage holes or add a layer of suitable drainage material for temporary displays. Secure each pot carefully, especially in windy areas and fill it with compact flowers that suit the available light.
Mixing different teapot patterns can make the arrangement feel collected over time rather than overly coordinated. Hang them near a patio, along a garden fence or beside a seating area where their details can be appreciated. Lightweight teapots are easier to hang, while heavier ceramic pieces need strong, reliable supports.
Pebble Mosaic Path
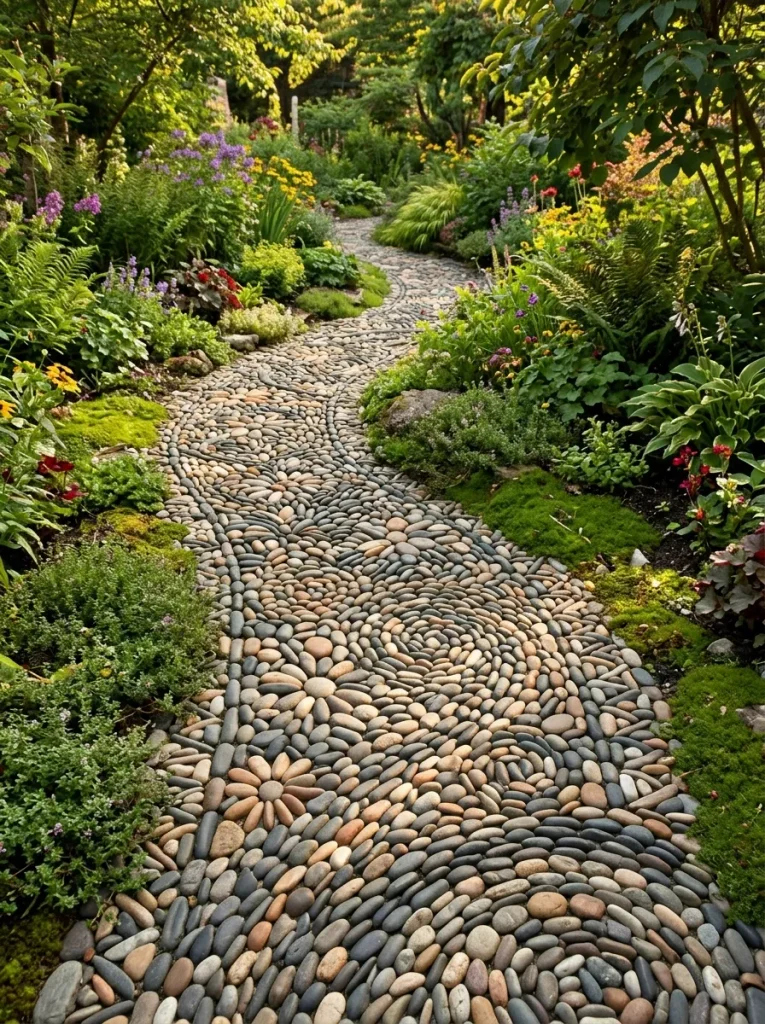
Materials You’ll Need:
- Smooth pebbles in different colors and sizes
- Sand or a suitable base material
- Landscape edging to define the path
- A garden trowel and rubber mallet
- Outdoor-rated mortar if creating a permanent mosaic
Steps to Create It:
- Mark a small path or decorative section of ground.
- Prepare a firm, level base that suits your chosen installation method.
- Arrange the pebbles into a simple pattern before securing them.
- Press the stones into place, keeping the surface as even as possible.
- Fill gaps appropriately and allow any setting materials to cure according to their instructions.
A pebble mosaic adds handmade charm and turns a practical walkway into a decorative feature. Start with a small circle, border or flower design if you are new to this project. For frequently used paths, prioritize a stable, slip-resistant surface and avoid loose stones that could shift underfoot.
Repurposed Garden Ladder
Quick Tip:
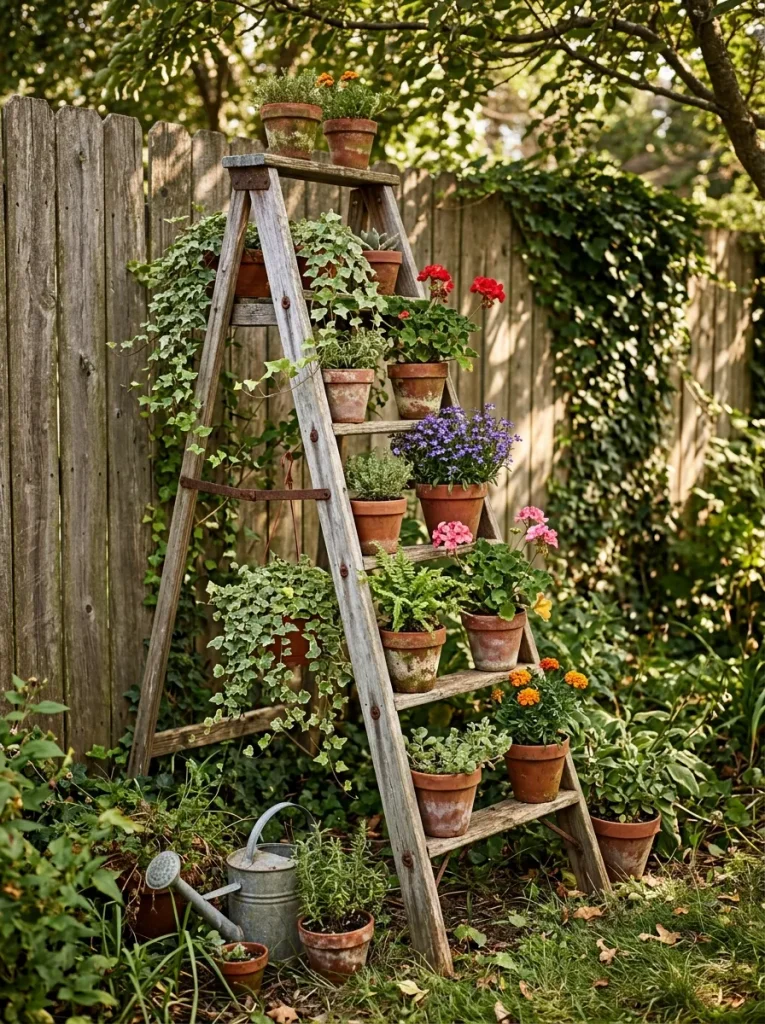
Before using an old ladder outdoors, check that it is stable and free from rot or loose joints. Secure it against a sturdy surface so it cannot tip over, particularly when carrying heavy pots.
A repurposed ladder makes an excellent vertical display for gardens with limited floor space. Place small containers on its steps and vary their heights, colors and textures for a balanced arrangement. Trailing plants soften the wooden frame, while herbs and compact flowers add both beauty and usefulness. Choose a location with suitable sunlight for the plants you select and make sure watering excess can drain away safely.
Glowing Solar Lanterns
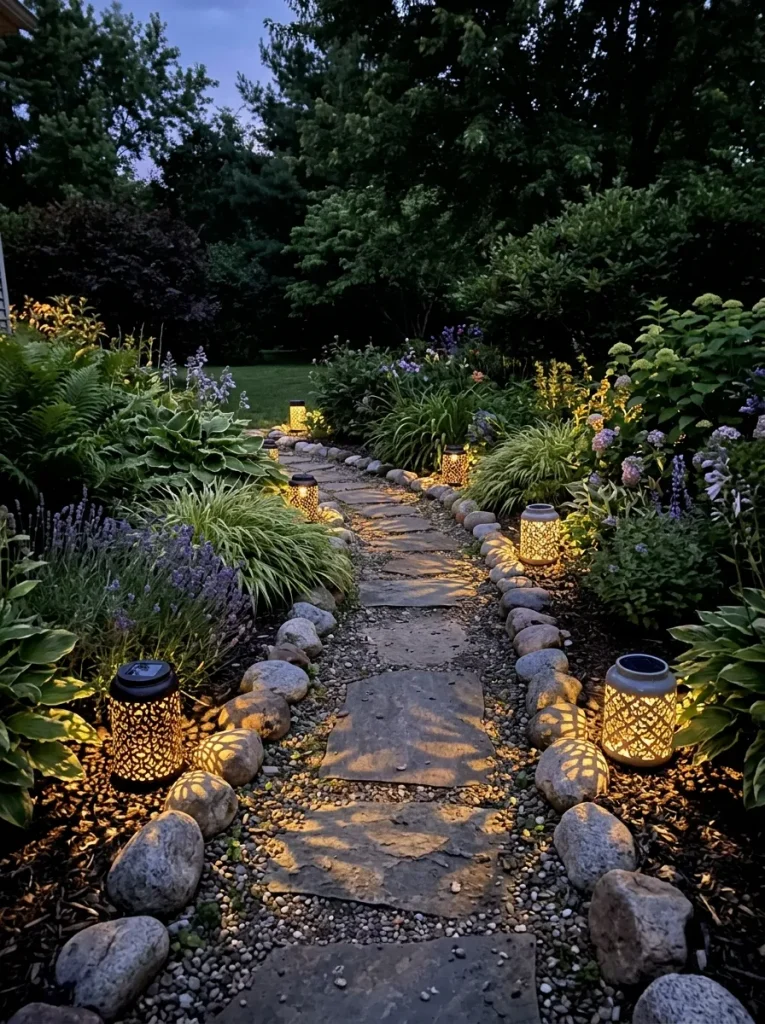
Solar lanterns are an easy way to make a garden feel inviting after sunset without adding complicated wiring. Place them beside pathways, near flower beds or around a small seating area. Choose weather-resistant designs and position their solar panels where they receive enough daylight to charge properly.
For a balanced look, combine lanterns of different heights while keeping the overall style consistent. Warm-white lighting usually creates a softer atmosphere than bright, cool-toned bulbs. Clean the solar panels occasionally and check that plants or garden furniture do not block sunlight during the day.
Painted Tire Planters
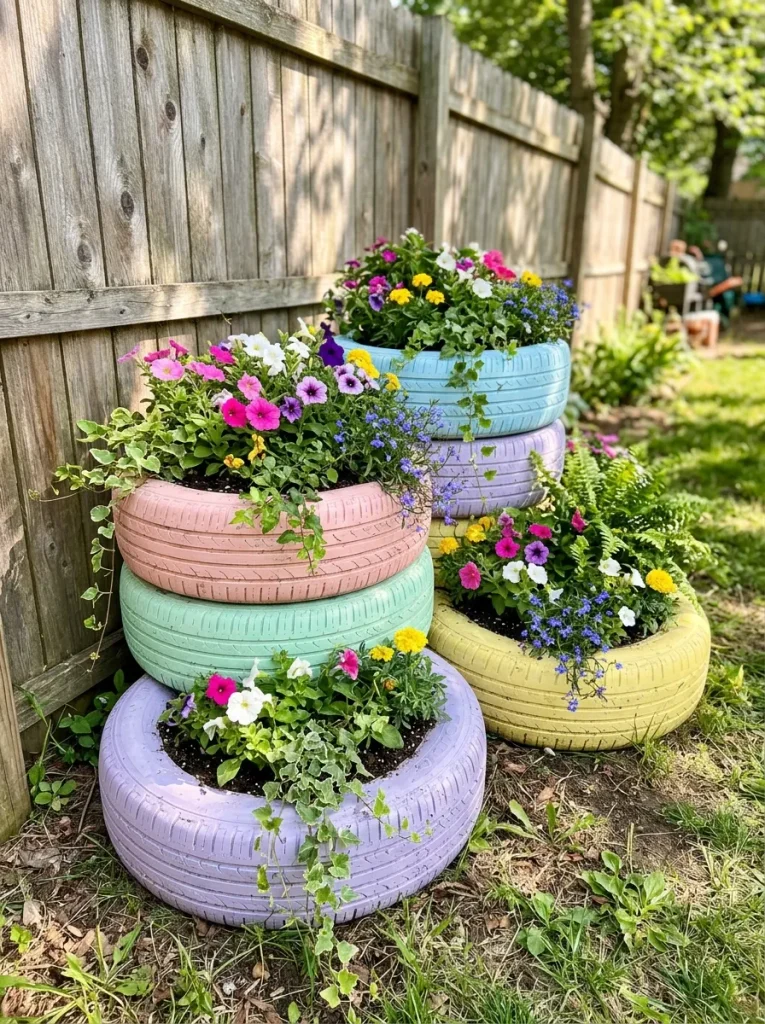
Materials You’ll Need:
- Clean, used tires in good condition
- Outdoor paint suitable for the tire material
- A suitable primer, if recommended by the paint manufacturer
- Potting mix and plants
- Drainage material or a prepared drainage surface
Steps to Create It:
- Clean the tires thoroughly and allow them to dry.
- Apply a suitable primer if required for your chosen paint.
- Paint the outside in one or two complementary colors.
- Allow the paint to cure fully according to the product instructions.
- Position the tires securely and prepare proper drainage before adding soil and plants.
Painted tire planters can bring color to a plain corner, but they need thoughtful placement and preparation. Use only tires in good condition, avoid growing edible crops directly in them and prevent water from collecting inside. Compact ornamental flowers are a practical choice, especially when you want a bright display without a large gardening budget.
Birdbath Flower Centerpiece
| Birdbath Style | Visual Appeal | Best Setting |
| Classic stone | Timeless and natural | Cottage or traditional gardens |
| Terracotta bowl | Warm and rustic | Mediterranean-inspired spaces |
| Vintage pedestal | Decorative and elegant | Formal flower beds |
| Simple shallow basin | Minimal and practical | Small patios and compact gardens |
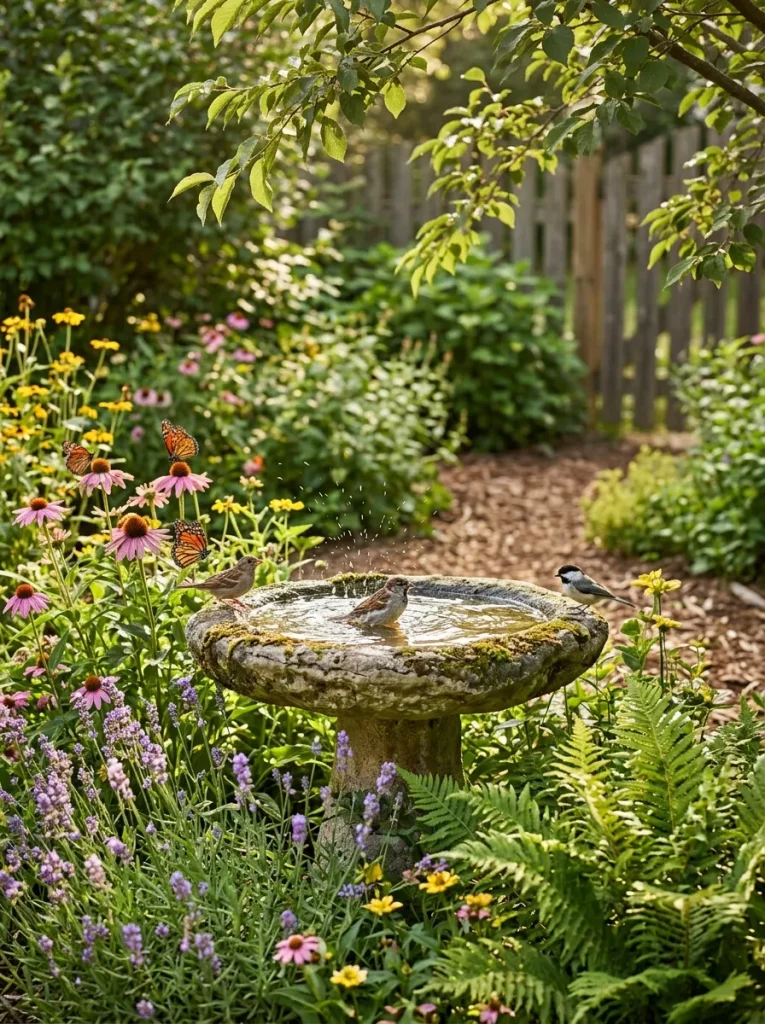
A birdbath adds movement and life to a garden while giving visiting birds a place to drink and bathe. Choose a shallow basin with a stable base and place it where birds have nearby cover but can still spot approaching predators. Refresh the water regularly, clean the basin often and avoid adding chemicals or decorative substances that could harm wildlife.
Colorful Garden Wind Chimes
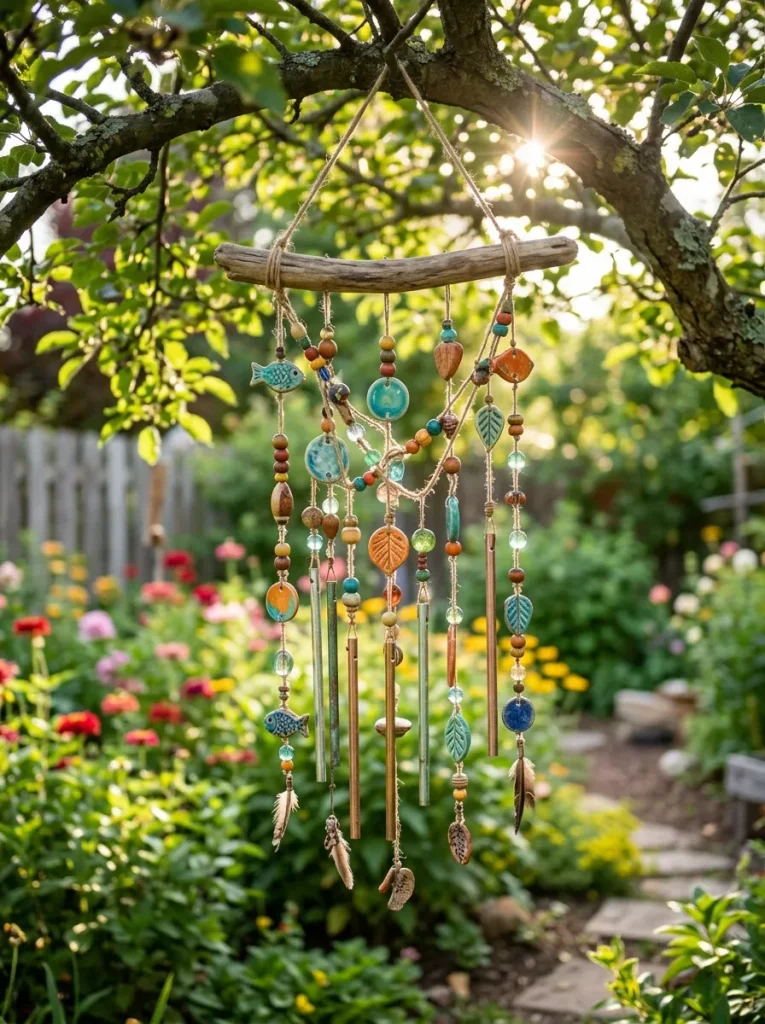
Colorful wind chimes bring both visual interest and soothing sounds to an outdoor space. Hang one near a patio, garden bench or sheltered porch where a gentle breeze can reach it. Choose materials that can withstand outdoor conditions and make sure the hanging point is strong enough to support the chime securely.
For a coordinated look, choose colors that complement nearby flowers or garden furniture. If you prefer a quieter environment, wooden or ceramic chimes may produce softer sounds than metal designs. Avoid placing them where they could repeatedly strike windows, damage delicate branches or disturb neighbors during windy weather.
Fairy Light Tree
Materials You’ll Need:
- Outdoor-rated LED fairy lights
- Weather-resistant clips or suitable soft ties
- A tree with healthy, accessible branches
- An outdoor-rated power source or solar-powered lights
Steps to Create It:
- Choose a tree that can safely support a lightweight light display.
- Check that the lights are rated for outdoor use.
- Begin wrapping loosely around the trunk, leaving room for natural growth.
- Continue along a few main branches without pulling the lights tightly.
- Secure loose sections and check the display after installation.
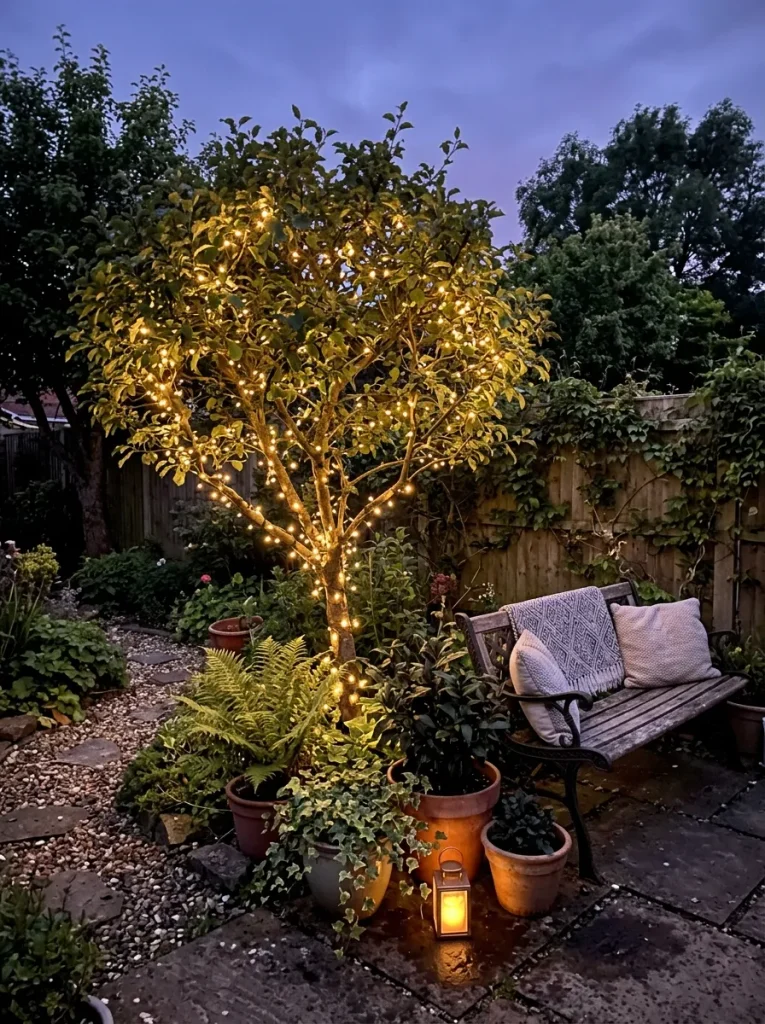
A softly illuminated tree can become a beautiful focal point after dark without requiring extensive landscaping. Warm-white lights create a relaxed atmosphere, while colored lights add a more playful look. Check the installation regularly, avoid damaging the bark and remove or adjust ties as the tree grows. Keep electrical connections protected according to the manufacturer’s instructions.
Decorative Garden Wheelbarrow
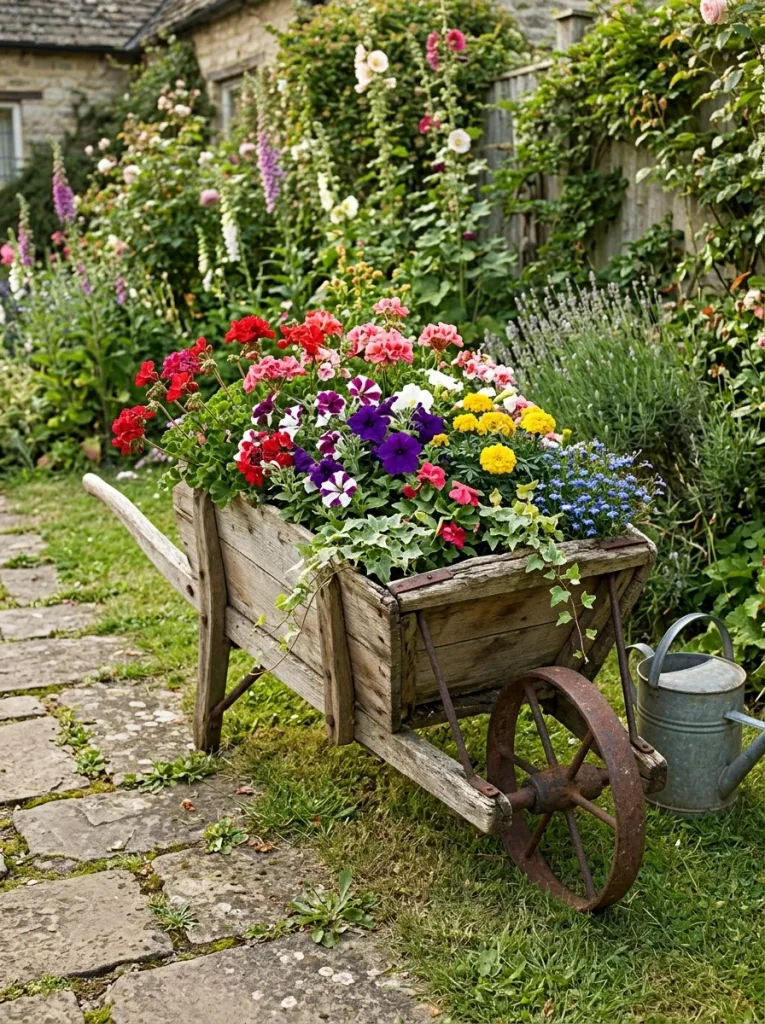
Quick Tip:
If your wheelbarrow does not have drainage holes, add suitable drainage openings before filling it with soil. Place it on a stable, level surface so it cannot roll or tip over.
An old wheelbarrow can become a mobile flower display that adds character to almost any garden. Fill it with a mix of upright flowers and trailing plants to create layers of color and texture. You can repaint the exterior for a fresh appearance or leave its weathered finish intact for a rustic style.
Choose plants according to the amount of sunlight the wheelbarrow receives and water them as needed. Because containers can dry out faster than garden beds, check the soil regularly during warm weather. Moving the wheelbarrow occasionally also lets you refresh your garden layout whenever you want a different look.
Mosaic Flower Pots
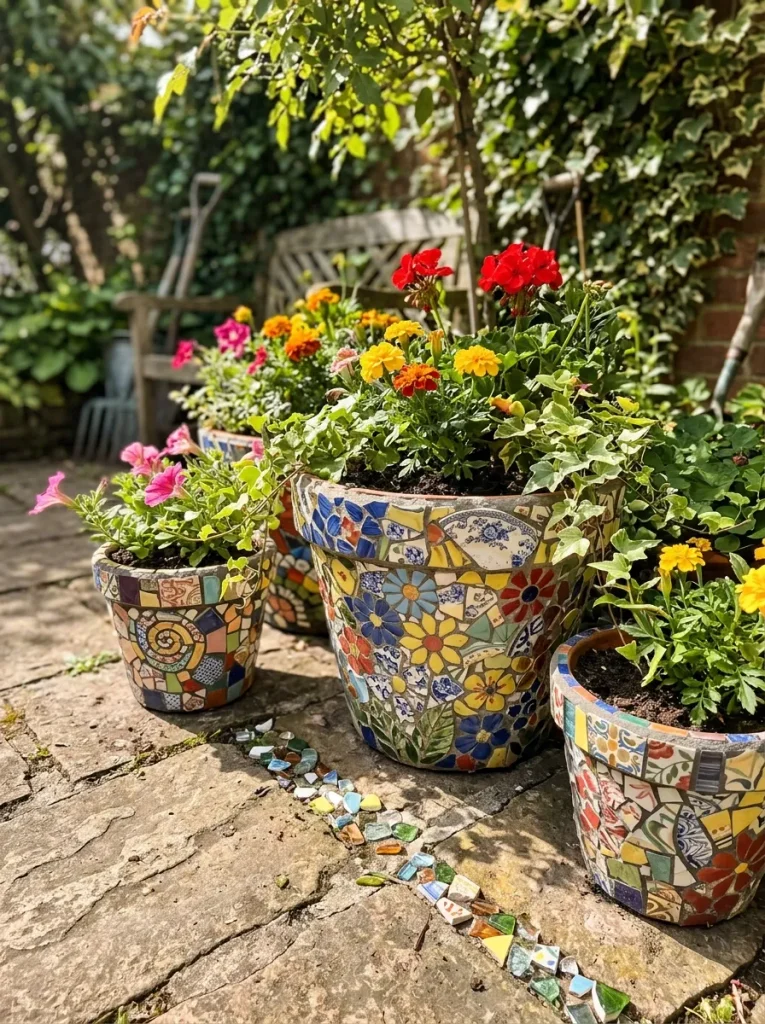
Mosaic flower pots are a wonderful way to give plain containers a colorful makeover. Use outdoor-suitable adhesive and grout and arrange your pieces before attaching them to create a balanced pattern. Floral shapes, simple geometric designs and mixed-color borders are all beginner-friendly options.
Choose a pot with a sturdy surface and keep drainage openings clear throughout the project. Smooth or cover sharp edges carefully, especially if children may handle the pots. Once finished, group two or three mosaic containers together with simple terracotta pots to let the decorative details stand out without making the display feel too busy.
Miniature Garden Bridge
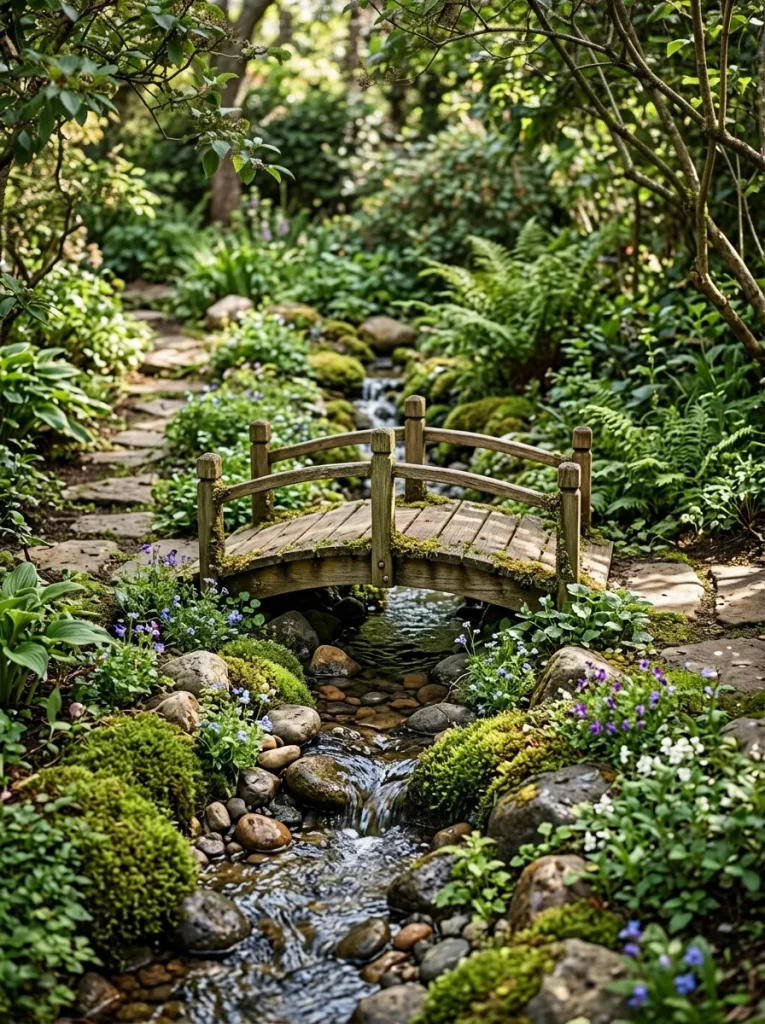
Before:
A small garden pond or planted corner may look like a collection of separate elements without a decorative feature connecting them.
After:
Add a miniature bridge over a dry pebble bed, a narrow water feature or a shallow garden depression. Choose a size that suits the surrounding plants and place it where its shape can be seen clearly. Pair it with moss, smooth stones and compact flowers for a charming storybook effect.
Upcycled Colander Planters
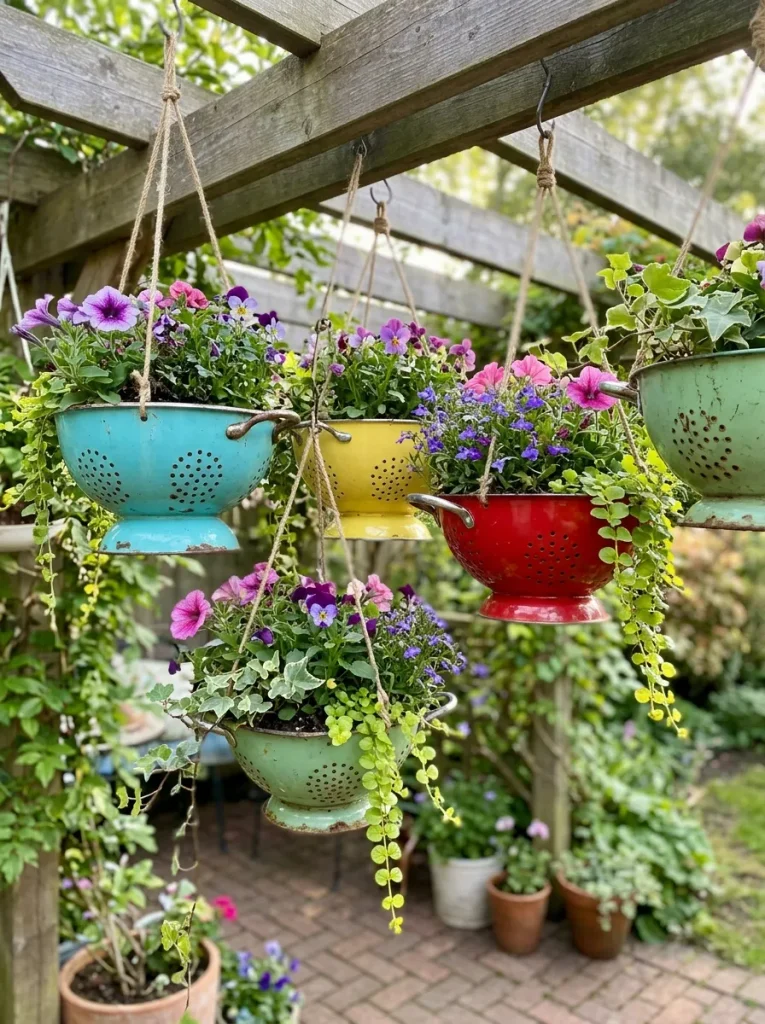
Materials You’ll Need:
- Clean metal or plastic colanders
- Outdoor paint, if desired
- Strong hanging chains or weather-resistant cords
- Lightweight potting mix
- Small flowering plants or trailing greenery
Steps to Create It:
- Clean the colander and check that it has no sharp edges.
- Paint the exterior if you want to add a decorative color.
- Allow the paint to dry and cure completely.
- Line the inside loosely if needed to help retain potting mix while preserving drainage.
- Add potting mix and plants, then hang the planter from a secure support.
Colander planters are ideal for adding color overhead when floor space is limited. Their drainage holes make them useful for many container plants, although the soil may dry out quickly during hot weather. Choose lightweight materials, use secure hanging hardware and check the support regularly to keep the display safe and attractive.
Garden Mirror Magic
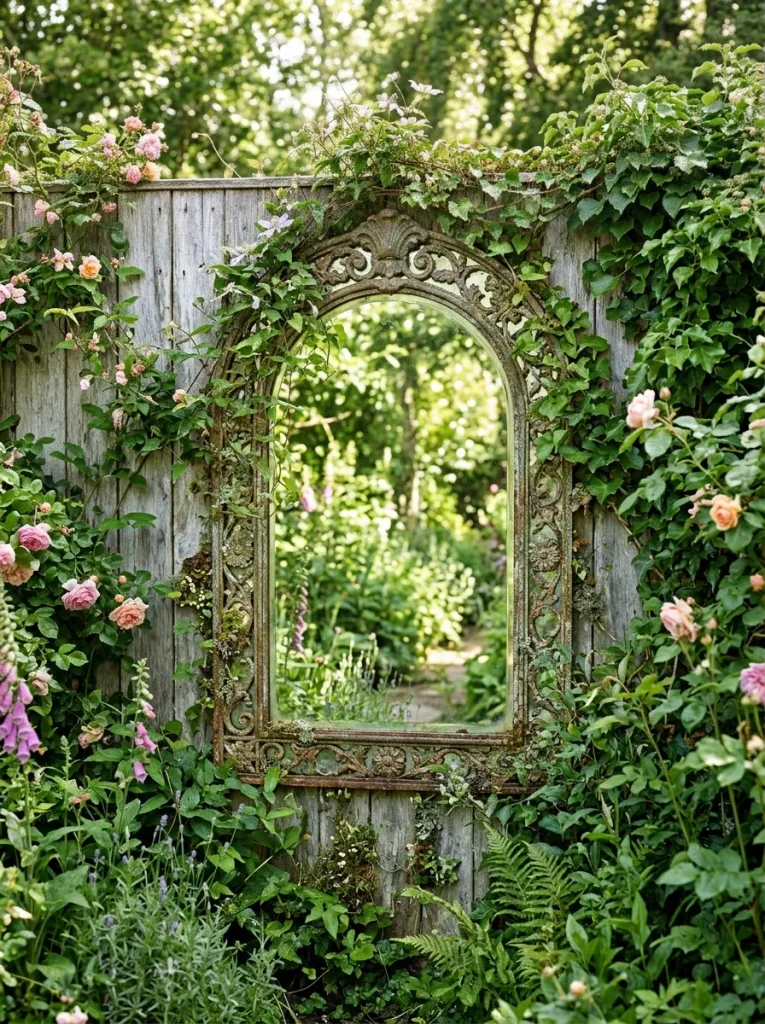
A well-placed mirror can make a small garden feel brighter and more open. Choose a mirror designed for outdoor use or protect it appropriately from moisture and changing weather. Position it to reflect attractive greenery rather than a plain wall and make sure it is securely mounted to a sturdy fence or wall.
Avoid placing mirrors where reflected sunlight could create intense glare or where birds might mistake the reflection for open space. A weathered frame suits rustic gardens, while a simple frame works beautifully in modern outdoor areas. Even one carefully positioned mirror can add depth without taking up valuable planting space.
Painted Rock Creatures
Materials You’ll Need:
- Smooth, clean stones
- Outdoor acrylic paints
- Fine brushes for small details
- A suitable outdoor protective sealer
- A pencil for sketching simple designs
Steps to Create It:
- Wash the stones and let them dry completely.
- Sketch a simple creature shape using a pencil.
- Paint the base color and allow it to dry.
- Add eyes, spots, wings or other small details.
- Apply a suitable outdoor sealer according to its instructions.
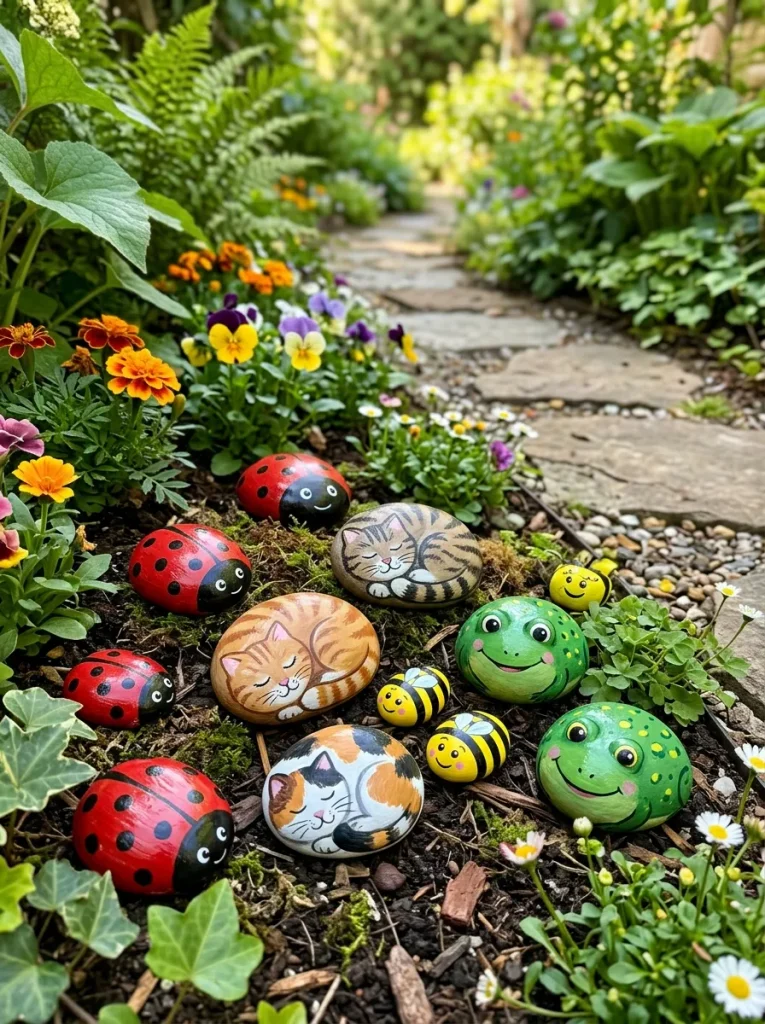
Painted rocks are an affordable way to add little surprises throughout your garden. Place a ladybug beside a flower pot, hide a tiny frog near leafy plants or arrange several colorful stones along a pathway. Keep designs simple if you are new to painting and refresh the finish whenever outdoor exposure causes fading.
Hanging Basket Garden
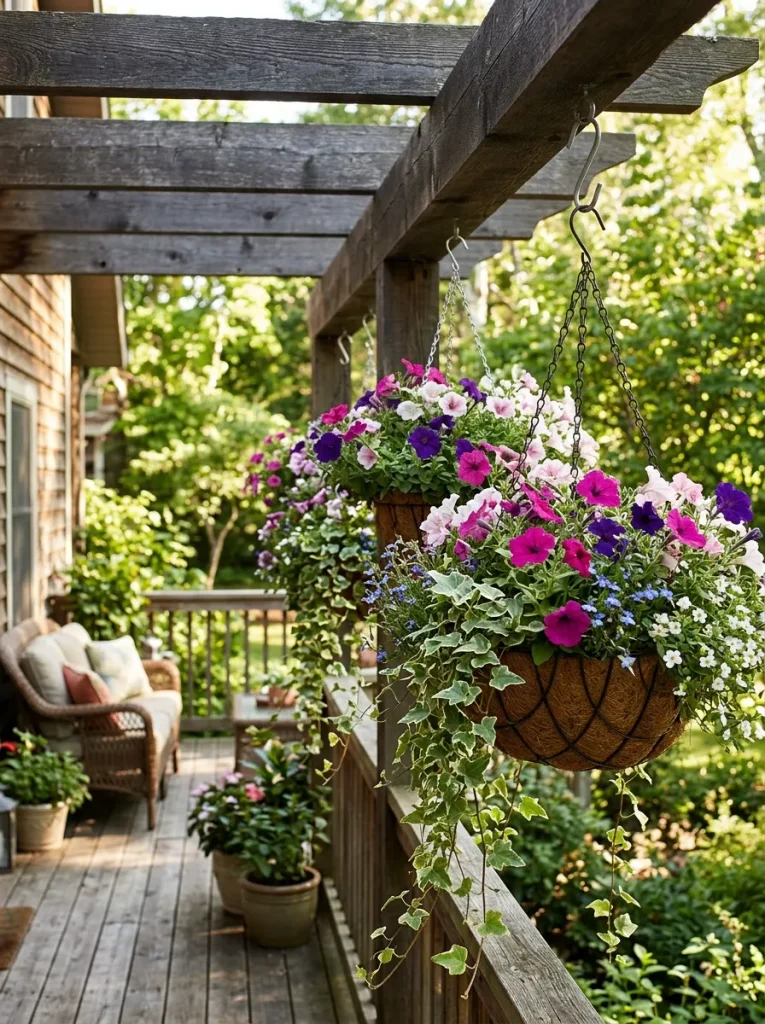
| Basket Style | Best Plants | Overall Look |
| Traditional woven basket | Trailing petunias and ivy | Rustic and relaxed |
| Simple metal basket | Geraniums and compact flowers | Classic and structured |
| Colorful ceramic basket | Small flowering plants | Playful and decorative |
| Minimal hanging pot | Trailing foliage | Clean and modern |
Hanging baskets help you add more flowers without using extra ground space. Select containers with suitable drainage and strong hanging supports, then match the plants to the available sunlight. Combine upright flowers with trailing varieties to create a fuller display and leave enough room for plants to grow.
Remember that hanging containers can dry out faster than garden beds, particularly during hot weather. Check their soil frequently and water when needed. For a coordinated appearance, repeat one or two flower colors across several baskets while varying the greenery and basket styles.
Whimsical Garden Gnomes
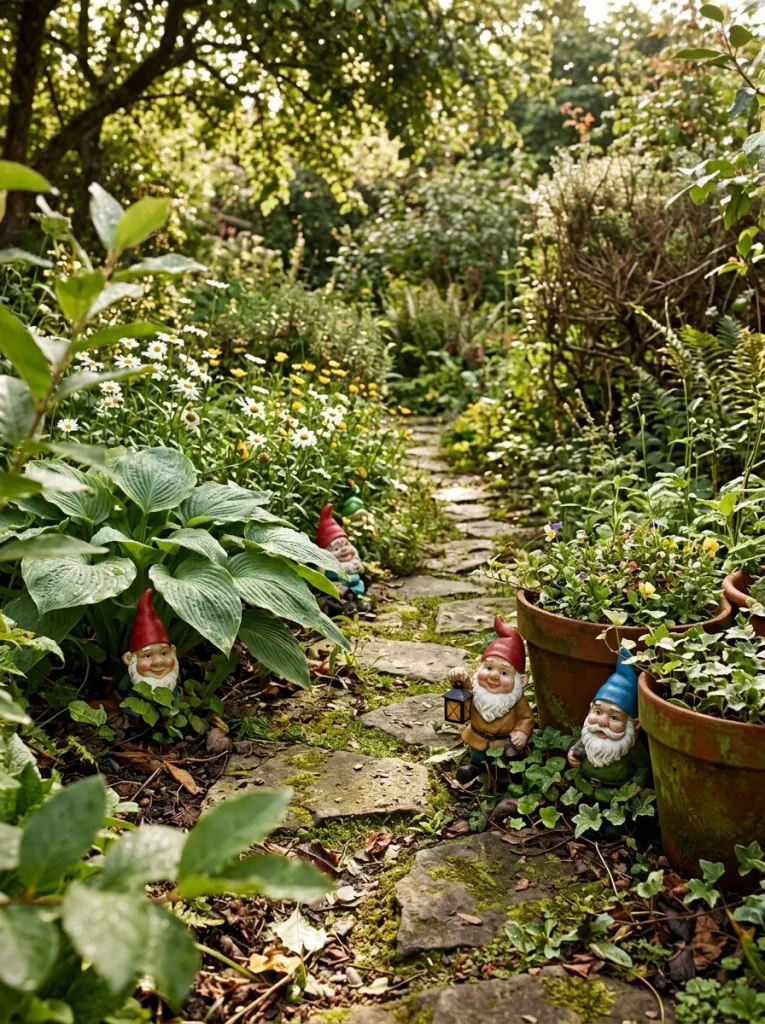
Garden gnomes are an easy way to introduce a little humor and personality into your outdoor space. Choose figures that complement your garden’s style, from traditional red-hatted characters to modern minimalist designs. Place them near flower beds, beneath shrubs or beside a pathway where visitors can discover them naturally.
Instead of arranging every figure in one place, spread a few throughout the garden to create small decorative surprises. Weather-resistant resin, stone and ceramic options can work well outdoors when properly maintained. Keep ornaments stable on uneven ground and avoid placing delicate pieces where lawn equipment or frequent foot traffic could damage them.
Vintage Bicycle Planter
Before:
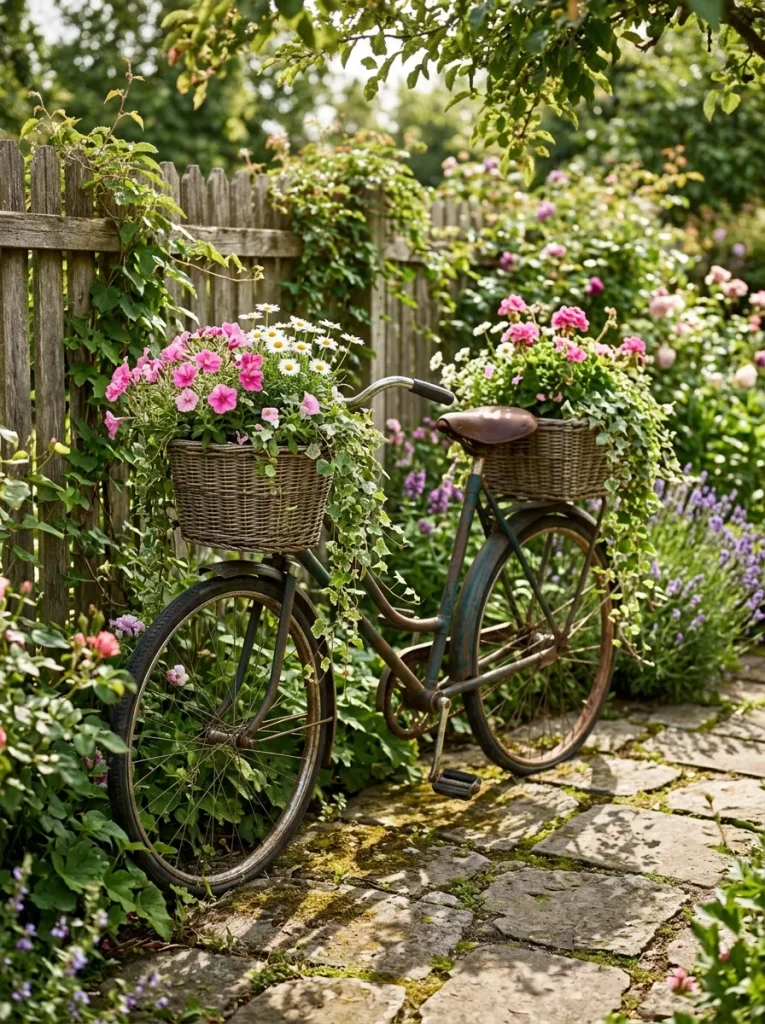
An unused bicycle or an empty garden corner may feel like wasted space without a decorative purpose.
After:
Give an old bicycle a second life by adding baskets or containers filled with seasonal flowers. Lean it securely against a fence or anchor it in place, then arrange trailing plants around the frame for a softer appearance. A fresh coat of outdoor paint can create a colorful statement, while a weathered finish suits rustic gardens.
Decorative Rain Chain
Quick Tip:
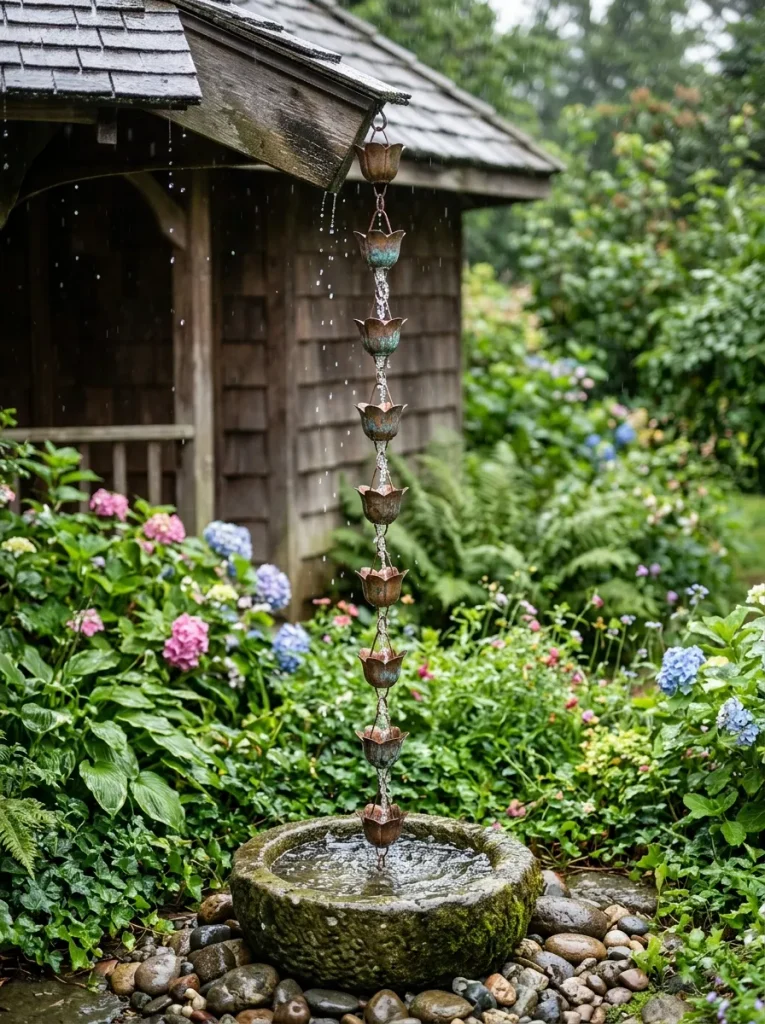
Position the rain chain beneath a suitable roof gutter outlet and place a stable basin or splash area below it. Make sure the surrounding ground drains properly so water does not collect near foundations or create slippery surfaces.
A rain chain offers a decorative alternative to a conventional downspout while making rainfall more noticeable and enjoyable. Choose copper, stainless steel or another weather-resistant material that suits your garden’s style. Cup-shaped chains often guide water more effectively than simple linked designs during heavier rain.
Surround the collection basin with moisture-tolerant plants or smooth stones to create a finished look. Keep the chain securely attached, inspect it after storms and clear away leaves or debris when needed. If you collect the runoff, use it appropriately for your garden and avoid leaving standing water where mosquitoes could breed.
Floral Garden Chandelier
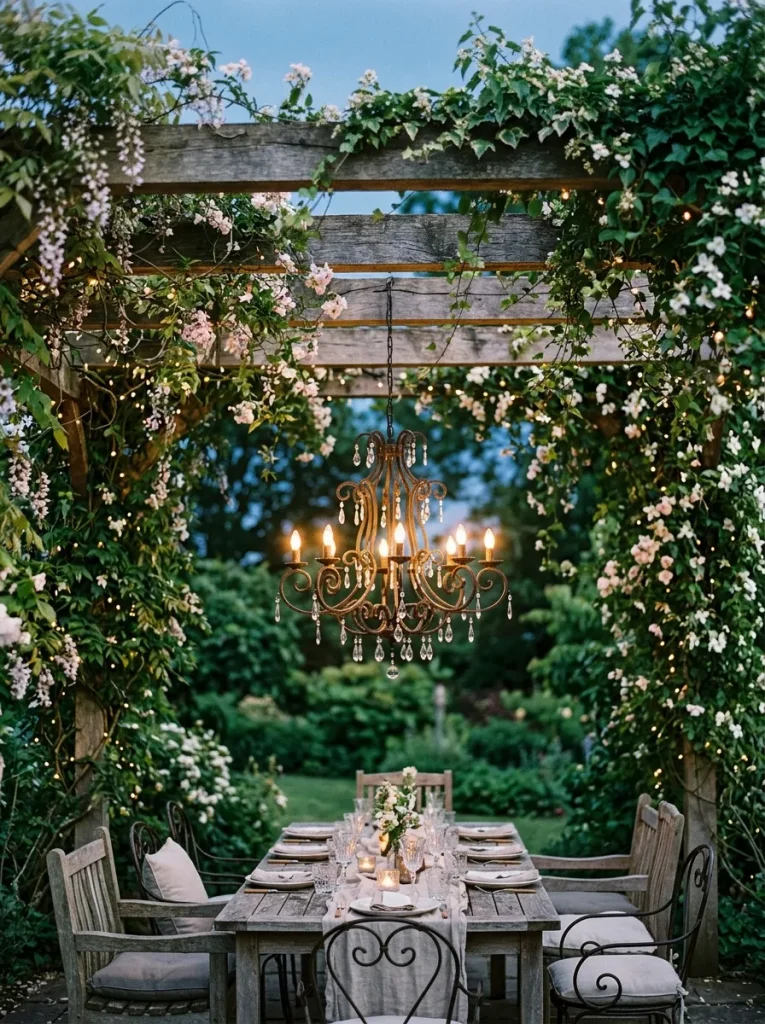
A floral chandelier can turn an ordinary pergola or covered patio into a special outdoor gathering spot. Choose a lightweight frame and decorate it with artificial flowers or lightweight greenery that can handle outdoor conditions. For evening use, add outdoor-rated LED lights rather than open flames.
Hang the arrangement from a secure support and keep it high enough to avoid interfering with people walking or sitting underneath. You can coordinate the flowers with nearby planters for a unified appearance or mix different shades for a cheerful seasonal display. If your garden is exposed to strong winds, remove delicate decorations when necessary.
Seashell Garden Border
Materials You’ll Need:
- Clean, responsibly sourced seashells
- A small garden trowel
- Landscape edging, if needed
- Decorative stones for extra texture
- Gloves for handling sharp or broken shells
Steps to Create It:
- Select a small flower bed or container that needs a decorative edge.
- Clean the shells thoroughly and let them dry.
- Remove broken shells with sharp edges.
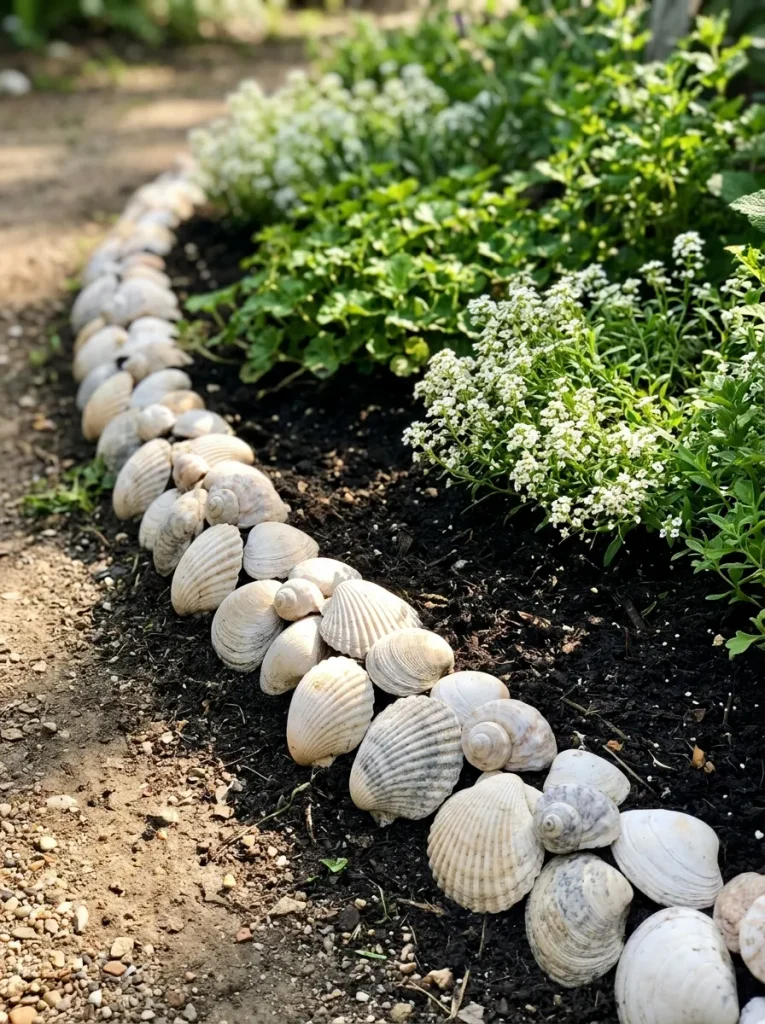
- Arrange the shells in a consistent line around the planting area.
- Add a few smooth stones if you want extra texture, keeping the border neat and stable.
A seashell border can bring a coastal touch to a garden without requiring major changes. Use shells sparingly so they complement the plants rather than overpower them. Keep in mind that shells may affect soil conditions as they gradually break down, so avoid placing large quantities around plants that prefer acidic soil. For a low-maintenance finish, check the border occasionally and replace any shells that shift or break.
Miniature Fairy Door
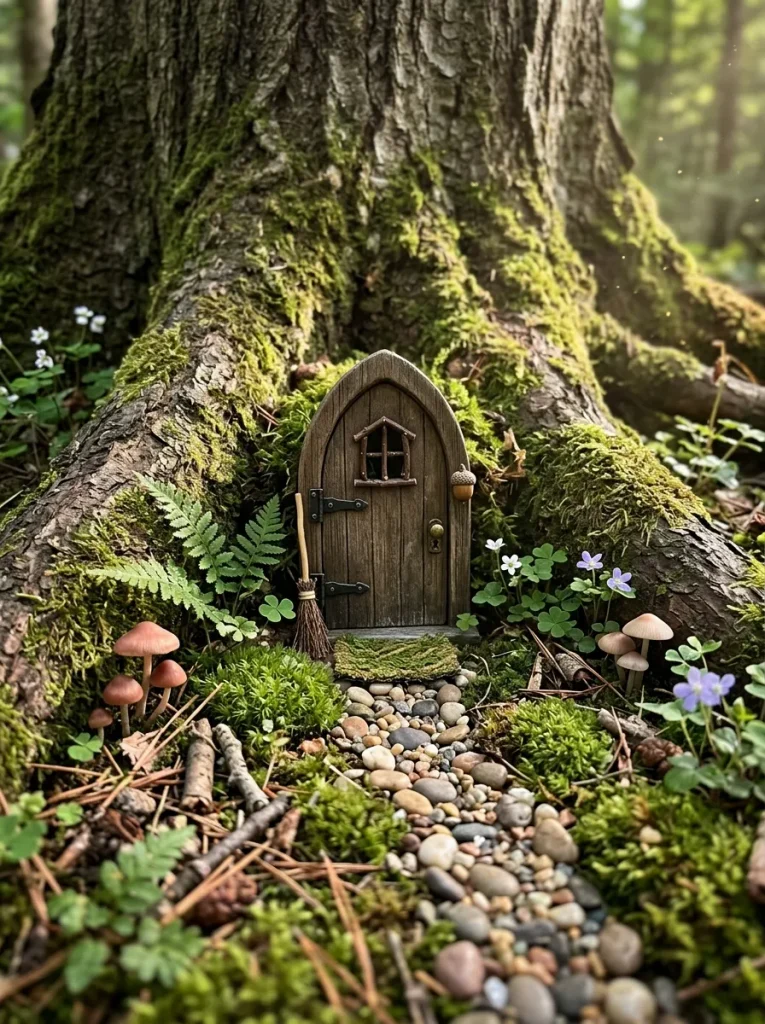
| Fairy Door Style | Decorative Details | Garden Setting |
| Rustic wooden door | Tiny steps and a miniature wreath | Tree base or woodland corner |
| Colorful painted door | Small flowers and painted stones | Bright flower bed |
| Stone-style door | Pebbles and moss | Shaded garden nook |
| Simple cottage door | Miniature path and tiny pots | Container fairy garden |
A miniature fairy door adds a playful detail to an otherwise ordinary garden corner. Choose a weather-resistant piece and attach it carefully to a suitable surface without damaging a living tree. You can build a tiny pathway with pebbles, add miniature pots or surround the doorway with moss and small plants.
Keep the surrounding decorations simple so the little door remains the focal point. This project is especially enjoyable for families who like imaginative garden details and it can be created on a small budget using craft materials you already have. Check the display occasionally for weather damage and remove any loose pieces that could become litter.
Colorful Garden Benches
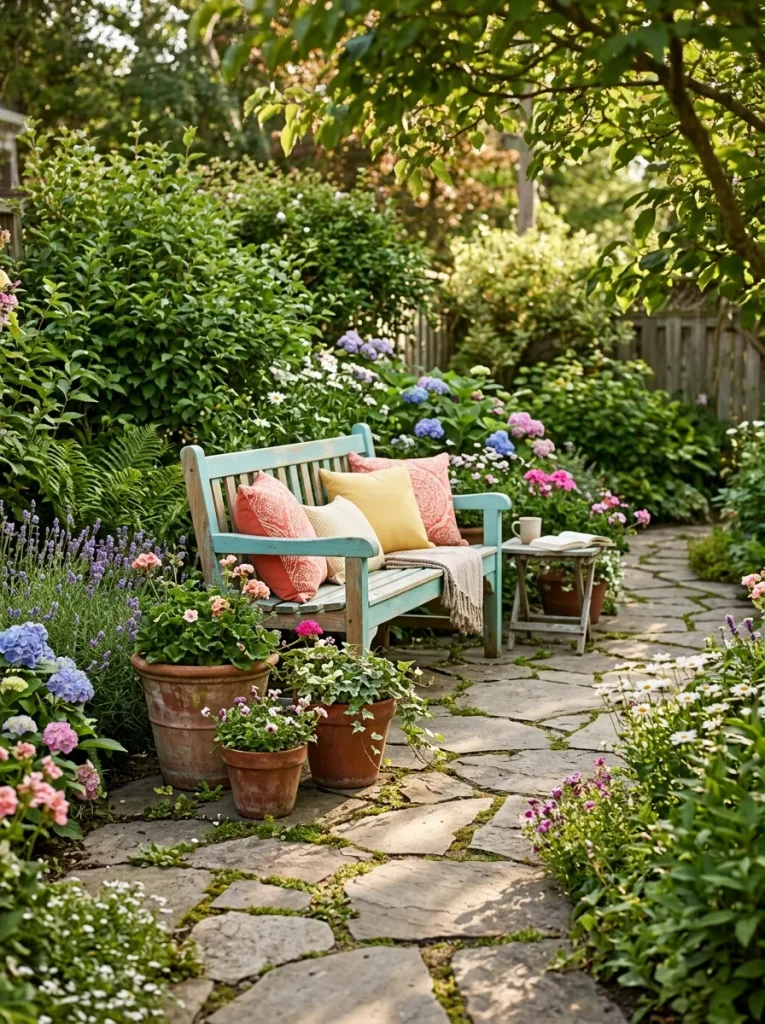
A colorful bench can add both seating and personality to your garden. Choose a weather-resistant finish in a shade that complements your flowers, such as sage green, soft blue or sunny yellow. Place the bench where you can enjoy the view, whether beside a flower bed, beneath a tree or along a quiet pathway.
Before painting an existing bench, clean and prepare the surface according to the paint manufacturer’s instructions. Use outdoor-rated materials and allow everything to dry fully before sitting on it. Add a few weather-resistant cushions for comfort, but store them somewhere dry when rain is expected to keep them looking fresh.
Teacup Bird Feeders
Before:
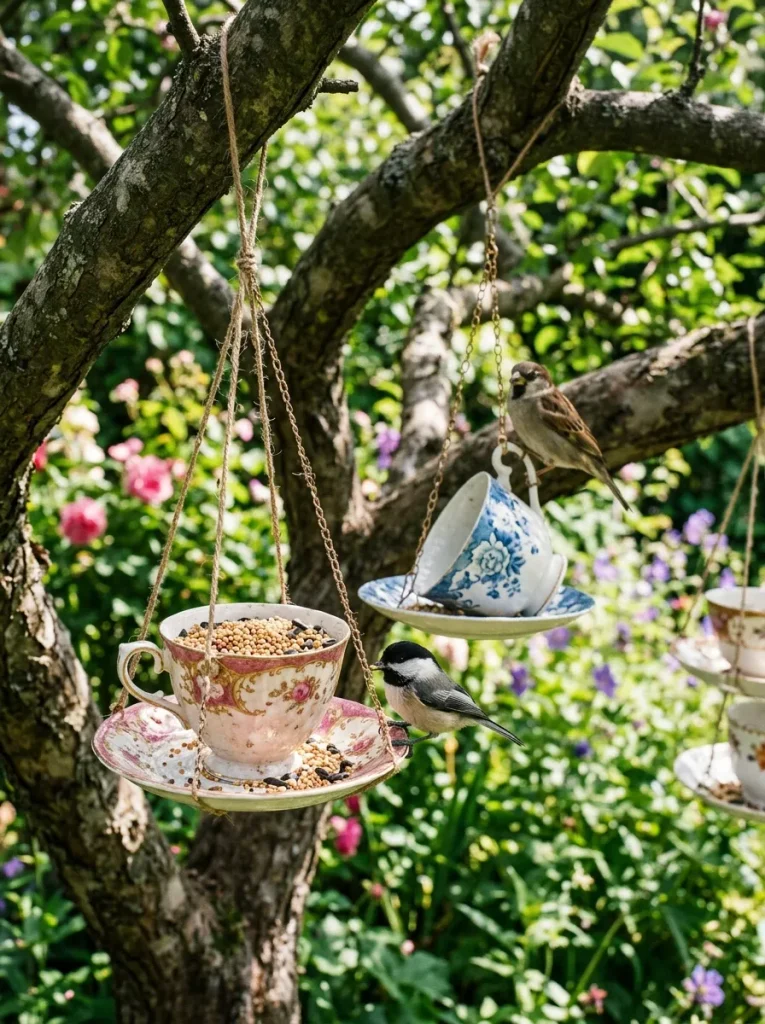
Old teacups may sit unused in a cupboard, while a quiet garden corner lacks a feature that attracts visiting birds.
After:
Repurpose suitable teacups and saucers into decorative feeding stations using secure, weather-resistant attachments. Place them where birds can approach safely, with nearby shrubs offering shelter and a clear view of potential predators. Use bird food appropriate for local species, clean the feeders regularly and remove wet or spoiled food to help keep visiting birds healthy.
Decorative Garden Obelisk
Quick Tip:
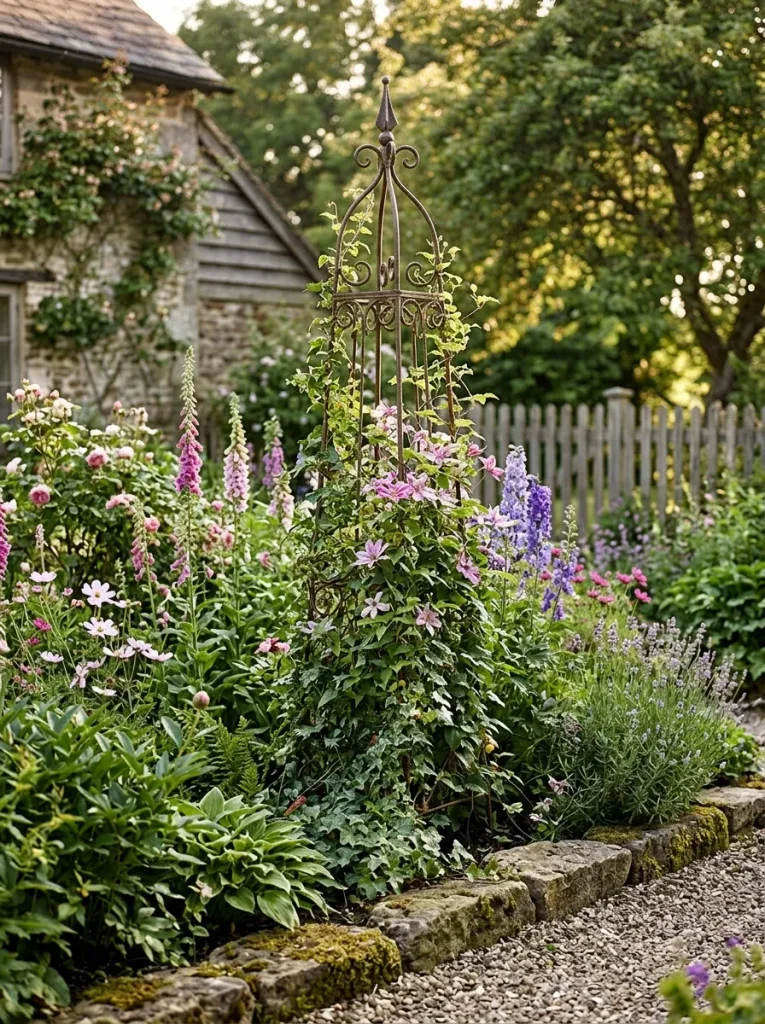
Choose an obelisk tall enough for your selected climbing plants and secure its base firmly in the soil before planting. Check the plant’s mature height and growth habit so the structure can provide adequate support throughout the season.
A garden obelisk adds vertical interest to flower beds without taking up much ground space. Metal structures suit traditional and modern gardens, while wooden versions create a softer, rustic appearance. Place one in the center of a flower bed or use it to frame an entrance, then guide suitable climbing plants around its supports as they grow.
For a colorful display, pair flowering climbers with low-growing plants around the base. Keep the structure accessible for pruning and watering and check its stability after strong winds. Even without climbing plants, an attractive obelisk can serve as a decorative focal point during the quieter months of the gardening year.
Upcycled Window Frame
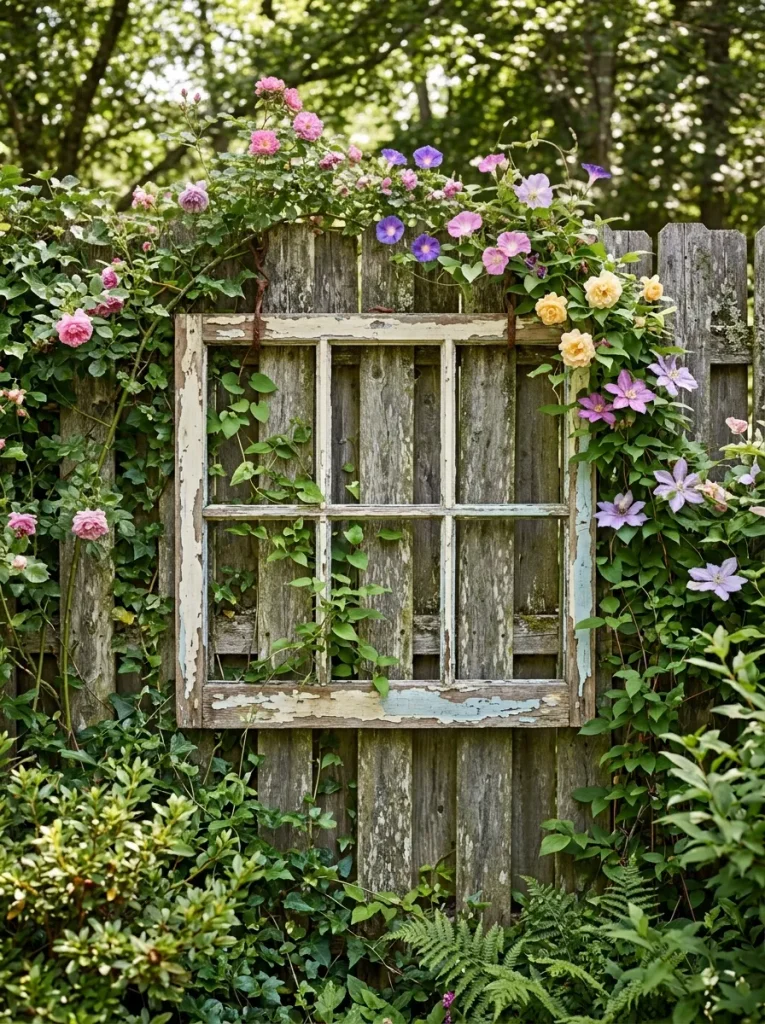
An old window frame can become a striking garden decoration without taking up much space. Clean it carefully, remove any loose or broken glass and repaint the frame if you prefer a fresher look. Lean it securely against a fence or attach it firmly to a suitable outdoor wall.
For extra character, train lightweight climbing plants around the edges or hang small decorative pots nearby. You can also paint the frame in a soft pastel shade to complement your flowers. Make sure the structure is stable and weather-resistant, especially if it will remain outdoors throughout the year.
Decorative Garden Watering Can
Materials You’ll Need:
- An old metal or plastic watering can
- Outdoor paint, if you want to change its color
- Potting mix and compact flowering plants
- Small decorative stones, if desired
- A stable, weather-protected spot for the display
Steps to Create It:
- Clean the watering can and allow it to dry.
- Check for sharp edges, rust damage or loose handles.
- Paint the exterior with a suitable outdoor finish, if desired.
- Prepare drainage openings if you plan to plant directly inside.
- Add potting mix and compact flowers, then position the can securely among your garden plants.
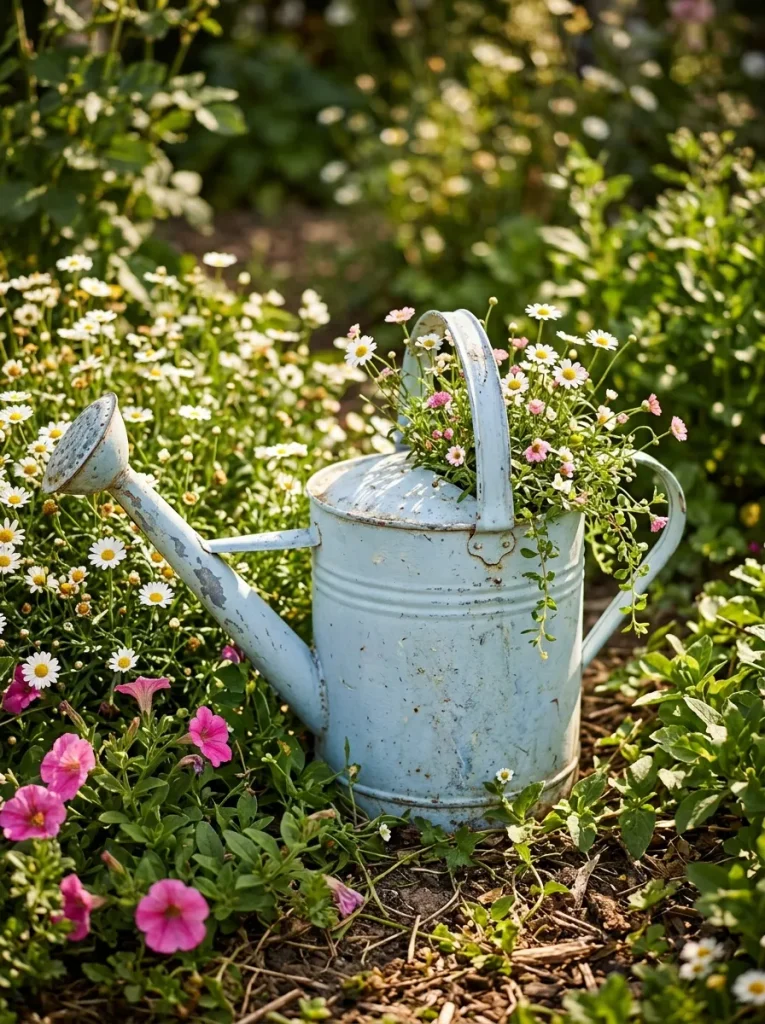
A decorative watering can is a simple way to reuse an everyday gardening item. Choose trailing flowers for the spout and compact blooms for the top to create a fuller arrangement. If you would rather keep the can functional, place a small potted plant inside instead of filling it permanently with soil.
Pair the watering can with terracotta pots, wooden planters or a rustic garden bench for a coordinated look. Keep the display clean and check that water does not collect inside when it rains. A cheerful paint color can make even an older container feel like a thoughtful garden feature.
Butterfly Puddling Station
Quick Tip:
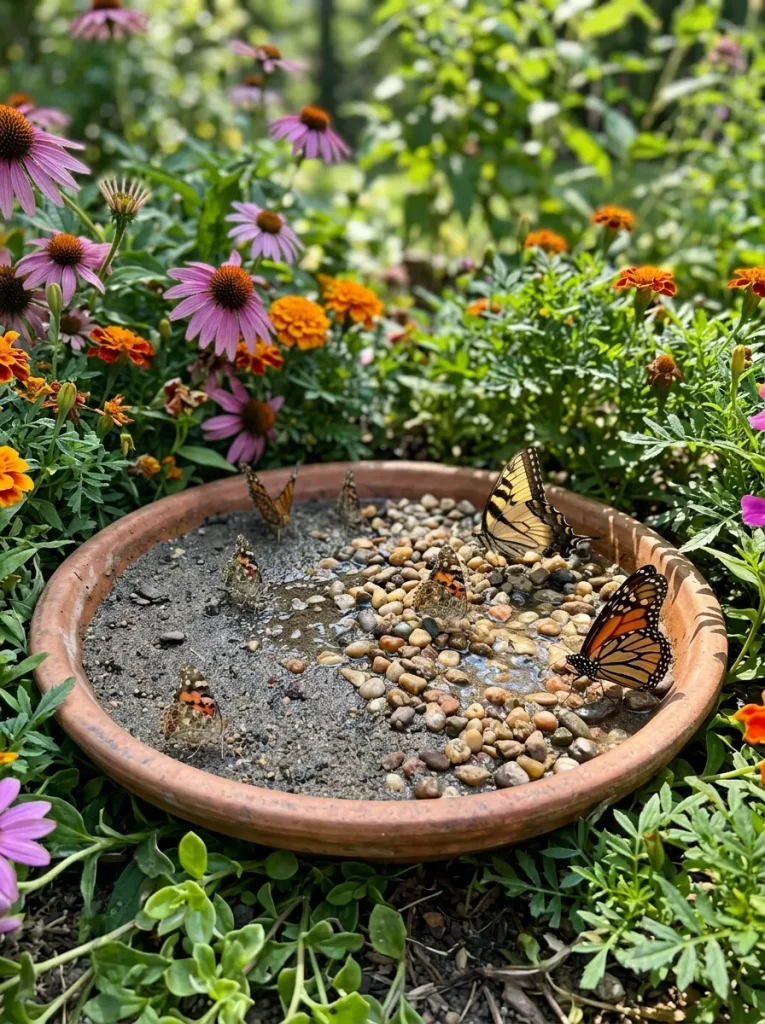
Use a shallow dish with damp sand and a few small stones, keeping the surface moist rather than deeply flooded. Place it in a sunny, sheltered location, refresh it regularly and avoid adding sugar, honey or other substances that could spoil or attract unwanted pests.
A butterfly puddling station provides a small place where butterflies can gather moisture and minerals from damp surfaces. It is easy to create with an ordinary saucer, some clean sand and a few pebbles that offer safe landing spots. Position it near nectar-rich flowers to make the area more welcoming to visiting pollinators.
Keep the station clean and prevent stagnant water from building up. During hot weather, check the moisture level regularly and use pesticide-free gardening practices to protect butterflies and other beneficial insects. This modest addition combines natural beauty with a practical way to support wildlife in your outdoor space.
Charming Garden Gate
Before:
FA garden entrance can feel plain or unfinished when it lacks a decorative feature that connects the pathway with the surrounding plants.
After:
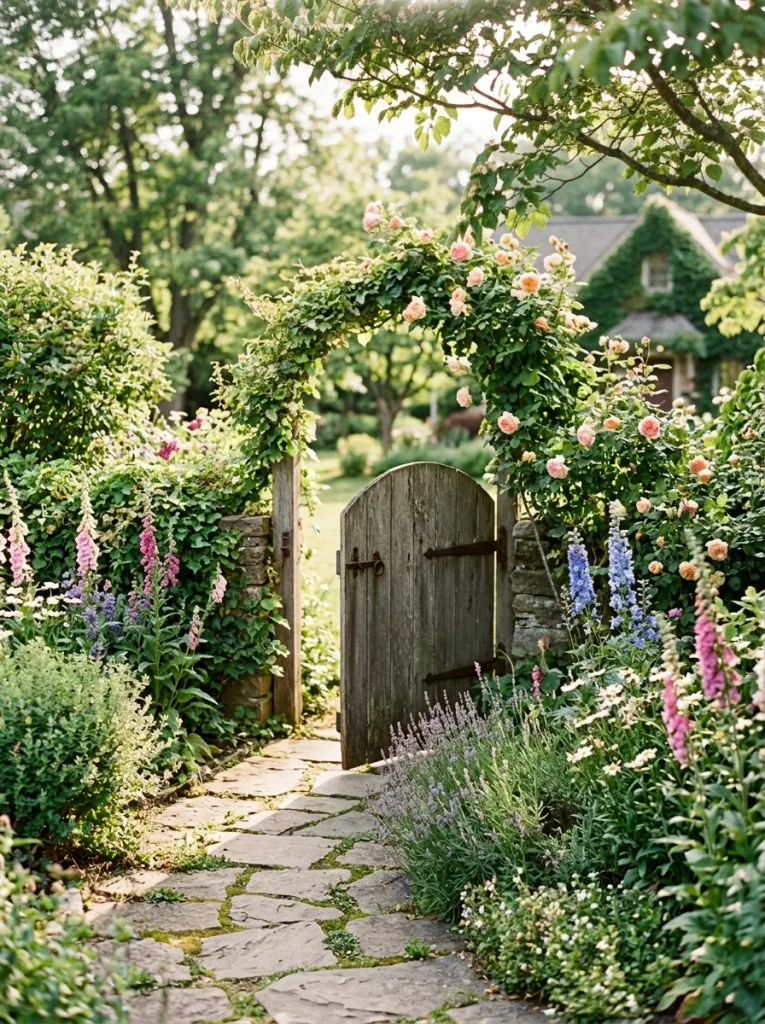
Give the entrance character with a charming garden gate painted in a soft pastel shade or finished in natural weathered wood. Frame it with climbing roses, flowering vines or matching pots on either side. Add a simple pathway leading toward the gate to create a welcoming focal point and make the entire garden feel more thoughtfully arranged.
Choose weather-resistant materials and secure the gate properly so it remains stable through changing weather. Even a small decorative gate can add privacy, define a garden area and create a lovely backdrop for flowers. Keep the surrounding plants trimmed enough to preserve the gate’s shape and ensure the entrance remains easy to use.
CONCLUSION
Creating a beautiful garden doesn’t require an expensive makeover or complicated landscaping. These 34 Garden Decor Ideas show how small, thoughtful touches can bring color, personality,and a little magic to your outdoor space. Whether you love rustic planters, playful garden ornaments, charming pathways or cozy evening lighting, there’s something here for every style and budget.
Start with one idea that inspires you, then build your garden’s character gradually. Save this article on Pinterest so you can revisit your favorite projects, try something creative this weekend and share these ideas with friends who love gardening. Your dream garden can begin with one simple, joyful change!