27 Modern Bathroom Ideas That Feel Crisp and Tranquil
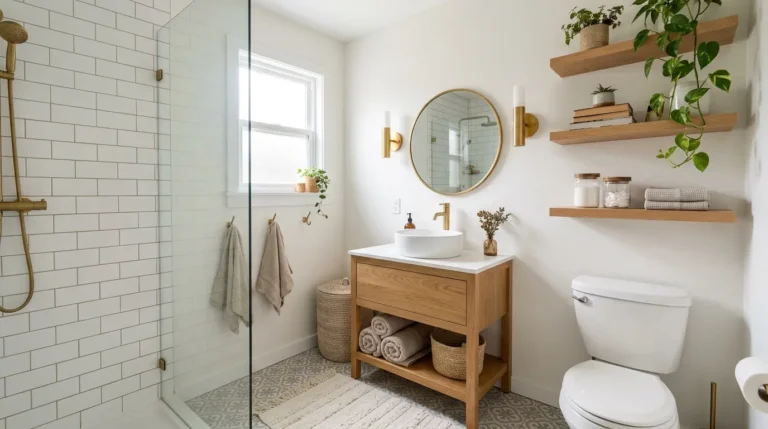
A calm, beautiful bathroom can make your daily routine feel a little more relaxing. The secret is not always a complete renovation or an expensive makeover. Sometimes, the right colors, better lighting and a few thoughtful design choices are all you need.
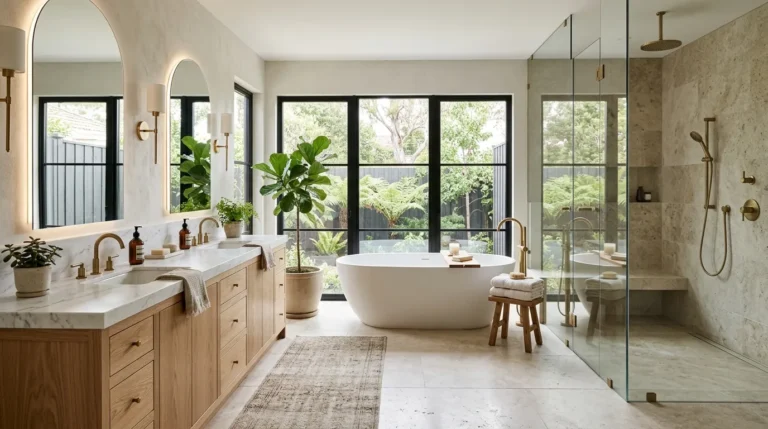
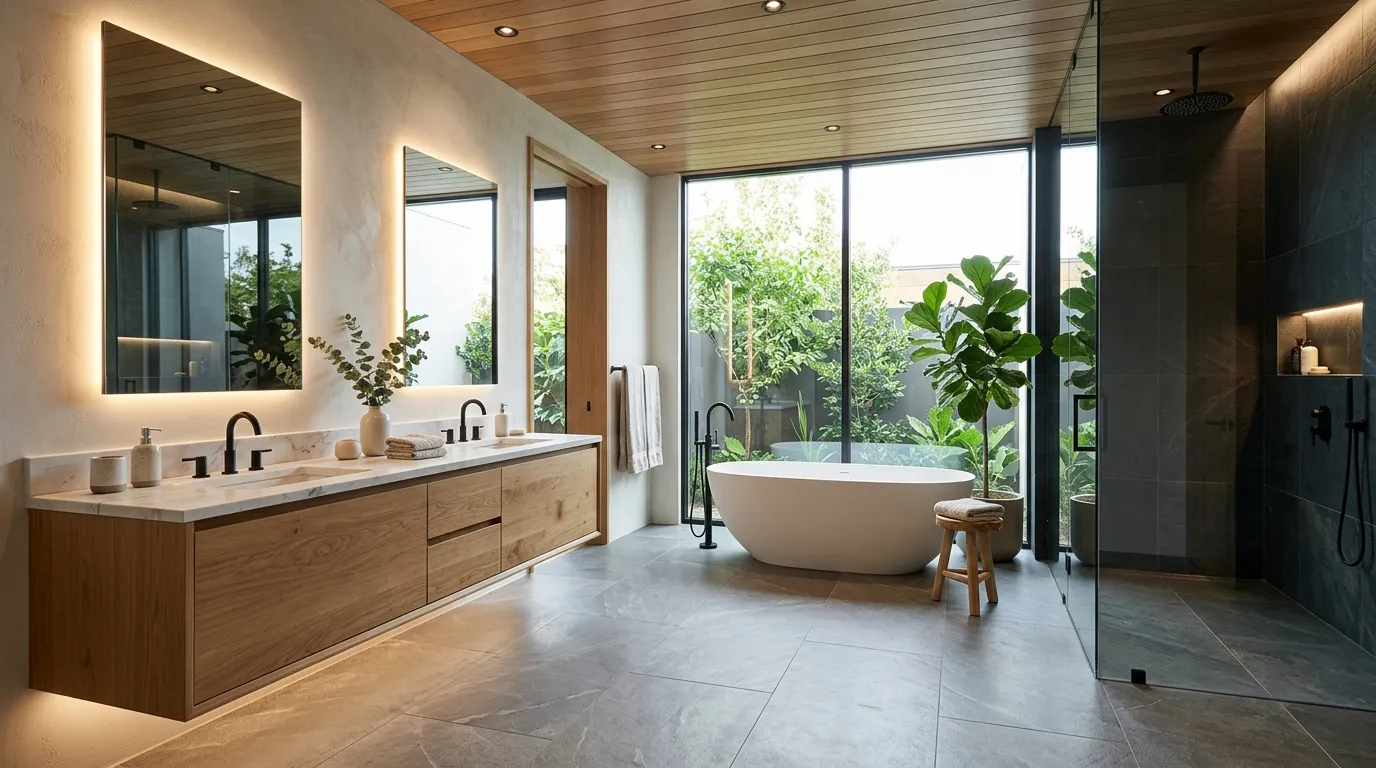
These 27 Modern Bathroom Ideas bring together fresh finishes, clean lines, natural textures and practical details to help you create a bathroom that feels crisp and tranquil. Whether you’re updating a small apartment bathroom, refreshing a family space, or planning a larger renovation, you’ll find inspiration for different layouts, styles and budgets.
From floating wood vanities and frameless glass showers to soft green walls and layered lighting, each idea offers something you can adapt to your own home. I’ve found that choosing a consistent color palette and focusing on everyday functionality can make a bathroom feel more polished without filling it with unnecessary decor.
Explore these designs, save the ones that match your taste and discover simple ways to make your bathroom feel brighter, more organized and more inviting.
Warm Neutral Palette
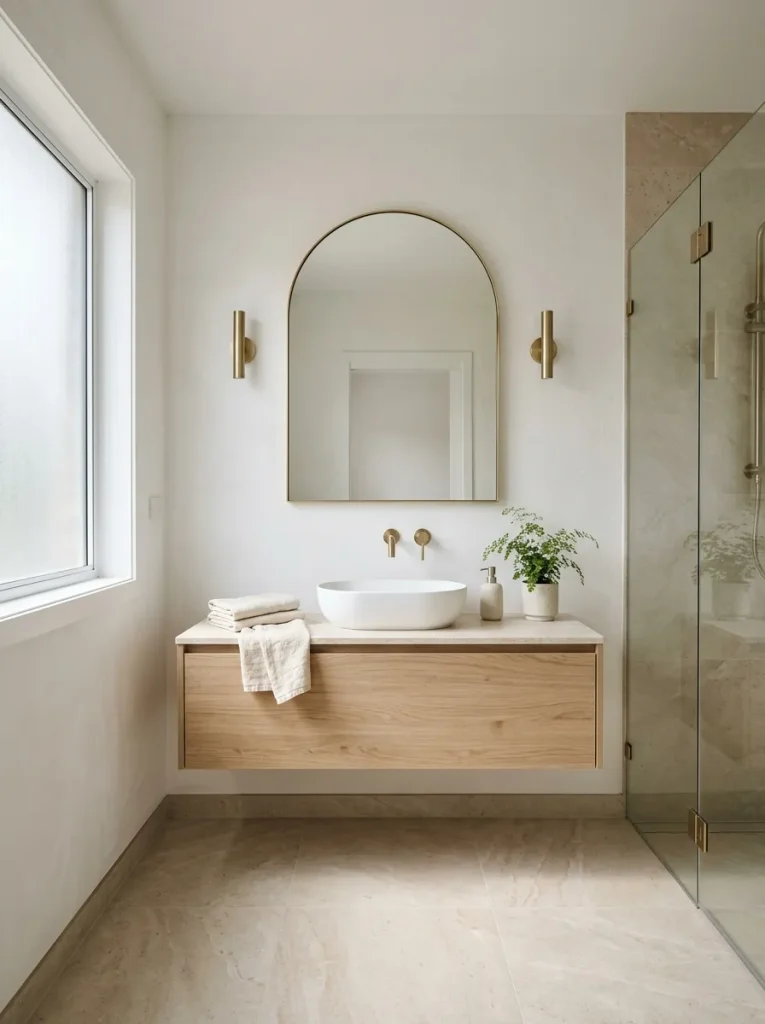
Warm neutral colors make a bathroom feel fresh without making it look cold or sterile. Think creamy white walls, sandy beige tiles, pale wood cabinetry and soft ivory towels. These shades work together to create a clean, balanced appearance that feels welcoming from the moment you enter.
For a cohesive result, choose two main neutrals and one natural accent material. For example, pair warm white walls with beige flooring and an oak vanity. I’ve noticed that repeating the same tones across towels, accessories and storage helps even a simple bathroom feel more thoughtfully designed. Keep strong colors limited to small decorative details.
Floating Wood Vanity
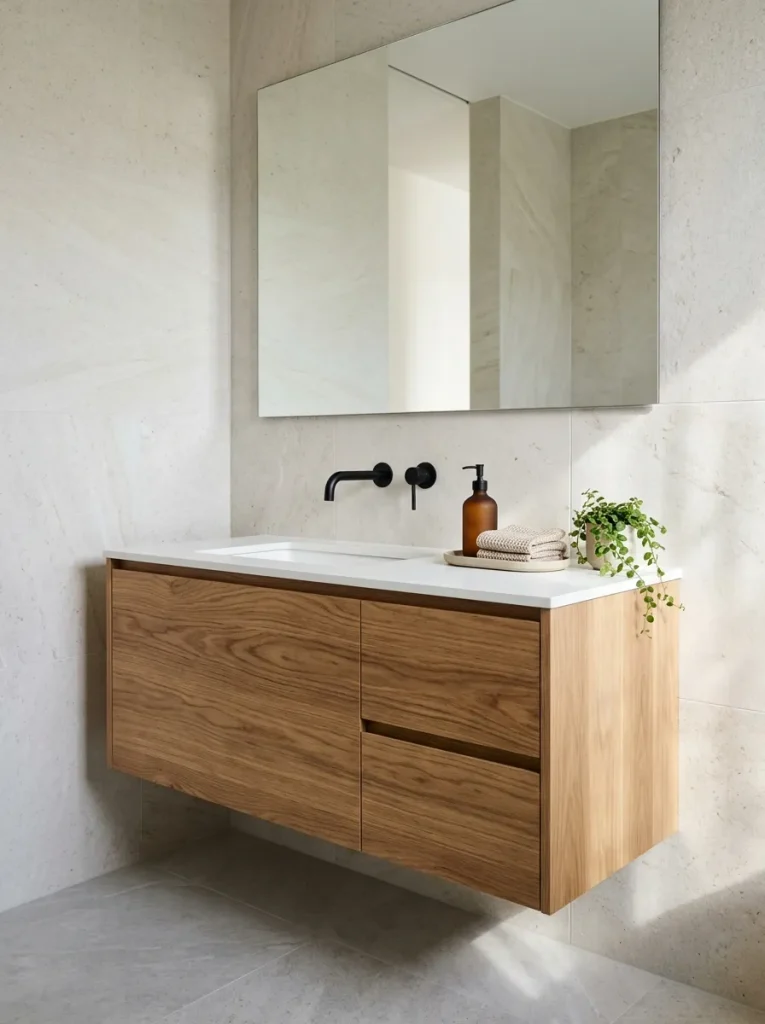
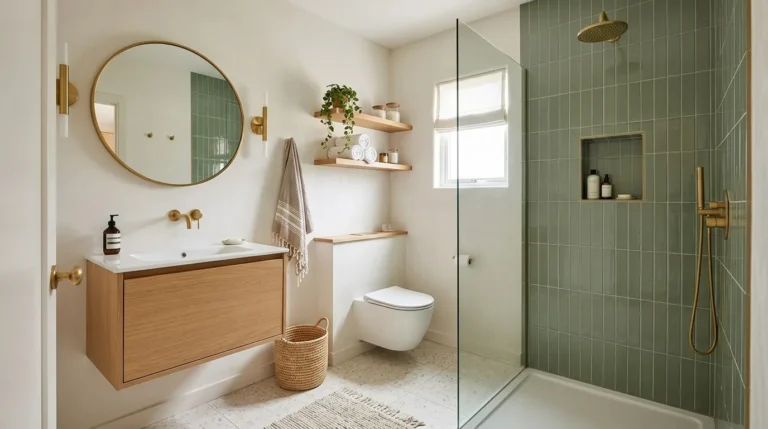
- Choose a wall-mounted cabinet. Leaving the floor visible beneath the vanity creates a lighter appearance and makes routine cleaning easier.
- Select natural wood tones. Light oak, ash, or walnut adds warmth to white and gray bathroom finishes.
- Keep the countertop simple. Store everyday products in drawers instead of spreading bottles across the sink.
- Match the hardware. Coordinate the faucet and cabinet handles in brushed brass, matte black, or polished chrome.
- Check wall support. Have a qualified installer confirm that the wall can safely support the vanity and sink.
A floating vanity is especially useful in compact bathrooms where bulky furniture can make the room feel crowded. Pair it with a large mirror and simple wall lighting to emphasize the open space. For family bathrooms, choose deep drawers with dividers so hair tools, skincare products and spare toiletries remain easy to organize.
Frameless Glass Shower
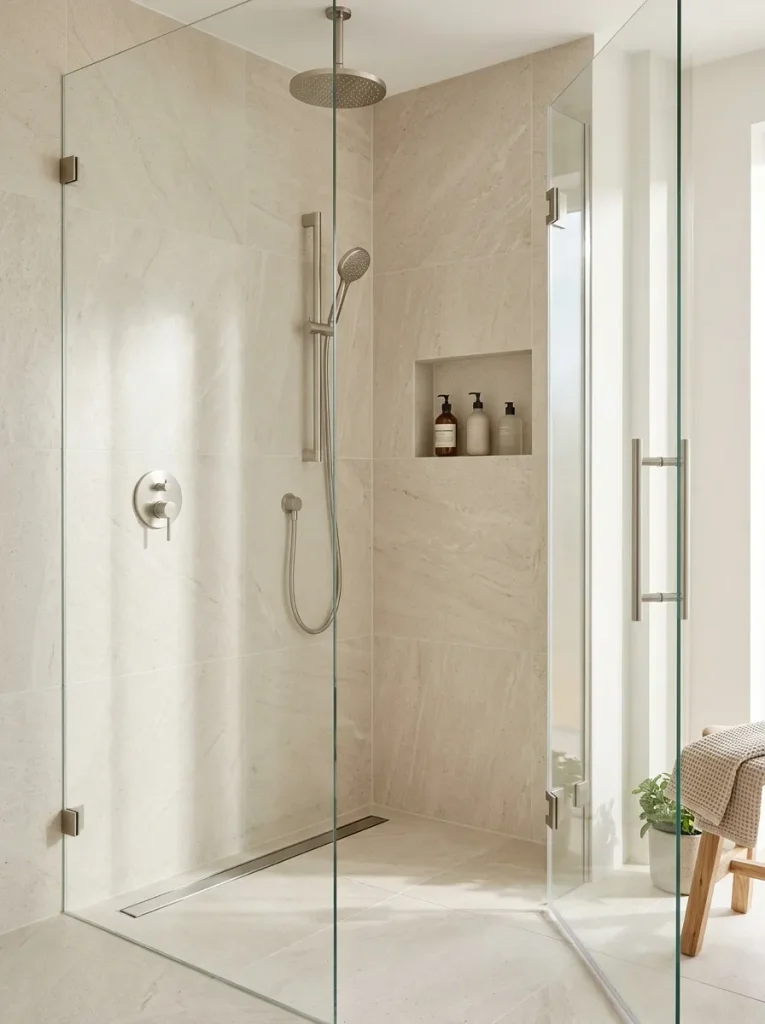
Quick Tip:
Choose clear, frameless glass to maintain an uninterrupted view across the bathroom. Before installation, confirm that the floor slopes correctly toward the drain and that the shower has suitable waterproofing. Use a glass treatment designed for shower enclosures if you want to reduce mineral deposits and simplify routine cleaning.
A walk-in shower can make modern bathroom ideas feel more open, particularly when the same flooring or complementary tile colors continue throughout the space. Keep the hardware minimal and place shampoo bottles inside a recessed niche rather than on the floor. If privacy matters, consider textured glass for a softer, more discreet finish.
Large Format Tiles
BEFORE
Small tiles with contrasting grout lines can make bathroom walls look visually busy. When several patterns compete, the room may feel smaller and less restful, especially in a compact apartment bathroom.
AFTER
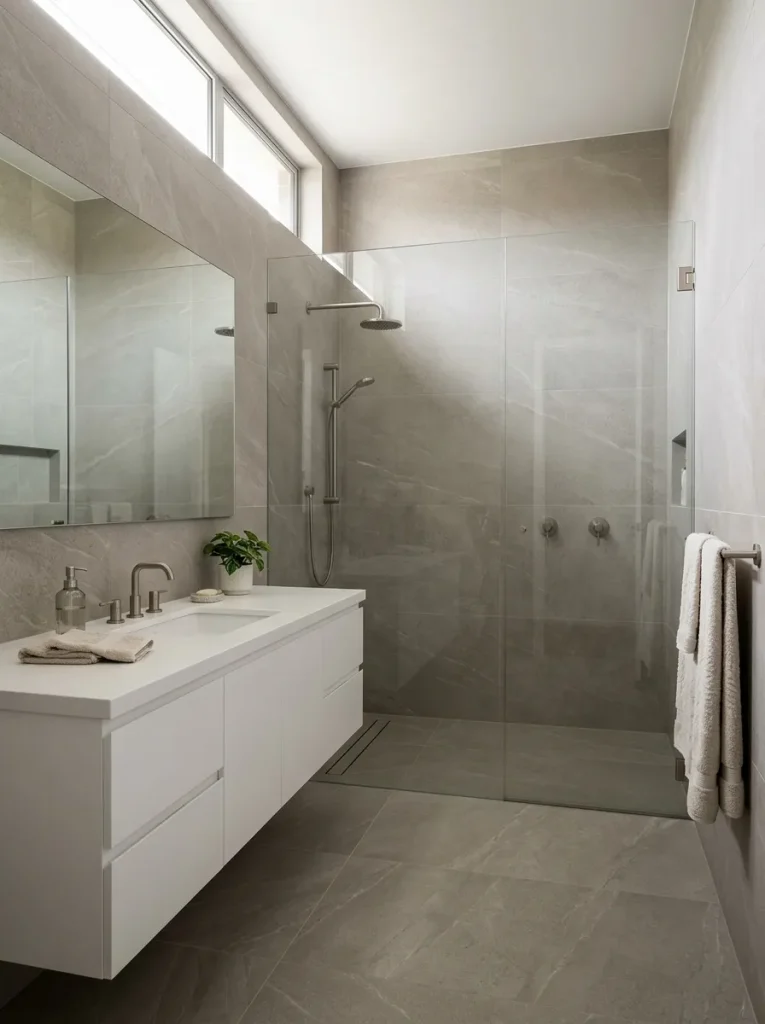
Large-format tiles create broader, uninterrupted surfaces that help the bathroom feel more spacious. Matching the grout closely to the tile color makes the finish look even cleaner.
Choose porcelain tiles with a matte or lightly textured finish for a contemporary appearance. Before purchasing, check the tile dimensions against your wall measurements to reduce awkward cuts. For floors, select a product rated for wet areas with suitable slip resistance.
Large tiles can cost more to install because they require careful handling and a flatter substrate. However, fewer grout lines may make routine cleaning easier.
Backlit Bathroom Mirror
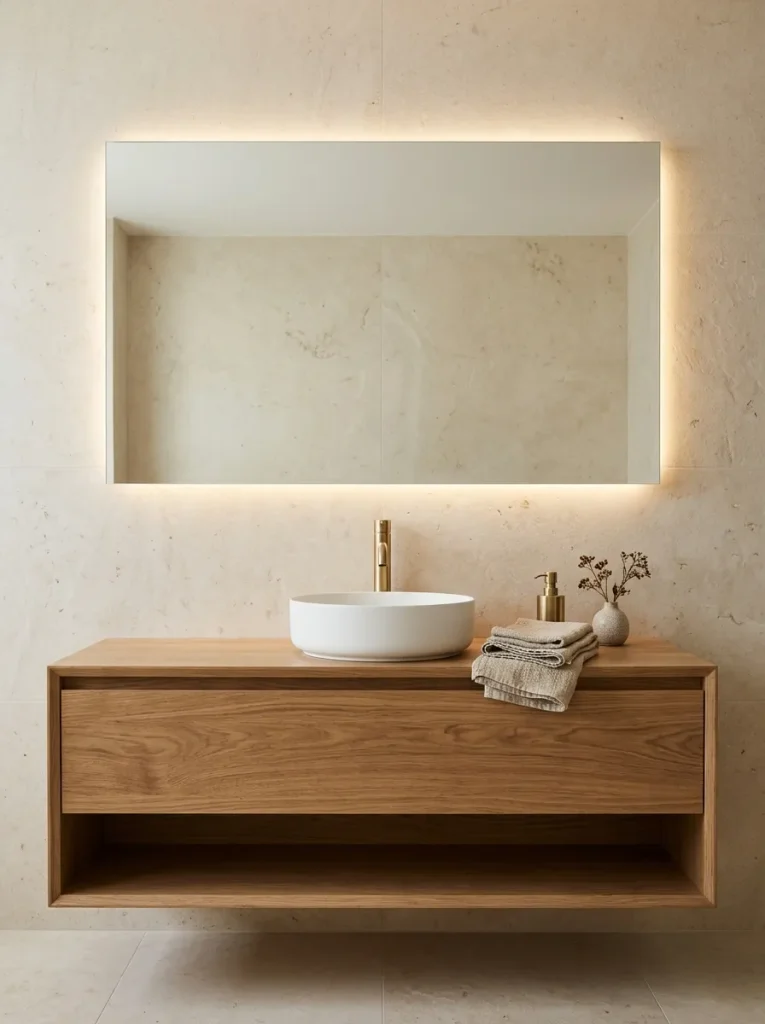
- Measure the vanity. Choose a mirror that fits the available wall space and looks balanced above the basin.
- Select the light temperature. Warm or neutral white lighting creates a comfortable atmosphere for everyday routines.
- Check the brightness. Look for sufficient illumination for shaving, skincare and makeup application.
- Plan the wiring. Use a bathroom-rated mirror and have electrical connections installed safely by a qualified professional.
A backlit mirror adds a gentle glow without requiring bulky decorative lighting around its edges. It works particularly well in bathrooms with simple finishes because the light becomes a subtle design feature. For the most practical setup, combine it with suitable task lighting rather than relying on the mirror alone to illuminate your face.
Walk-In Shower Niche
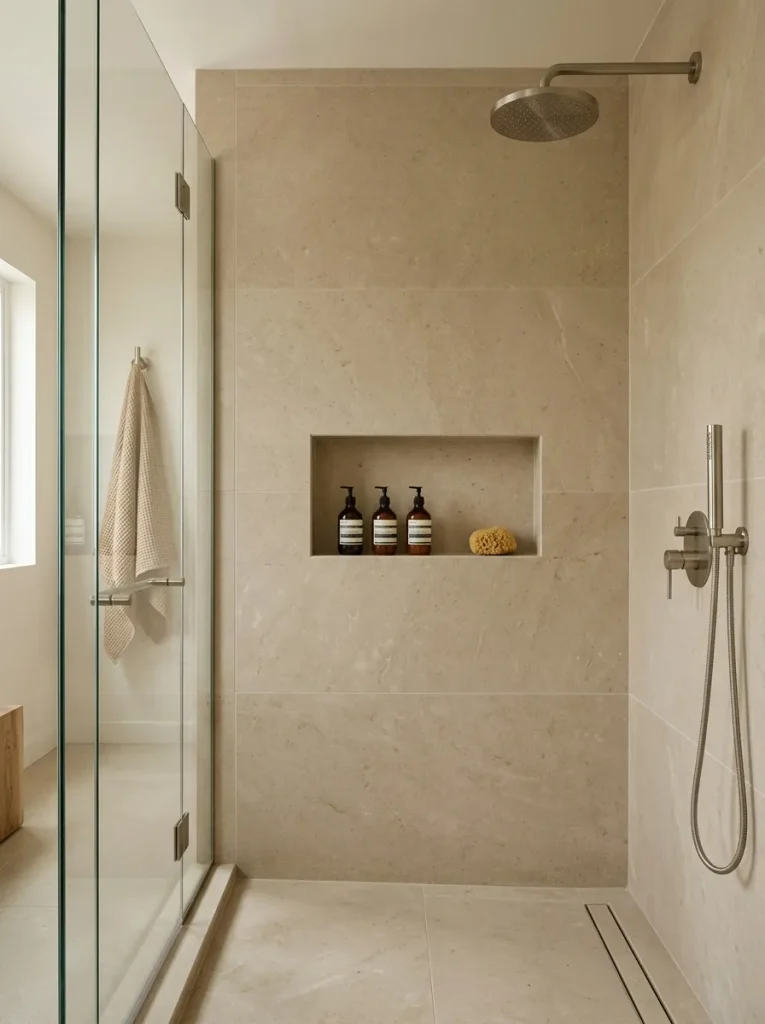
| Design Detail | Option A: Basic Shelf | Option B: Recessed Niche |
|---|---|---|
| Appearance | Adds a visible element | Creates a built-in finish |
| Floor space | May protrude into the shower | Keeps products within the wall |
| Cleaning | Depends on shelf shape | Simple with accessible corners |
| Installation | Often easier to retrofit | Requires careful waterproofing |
| Styling | Can contrast with the tiles | Can blend into the surrounding wall |
A recessed niche keeps shampoo, conditioner and body wash organized without crowding the shower floor. Match its interior tiles to the surrounding walls for a subtle finish, or use a contrasting tile for a small decorative accent. Plan the niche location before tiling, and ensure its waterproofing and drainage details are handled correctly.
Matte Black Fixtures
DO
- Pair black fixtures with white, cream, or pale gray surfaces.
- Repeat black accents in two or three places for a coordinated finish.
- Choose durable products with manufacturer-approved cleaning instructions.
- Check water quality and maintenance requirements before selecting the finish.
DON’T
- Mix several competing metal finishes without a clear plan.
- Use abrasive pads that may damage the surface.
- Assume every matte black coating has identical durability.
- Add black to every surface in a small, poorly lit bathroom.
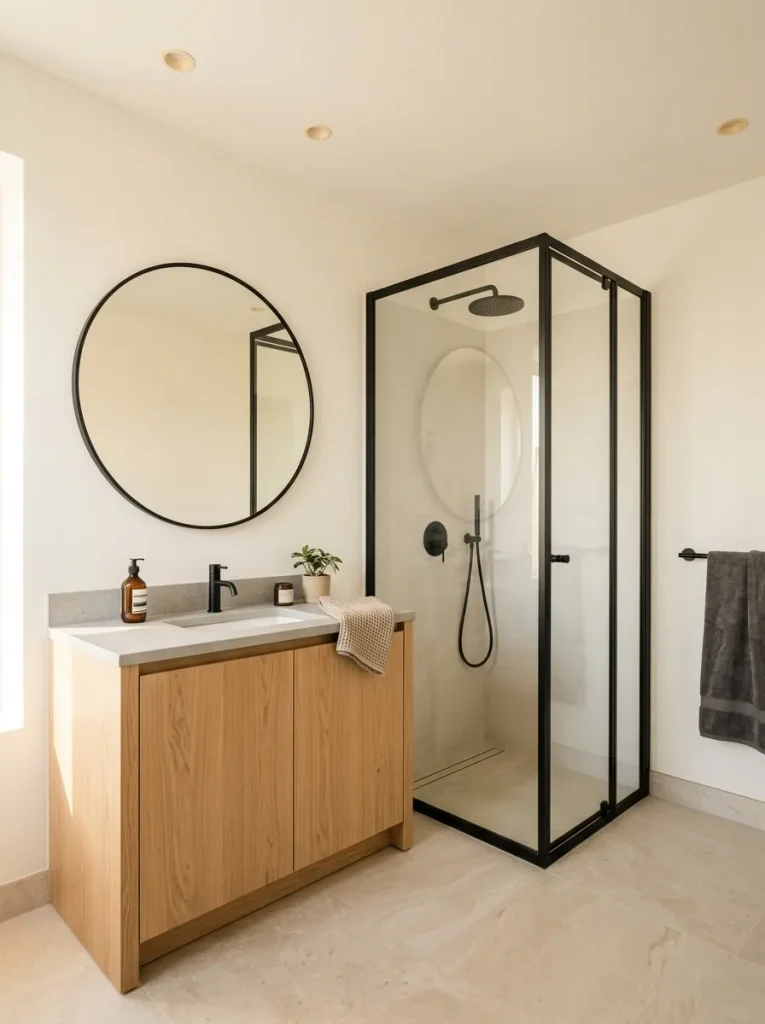
Matte black hardware creates definition without requiring a major renovation. A black faucet against a pale countertop can become a focal point, while matching shower controls help the design feel consistent. I’ve found that limiting dark accents to a few functional details often produces a cleaner result than introducing a large black vanity or dark walls.
Natural Stone Accents
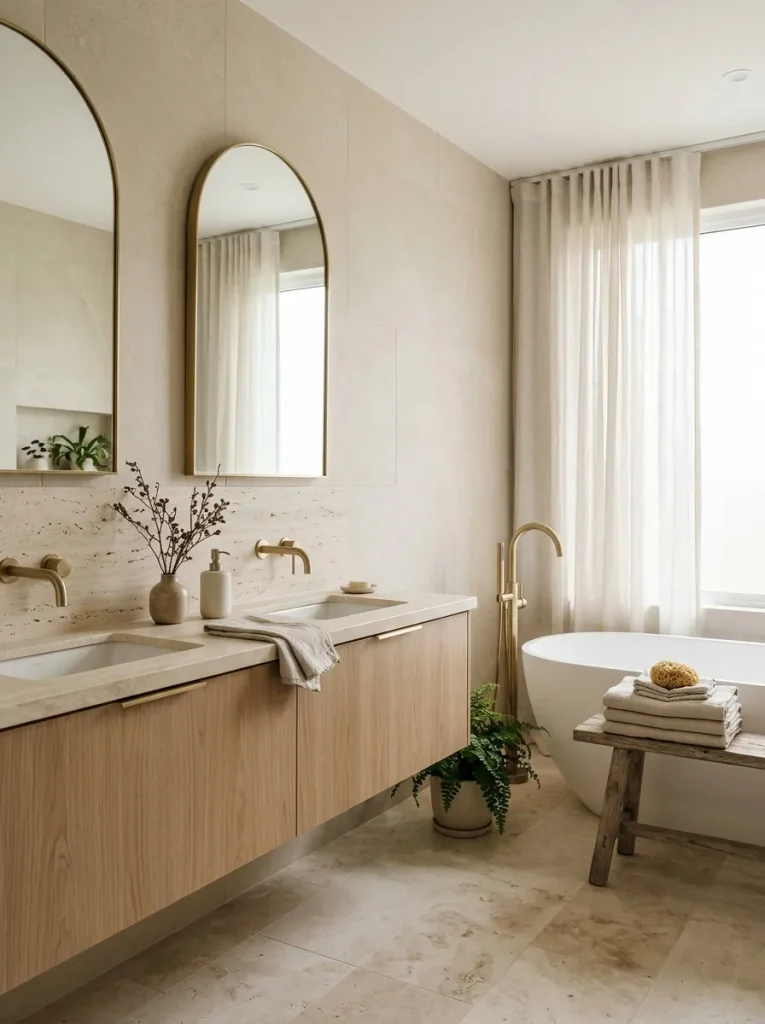
Cost: Varies by material, finish and installation.
Maintenance: Depends on whether you choose natural stone or porcelain alternatives.
Best For: Bathrooms with warm neutral palettes and understated textures.
Design Tip: Repeat one stone finish across the vanity backsplash, shower niche, or countertop.
Natural stone brings subtle variation that makes a bathroom feel less flat and more connected to nature. Marble, travertine and limestone each have different care requirements, so check their suitability for wet areas before buying. Porcelain tiles with stone-inspired patterns can offer a similar appearance with less maintenance, making them practical for busy households.
Soft Green Walls
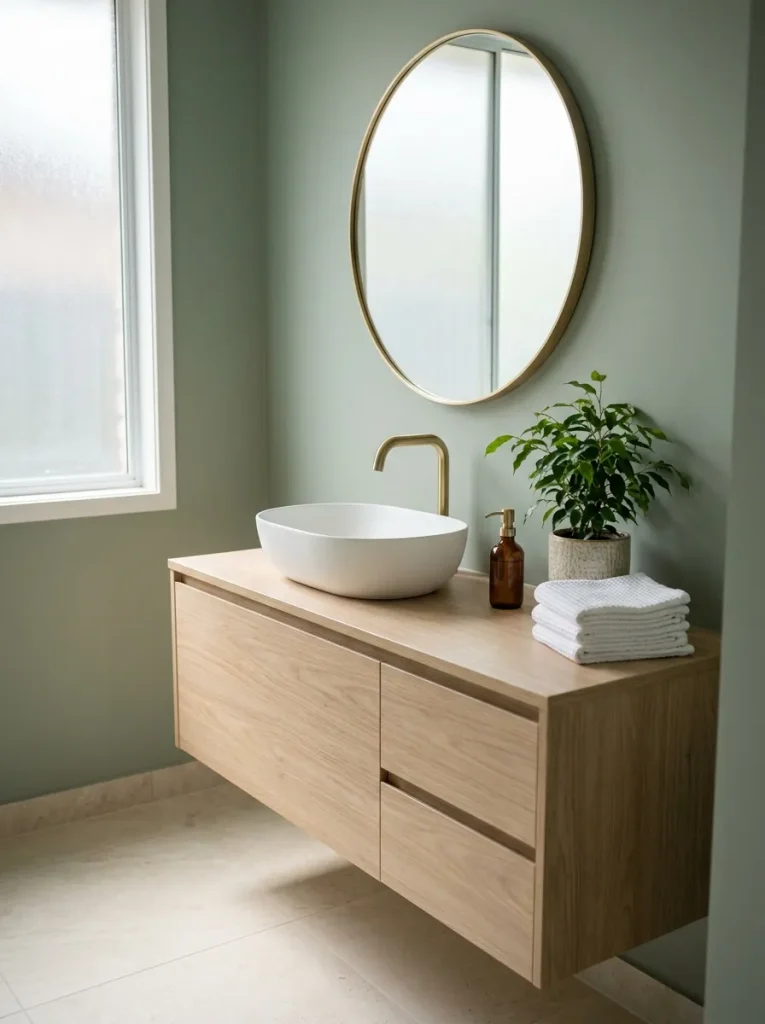
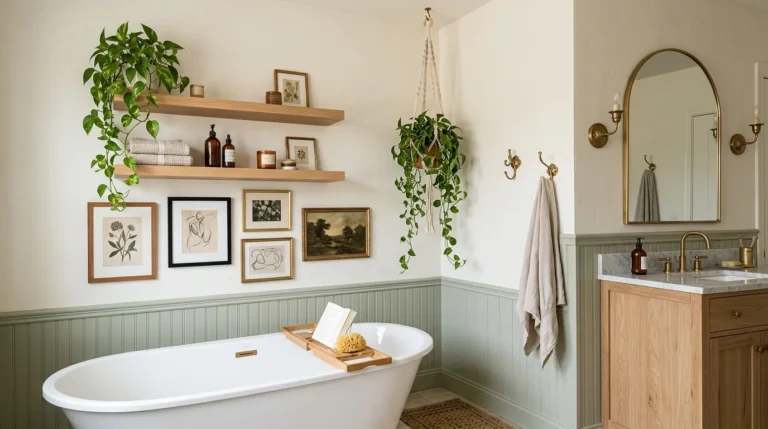
Muted green adds color without overwhelming a calm bathroom design. Sage, eucalyptus and gray-green shades work particularly well with natural wood, white ceramic and warm metal finishes. For a restrained look, paint the vanity wall green and leave the remaining surfaces neutral.
Choose a paint specifically suitable for bathrooms, with appropriate moisture and mildew resistance. Good ventilation remains important even with bathroom-rated paint. If you rent, introduce the same color through towels, a shower curtain, or small accessories instead of repainting the walls.
Minimalist Wall Lighting
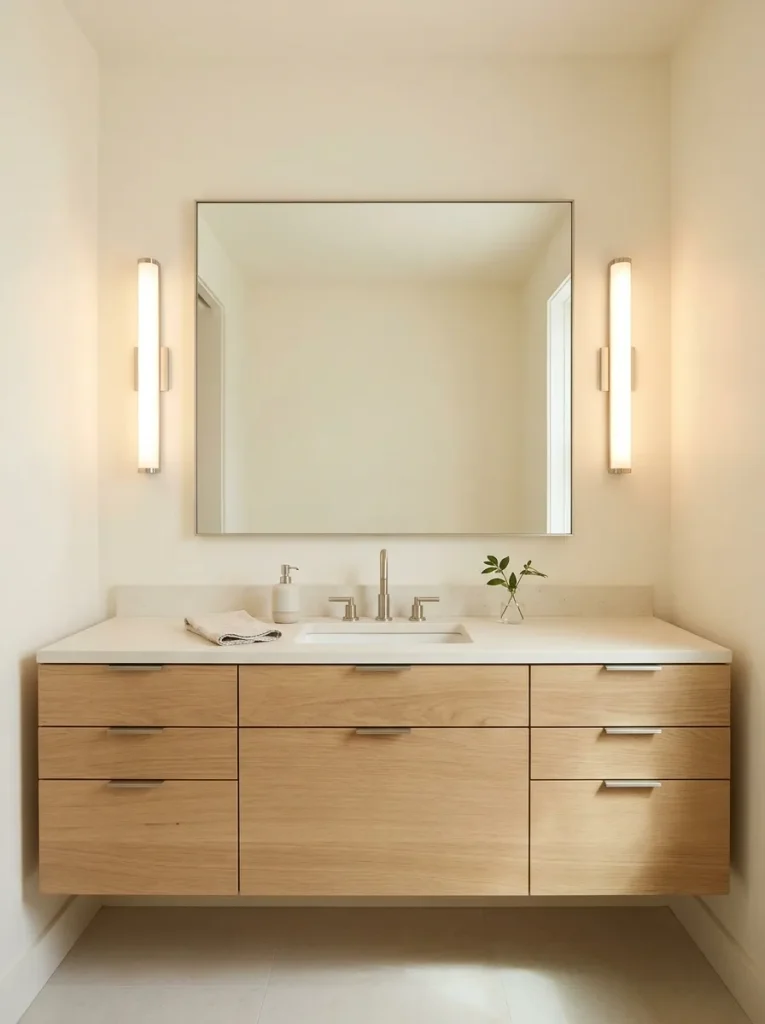
- Place lights beside the mirror when possible to provide balanced facial illumination.
- Choose diffused shades to soften glare and reduce harsh shadows.
- Coordinate metal finishes with the faucet and cabinet hardware.
- Check bathroom ratings and installation clearances for the intended location.
- Use layered lighting so the room works for both daily grooming and relaxing evening routines.
Well-placed wall lights can make a bathroom feel polished while improving everyday visibility. Vertical sconces beside a mirror generally distribute light more evenly across the face than a single overhead fixture. Choose bulbs with a high color-rendering index for more accurate color perception during makeup application and have all electrical work completed according to local safety requirements.
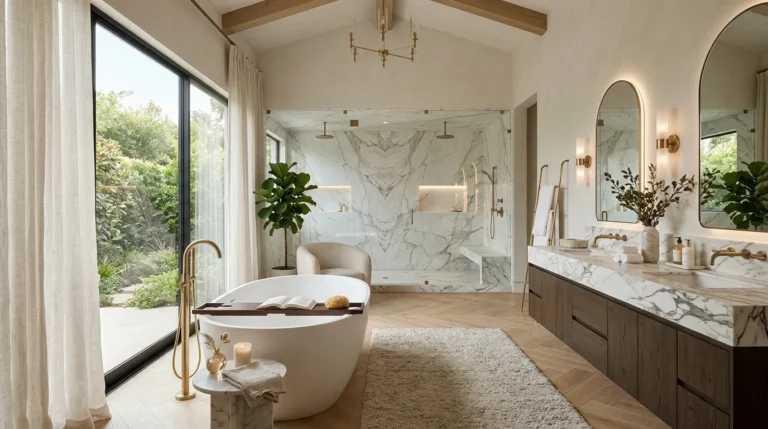
Freestanding Bathtub
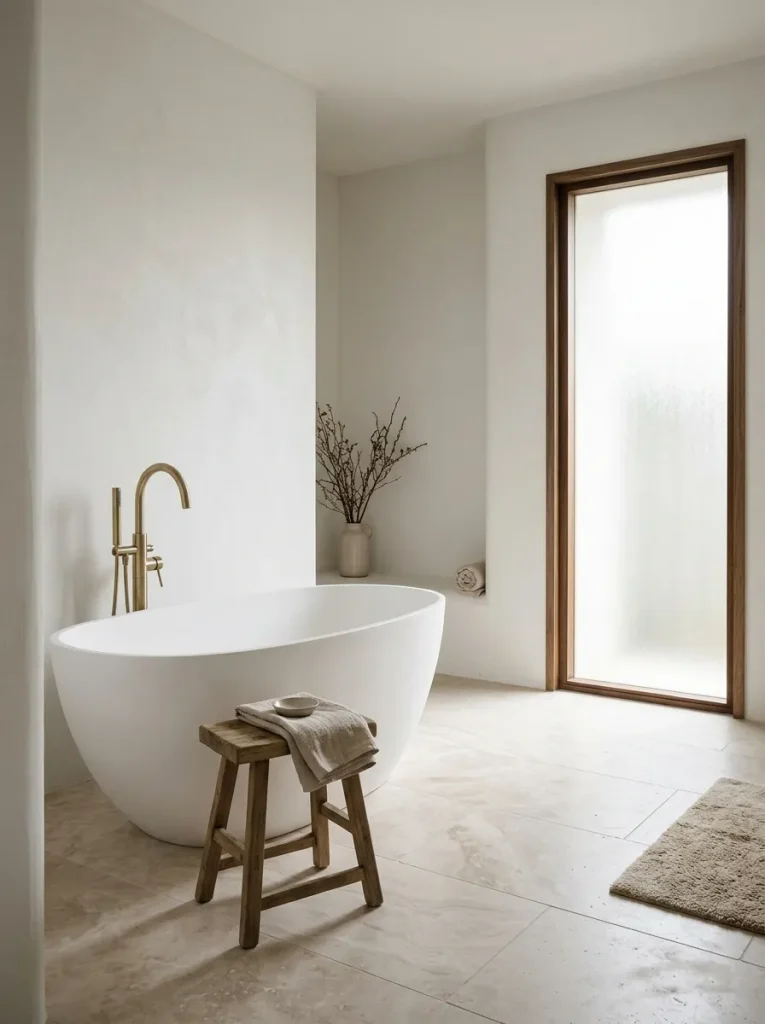
BEFORE
A bulky bathtub surround can dominate the room, especially when the surrounding finishes are dark or visually busy. Limited floor space may also make the bathing area feel disconnected from the rest of the bathroom.
AFTER
A freestanding tub creates a distinct focal point with a cleaner silhouette. Neutral finishes and open space around the tub help the room feel more balanced and intentional.
Before choosing one, measure the available floor area and confirm that the tub can pass through doorways and stairwells. Check the filled weight, floor support, plumbing access and cleaning clearance. A freestanding bathtub is most practical when there is enough room to reach the surrounding surfaces comfortably.
Recessed Storage Shelves
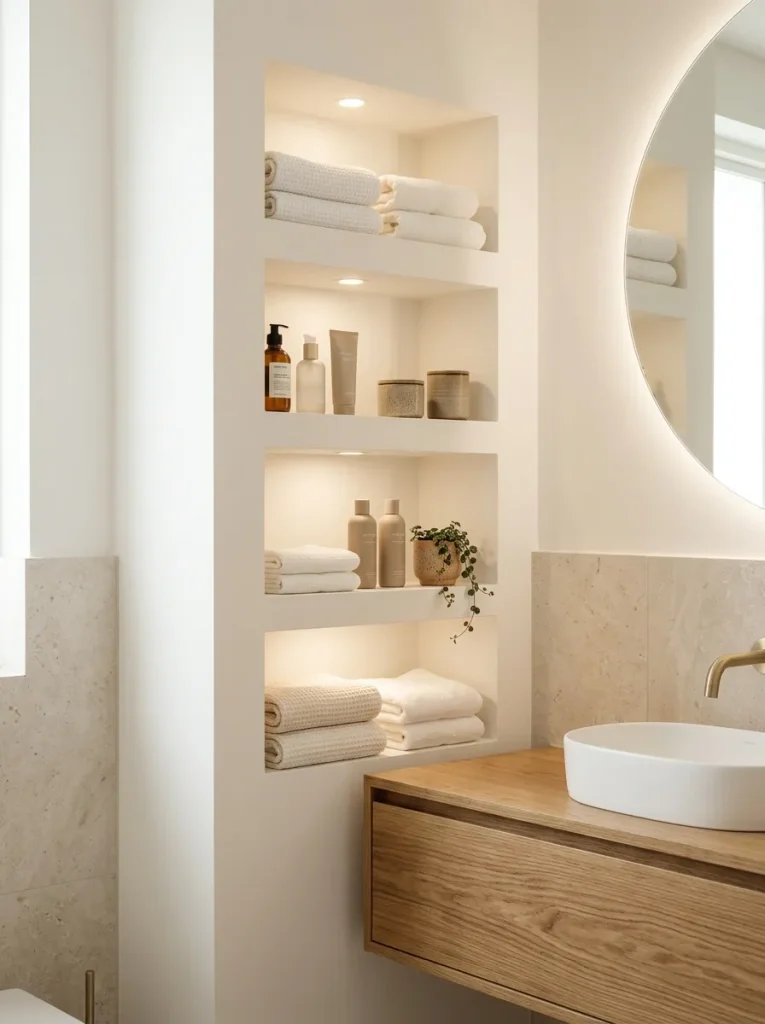
Quick Tip:
Use recessed shelves to store everyday bathroom products without adding bulky cabinets. Plan their depth around the items you actually use and confirm the wall contains no plumbing or electrical services before cutting into it. In shower areas, proper waterproofing is essential.
Recessed storage works well in compact bathrooms where every inch matters. A shallow niche beside the vanity can hold skincare products, while shelves near the shower can keep shampoo within reach. Repeat the surrounding tile or wall finish inside the recess for a built-in appearance. If the wall cannot be altered, a slim surface-mounted cabinet offers a practical alternative.
Patterned Floor Tiles
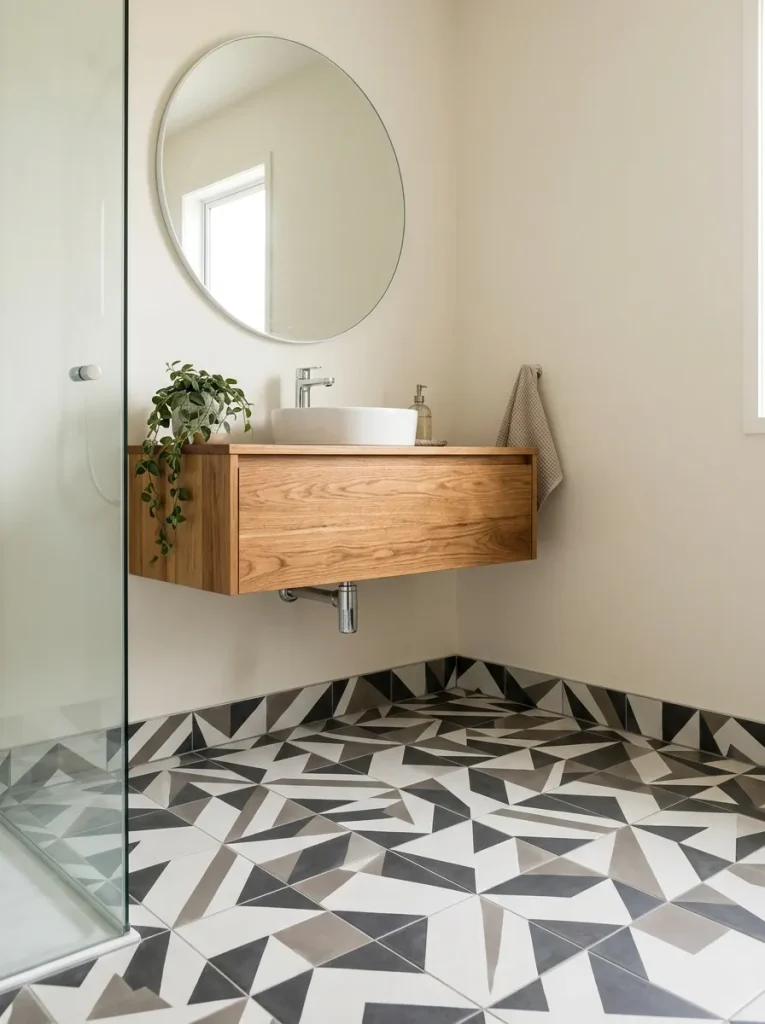
- Choose the pattern first. Decide whether you prefer geometric shapes, subtle encaustic-style motifs, or understated checkerboard tiles.
- Keep walls quieter. Pair expressive flooring with plain wall tiles or a restrained paint color.
- Check slip resistance. Select flooring designed for bathroom use, especially near showers and bathtubs.
- Test a sample. View the tile in your actual lighting before committing to the full floor.
- Plan the layout. Align the pattern with the room’s main sightline for a more deliberate finish.
Patterned floors bring personality to bathrooms that might otherwise rely entirely on neutral colors. They can also define a vanity area or make a small powder room feel distinctive. For a modern look, keep the remaining finishes simple and repeat only one or two colors from the tile throughout the room.
Curbless Shower Entry
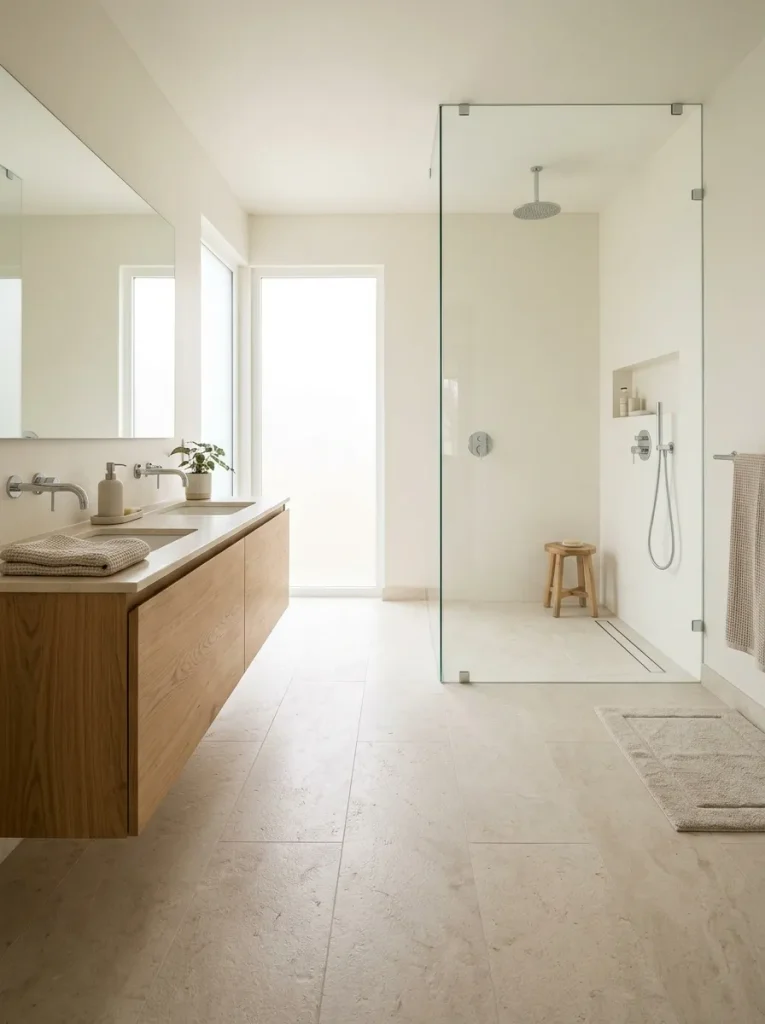
| Design Detail | Option A: Raised Threshold | Option B: Curbless Entry |
|---|---|---|
| Floor transition | Visible step or curb | Nearly continuous floor |
| Visual effect | Separates shower area | Creates a more open appearance |
| Accessibility | May present a trip obstacle | Can improve access when properly designed |
| Construction | Often simpler to retrofit | Requires detailed floor and drainage planning |
| Waterproofing | Essential within shower | Essential across the carefully designed wet area |
A curbless shower can make a bathroom feel more spacious because the floor continues without a prominent step. It is especially useful for accessible design when paired with adequate turning space and appropriately placed controls. However, it is not simply a matter of removing a curb. Drainage, floor slope, waterproofing and water containment need professional planning.
Brushed Brass Details
DO
- Coordinate brass faucets with a few matching accessories.
- Combine the finish with warm whites, beige stone, or natural oak.
- Choose brushed surfaces if you prefer a softer sheen than polished metal.
- Check the manufacturer’s care instructions before using cleaning products.
DON’T
- Mix several unrelated gold tones without checking them together.
- Use abrasive cleaners that could damage the finish.
- Assume every brass-colored fixture is made from solid brass.
- Overload the room with metallic accessories.
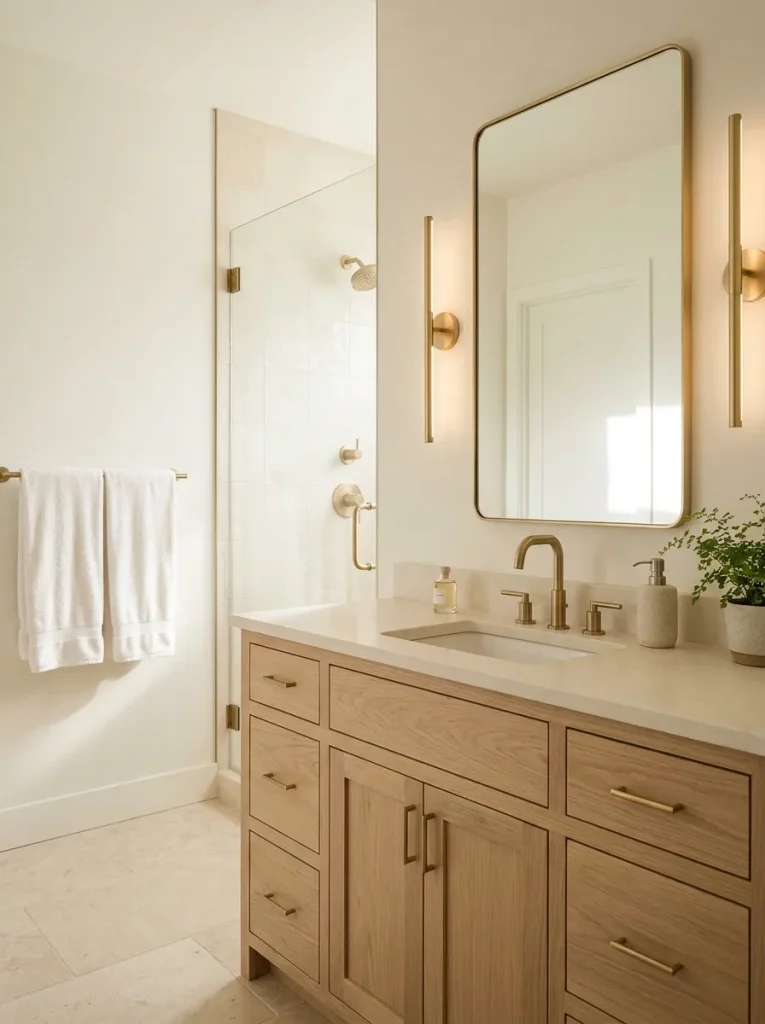
Brushed brass gives a neutral bathroom a little warmth and definition. Its muted finish works well against pale stone, cream tiles and natural wood without demanding a dramatic color scheme. For a cohesive appearance, choose a primary metal finish for the main fixtures and repeat it in just a few supporting details.
Oak Bathroom Cabinets
Cost: Depends on wood species, construction, finish and cabinet size.
Best For: Warm minimalist and Scandinavian-inspired bathrooms.
Maintenance: Wipe splashes promptly and use products approved for the cabinet finish.
Styling Tip: Pair oak cabinetry with white surfaces and one restrained accent metal.
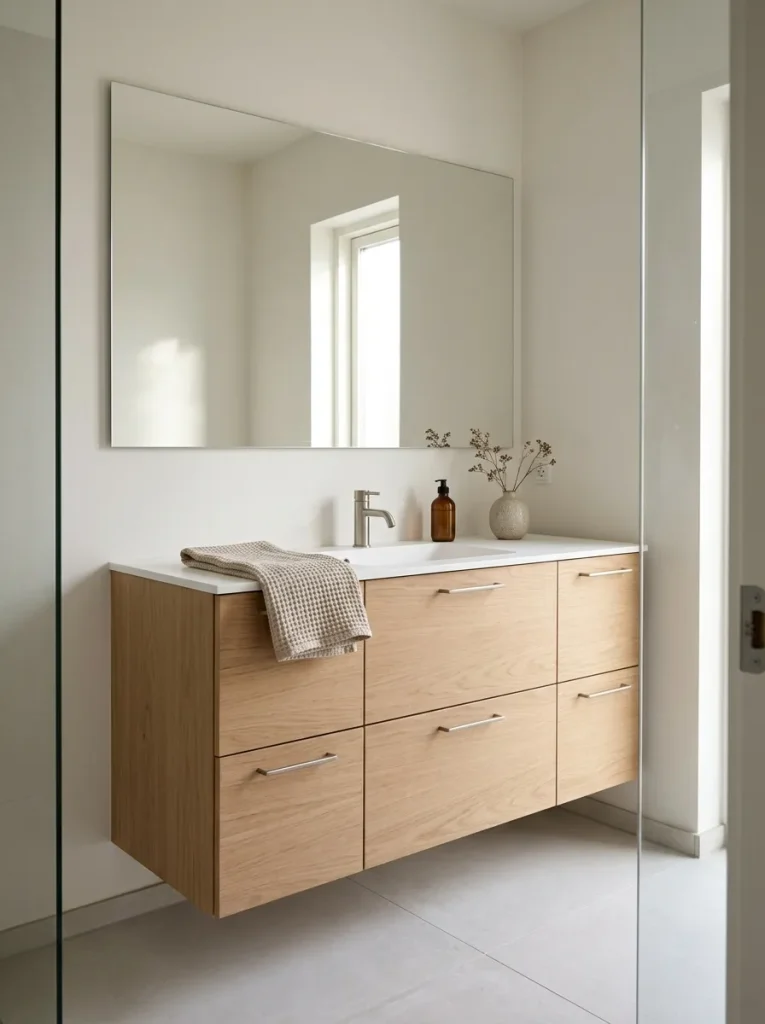
Oak cabinetry introduces natural texture without making a bathroom feel visually heavy. Light oak tends to suit bright, airy interiors, while medium oak can add depth to larger spaces. Look for bathroom-appropriate construction and moisture-resistant finishes, particularly around the sink. If solid wood is outside your budget, quality oak veneer or wood-look cabinetry can provide a similar visual effect.
Vertical Wall Tiles
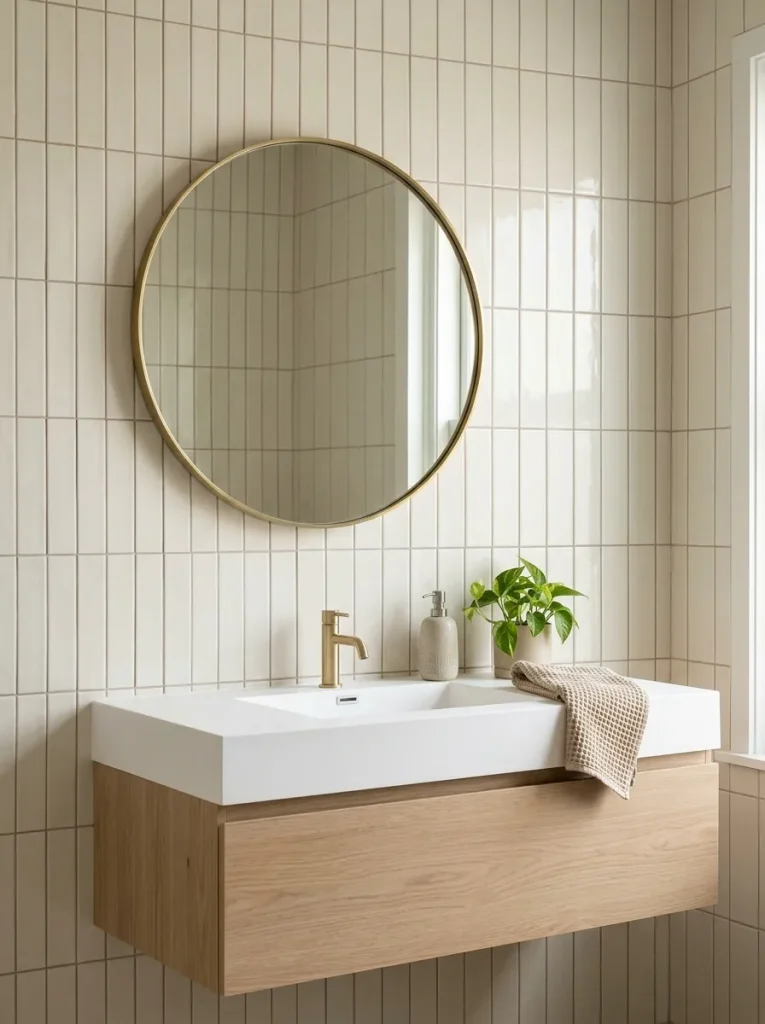
Vertical tile layouts draw the eye upward and can make a bathroom wall feel taller. They work especially well behind a vanity or inside a shower, where the repeated lines create a simple architectural feature. Choose narrow rectangular tiles for a classic stacked appearance or longer tiles for a more contemporary finish.
Keep the grout color close to the tile if you prefer a subtle effect. Darker grout creates stronger definition but may make the wall feel busier. Before installation, ask the tiler to plan the layout around corners, niches and plumbing fixtures so the cuts appear balanced.
Round Statement Mirror
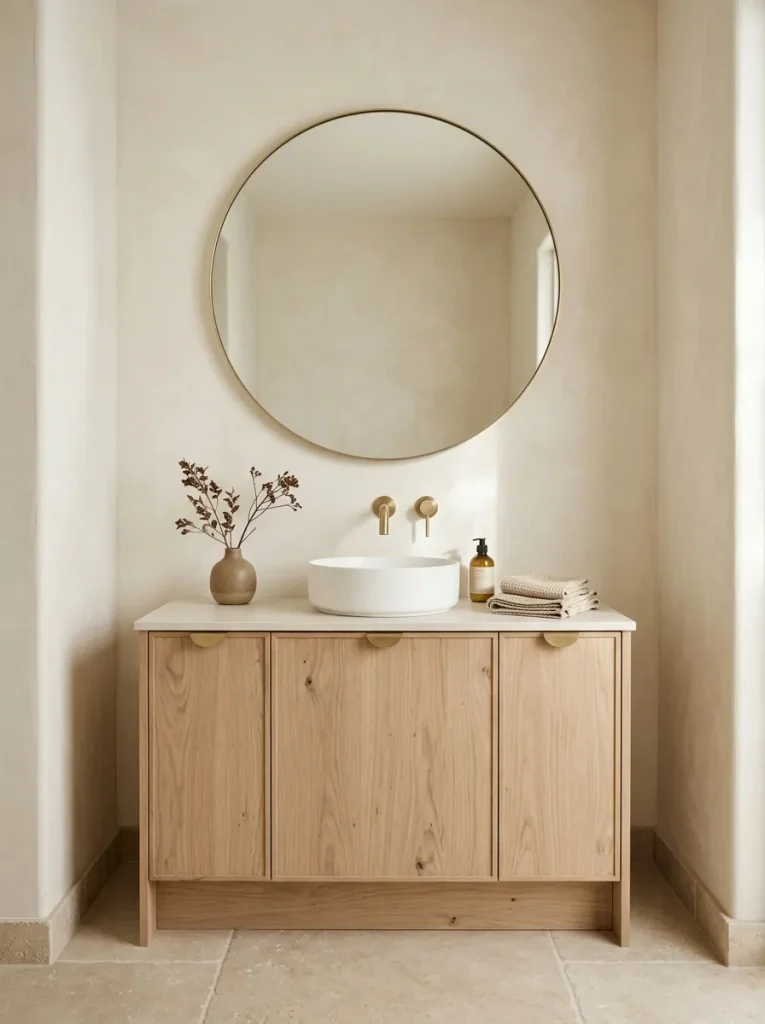
- Measure the vanity width so the mirror feels proportional rather than oversized or too small.
- Center it above the basin to create a clear visual anchor.
- Add suitable side lighting if the mirror will be used for grooming.
- Choose a frame finish that complements the faucet and cabinet hardware.
- Check mounting support before installing a heavy mirror.
A round mirror softens the straight lines commonly found in modern bathrooms. Its curved shape provides contrast against rectangular tiles, square vanities and linear lighting. In a small room, a larger mirror can also reflect more light and make the vanity area feel more open. Keep nearby accessories simple so the circular outline remains the main decorative feature.
Compact Corner Vanity
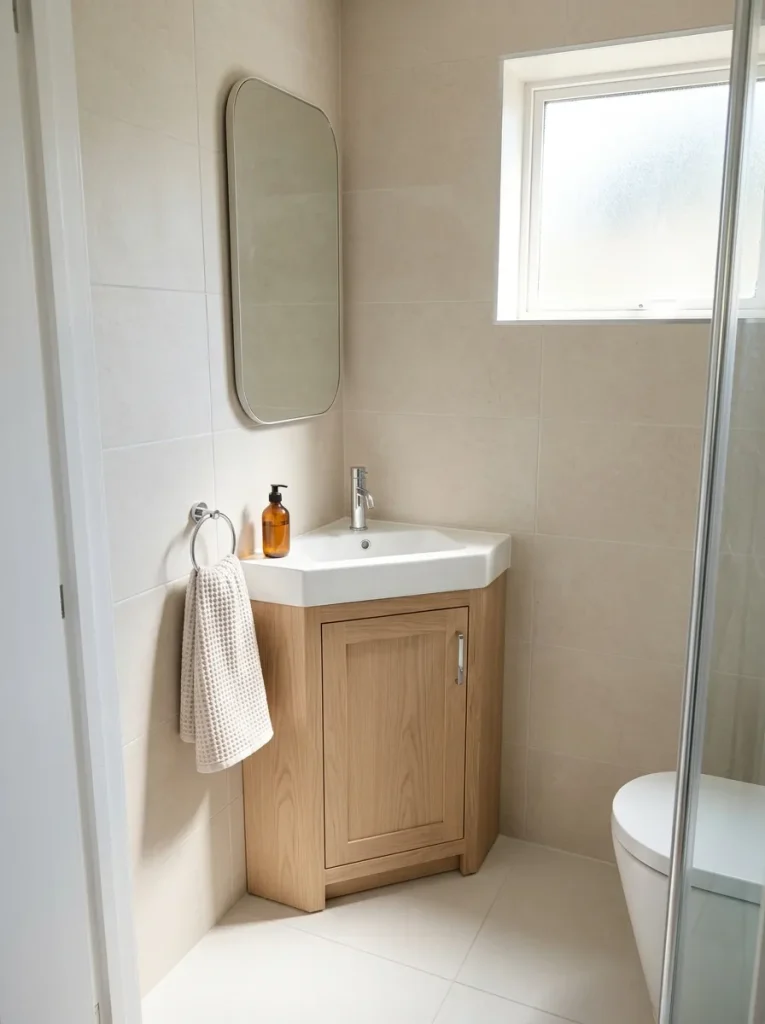
BEFORE
A standard vanity can take up too much floor area in a narrow bathroom, leaving little room to move comfortably between the sink, toilet and shower.
AFTER
A compact corner or shallow-depth vanity uses an underutilized area and preserves more circulation space. A wall-mounted design can make the visible floor area feel larger.
Measure door swings and the distance between fixtures before choosing the cabinet. Check that the basin is comfortable to use and that plumbing can connect without awkward alterations. Prioritize drawers or a cabinet with usable internal storage rather than selecting a tiny unit based on appearance alone.
Layered Bathroom Lighting
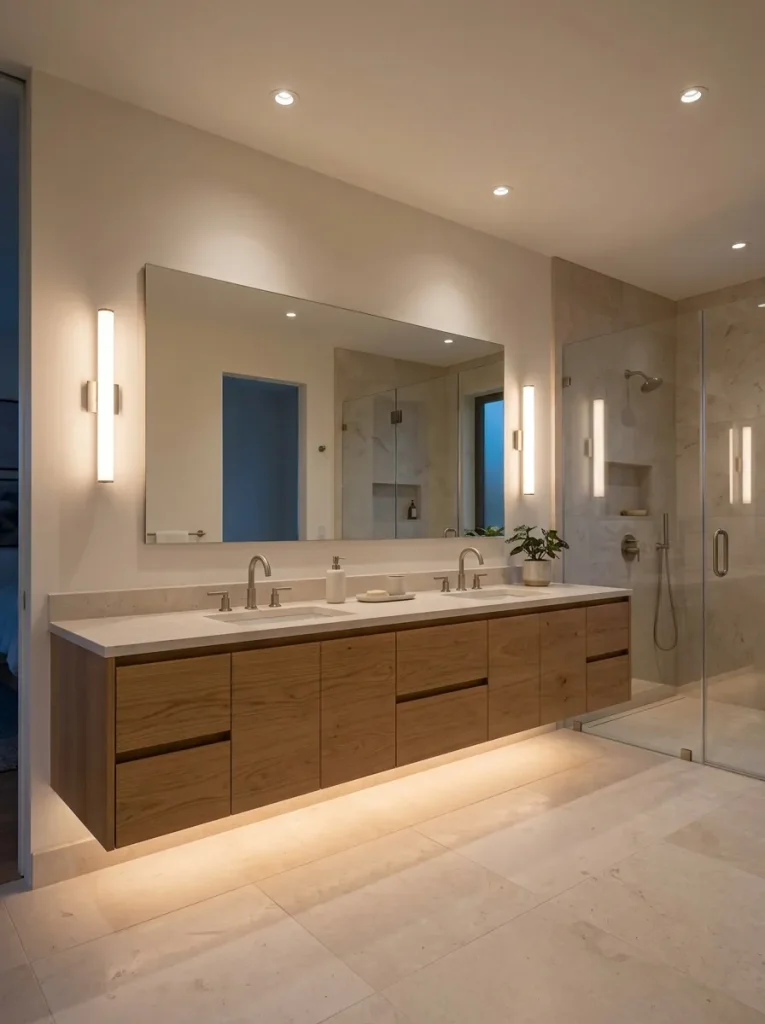
Quick Tip:
Plan lighting around three needs: general visibility, clear task lighting and a softer evening atmosphere. Use suitable bathroom-rated fittings and place switches where they are practical and safe. Dimmers can help adjust brightness when compatible with the installed lights.
Layered lighting makes a bathroom more useful throughout the day. Bright, balanced illumination supports shaving and skincare, while softer indirect light creates a relaxed mood for evening routines. Avoid relying on a single ceiling fixture, which can cast unflattering shadows around the vanity. Choose compatible light temperatures so the room feels consistent rather than patchy.
Built-In Shower Bench
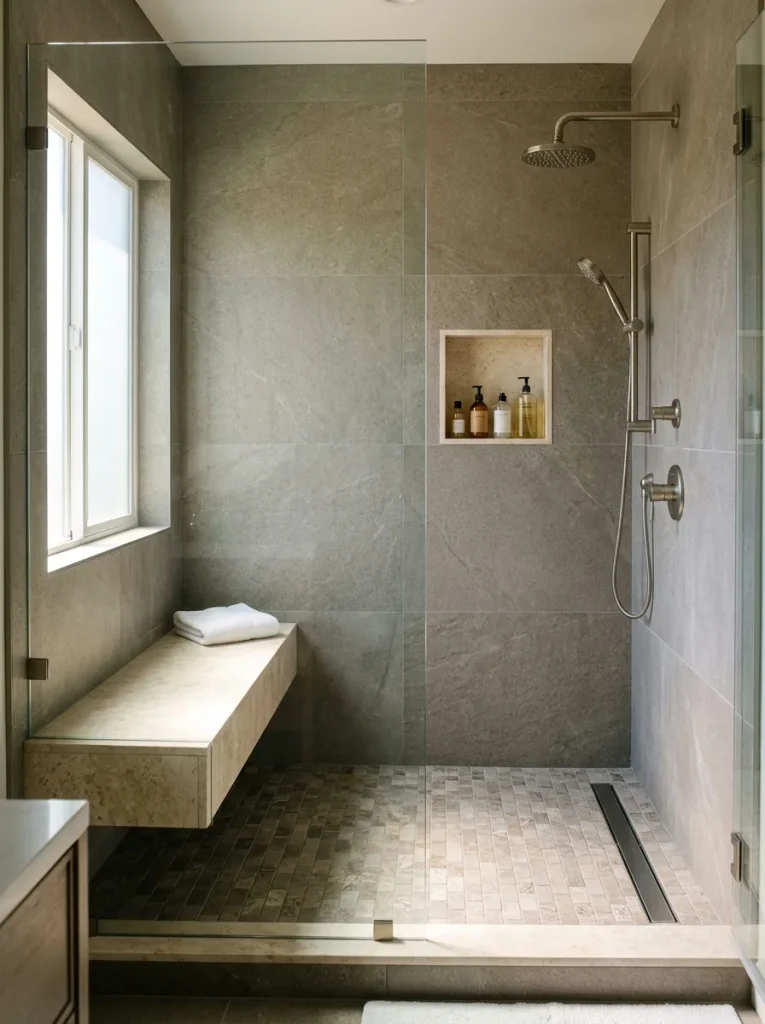
- Check the available space. Make sure the bench does not restrict entry or interfere with shower controls.
- Choose a practical height and depth. Base the dimensions on the intended users and available clearance.
- Select a suitable surface. Use a durable, water-resistant finish that is comfortable and easy to clean.
- Plan waterproofing carefully. Ensure the bench and surrounding walls are properly waterproofed.
- Consider support and safety. Have a professional assess the construction and add suitable grab bars where needed.
A built-in bench adds convenience for shaving, washing, or taking a short seated break. It can also provide a place for shower essentials in larger enclosures. For smaller bathrooms, a fold-down seat may preserve more usable space. Whichever design you choose, avoid creating flat areas where water can collect and prioritize a secure installation.
Textured Neutral Walls
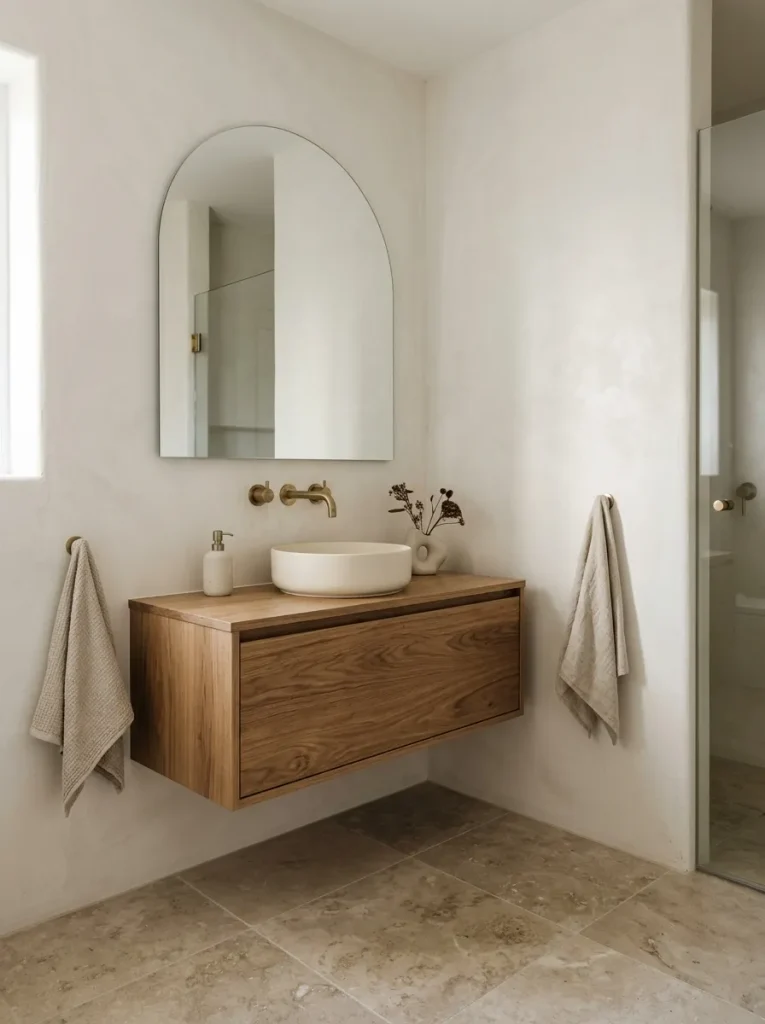
| Design Detail | Option A: Smooth Walls | Option B: Textured Walls |
|---|---|---|
| Appearance | Crisp and uniform | Subtle depth and variation |
| Visual character | Minimal and polished | Warm and tactile |
| Cleaning | Usually straightforward | Depends on the texture and finish |
| Application | Standard suitable paint or tile | Requires a bathroom-compatible system |
| Best Use | Busy family bathrooms | Feature walls and dry vanity areas |
Textured walls can add interest without introducing bold colors or busy patterns. Subtle plaster effects, textured porcelain tiles and moisture-suitable wall finishes all create different results. Keep stronger textures away from areas where they would be difficult to clean and confirm that any decorative coating is suitable for the bathroom’s humidity and exposure to splashes.
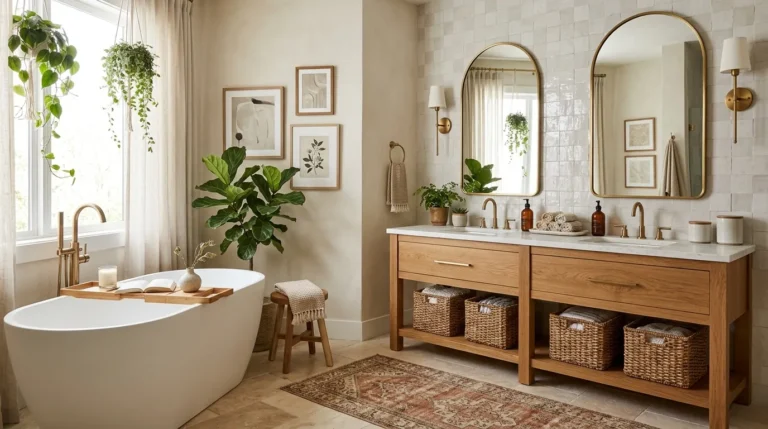
Open Vanity Shelving
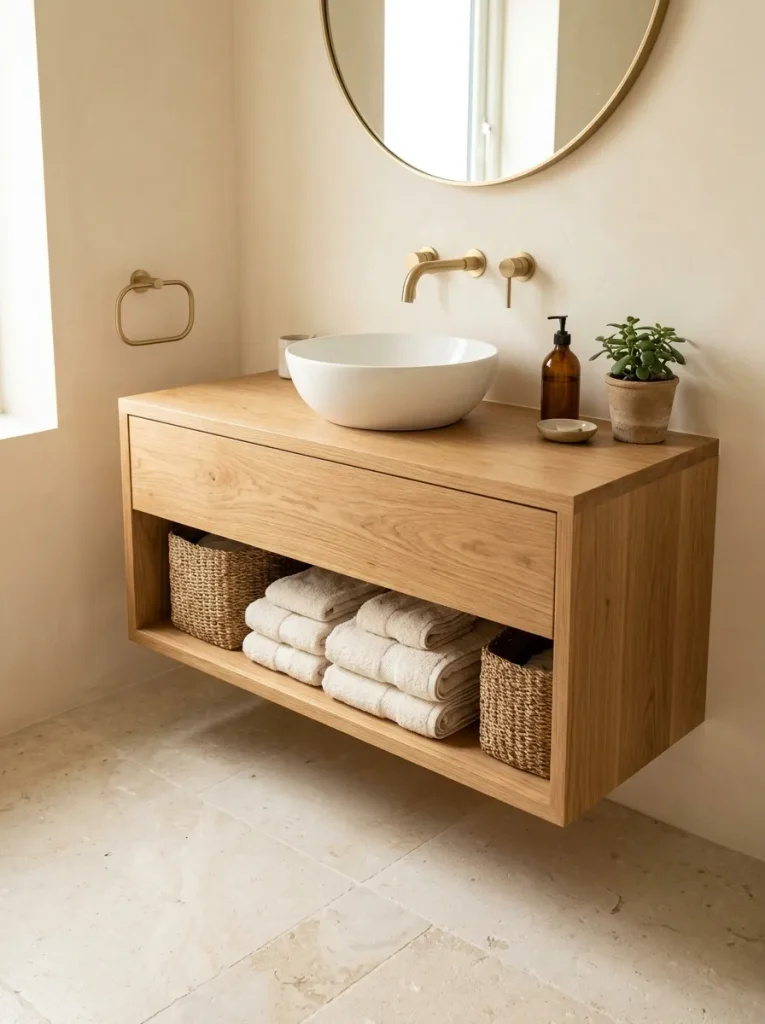
DO
- Store frequently used towels in neat, accessible stacks.
- Use baskets to group small items and hide visual clutter.
- Keep the countertop limited to everyday essentials.
- Match the shelf material to the vanity or other wood accents.
DON’T
- Leave loose toiletries scattered across the shelf.
- Store items that could be damaged by water in exposed areas.
- Overfill baskets until the shelf looks crowded.
- Choose untreated materials that may warp in a humid environment.
Open shelving makes frequently used items easy to reach and gives a vanity a lighter appearance than a fully enclosed cabinet. The key is to treat the shelf as visible storage rather than extra space for everything. Keep backup products elsewhere, choose moisture-resistant materials and use matching baskets to maintain a tidy, coordinated look.
Soft Blue Accents
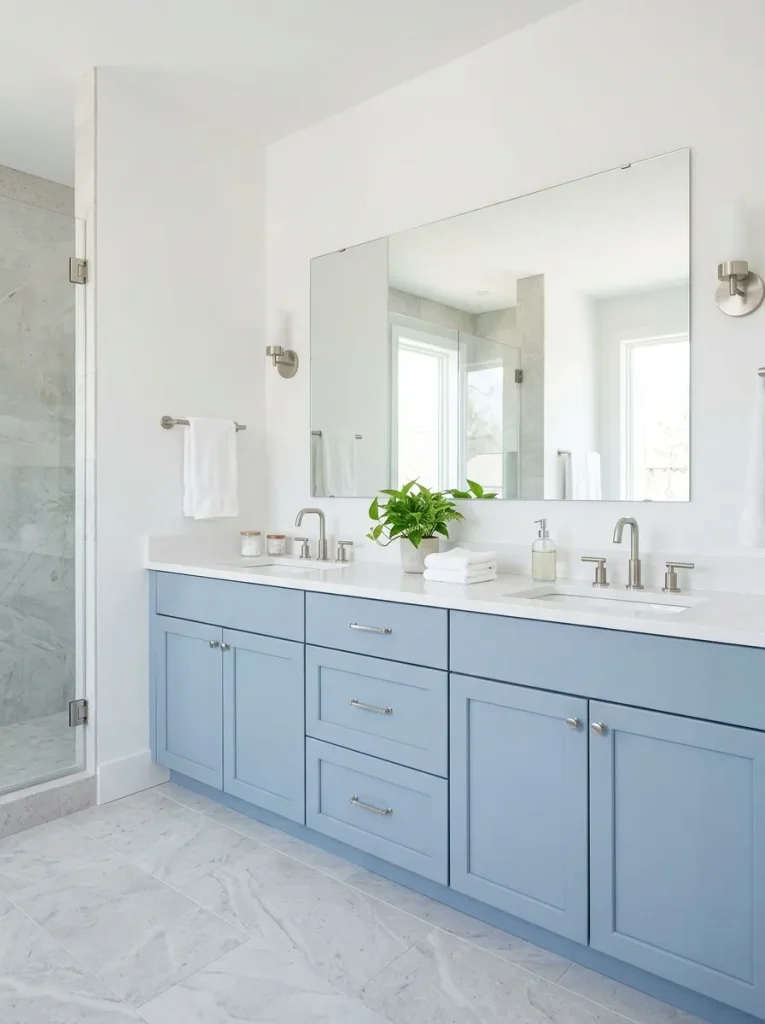
Cost: Low to moderate when introduced through accessories or paint.
Best For: Neutral bathrooms that need a soft touch of color.
Color Pairing: Powder blue, warm white, pale gray and light oak.
Easy Update: Add blue towels, a bath mat, or a suitable painted vanity.
Soft blue brings a fresh, calming quality to modern bathroom design without the visual weight of navy or other deep shades. Use it sparingly if you prefer a timeless look, or let a pale blue vanity become the main feature against neutral walls. Repeat the color in one or two accessories to connect the palette without making it feel overly coordinated.
Concealed Toilet Storage
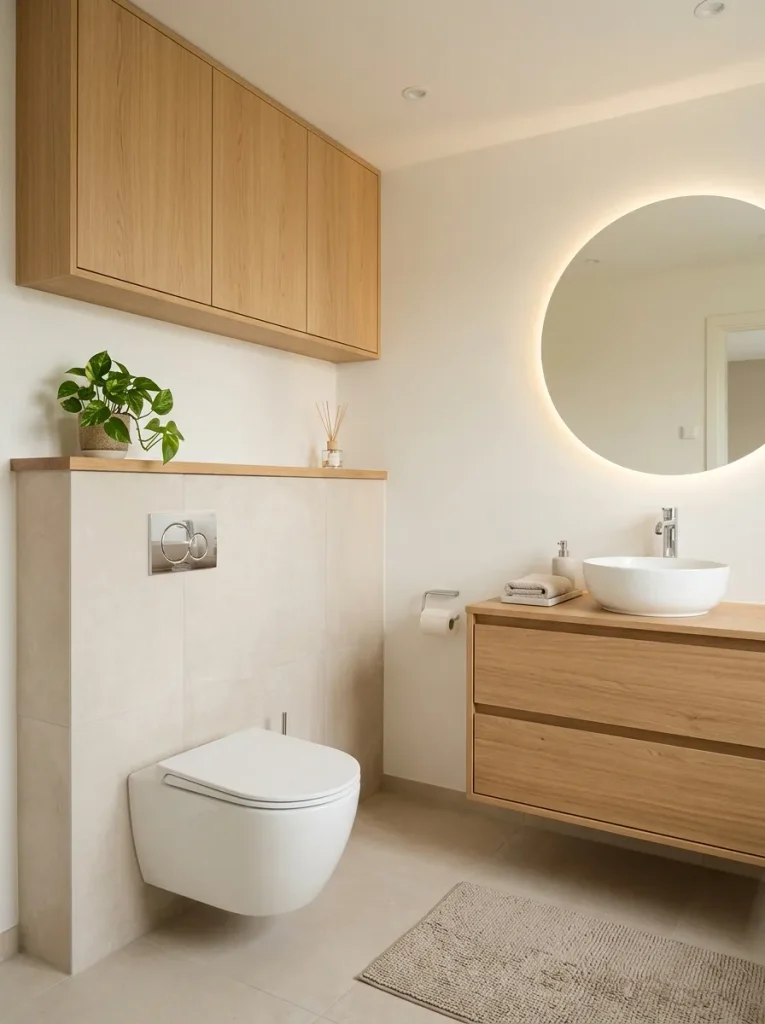
- Identify the storage needs. Measure the items you want to keep nearby, including spare tissue and cleaning supplies.
- Choose a suitable cabinet. A shallow wall cabinet can store essentials without projecting too far into the room.
- Coordinate the finishes. Match the cabinet to the vanity or wall color for a quieter appearance.
- Protect access panels. Keep concealed cistern maintenance points accessible according to the manufacturer’s instructions.
Concealed storage helps reduce the everyday clutter that can make a bathroom look untidy. A cabinet above the toilet or a properly planned vanity compartment can keep spare supplies close without leaving them on display. Before building around a cistern or pipework, confirm access requirements so future repairs do not require unnecessary removal of tiles or cabinetry.
Spa-Inspired Accessories
BEFORE
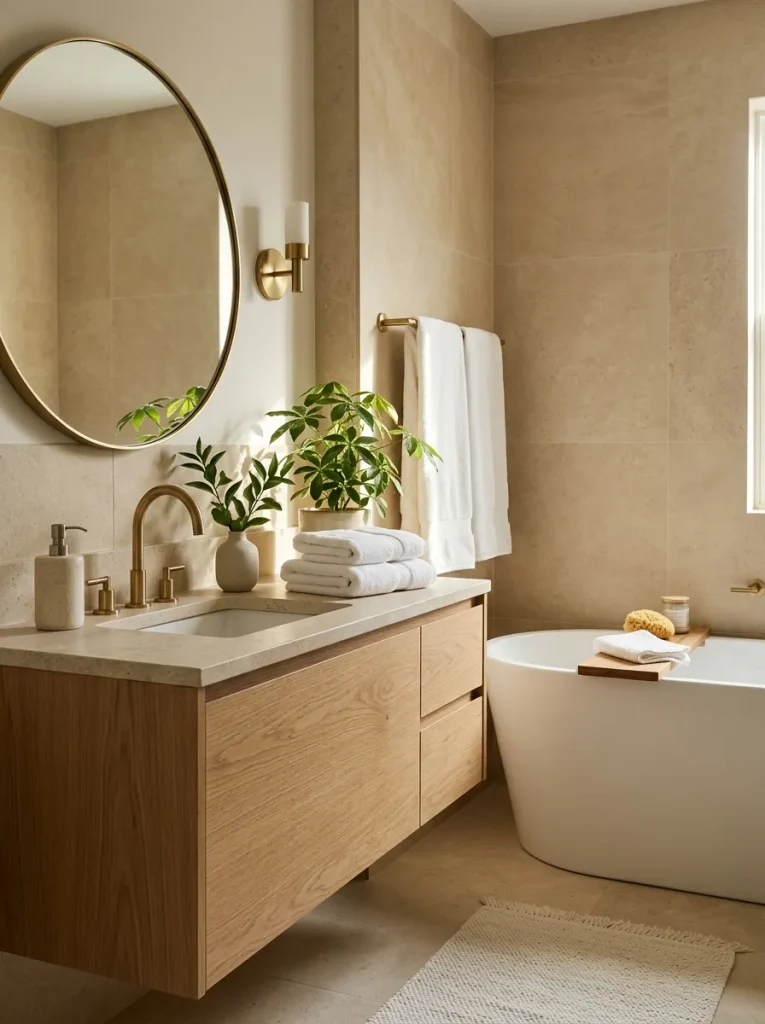
A bathroom can have beautiful tiles and fixtures yet still feel unfinished when everyday products come in mismatched packaging and accessories compete for attention.
AFTER
A few coordinated details create a more restful atmosphere. Matching dispensers, neatly folded towels, a small plant and one natural-texture accent help the room feel intentional without requiring renovation.
Start with accessories you already own, then replace only the pieces that clash with the palette. Choose washable textiles and moisture-tolerant decor and keep surfaces easy to wipe down. Avoid placing candles, plants, or decorative objects where they obstruct movement or come into contact with water and heat sources.
Seamless Neutral Design
Quick Tip:
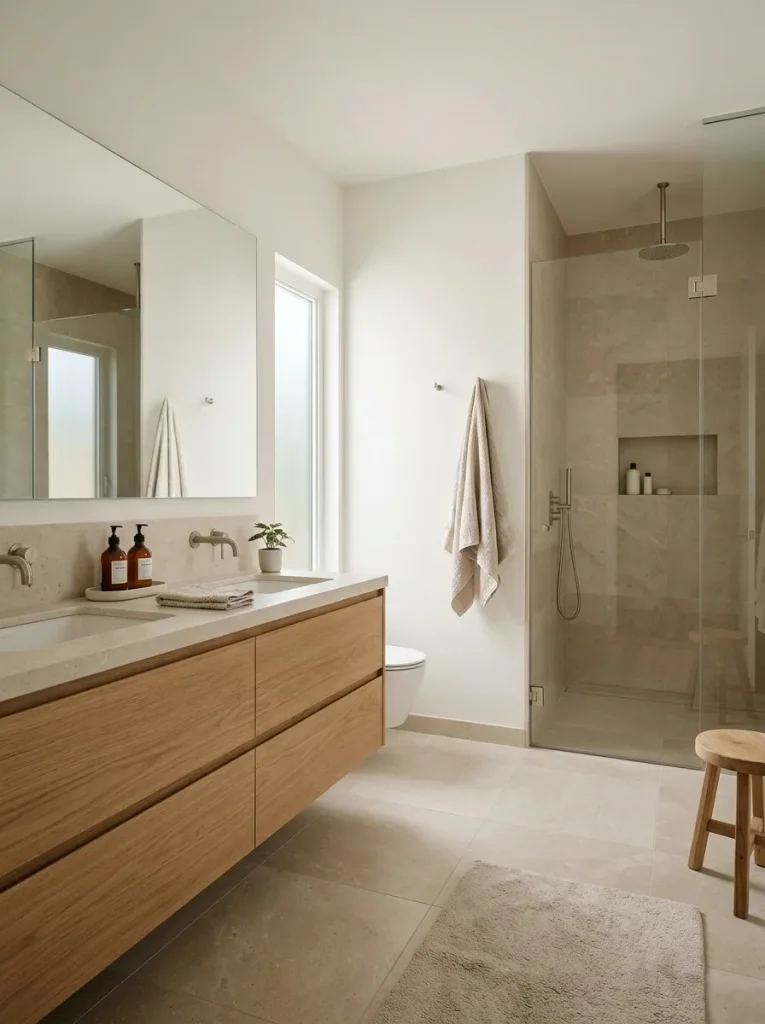
Choose a small, repeatable palette before buying finishes. Two neutral shades, one wood tone and one metal finish are enough to create visual consistency. Collect samples and compare them together under both daylight and evening lighting before making final decisions.
A cohesive neutral scheme brings the different elements of a bathroom together without relying on a single dramatic feature. Repeat the same tile family, wood tone and hardware finish across the vanity and shower area. Vary the textures to prevent the room from feeling flat, using matte stone, smooth ceramic and soft textiles for contrast.
The result is a bathroom that feels calm, practical and easy to update as your preferences change.
CONCLUSION
Creating a bathroom that feels fresh and peaceful starts with thoughtful choices. These Modern Bathroom Ideas show how neutral colors, natural materials, smart storage, attractive lighting and streamlined fixtures can work together to create a space you’ll enjoy every day.
You don’t need to change everything at once. Start with a small update, such as new towels, a better mirror, or coordinated accessories. If you’re planning a renovation, focus first on layout, lighting, ventilation and durable materials before choosing decorative details.
Save this article on Pinterest so you can revisit your favorite designs when you’re ready to make changes. Share it with someone planning a bathroom makeover and choose one idea to bring a little more calm and style into your home.