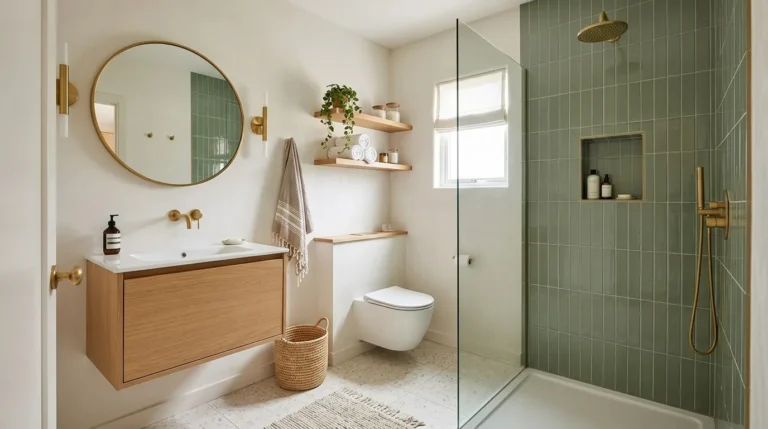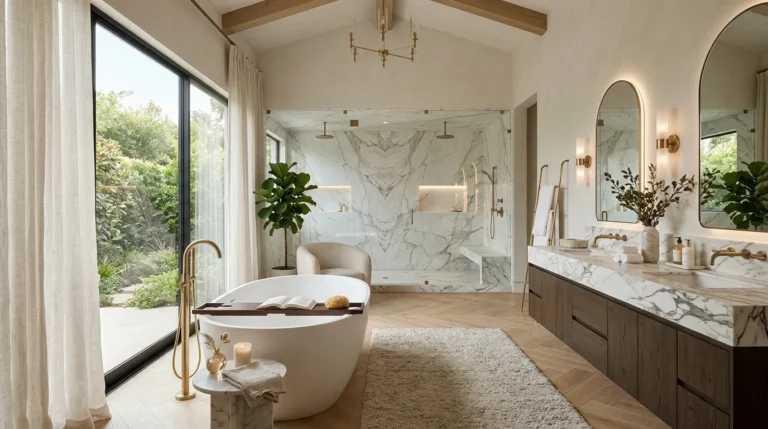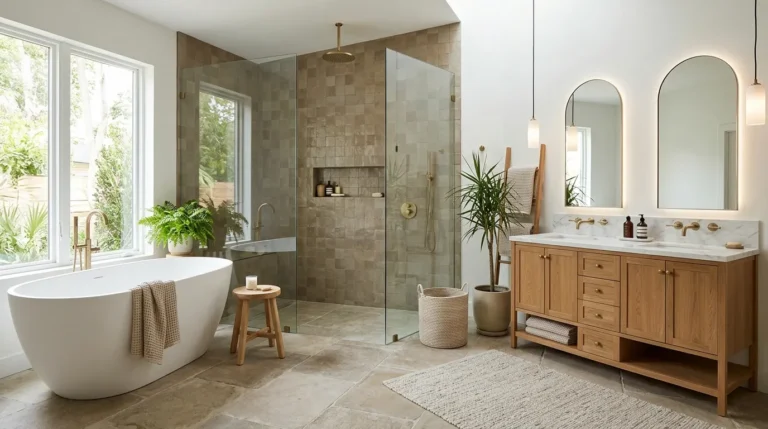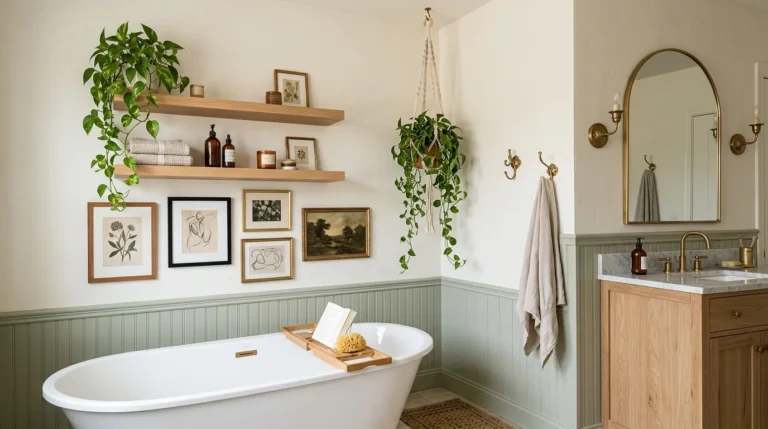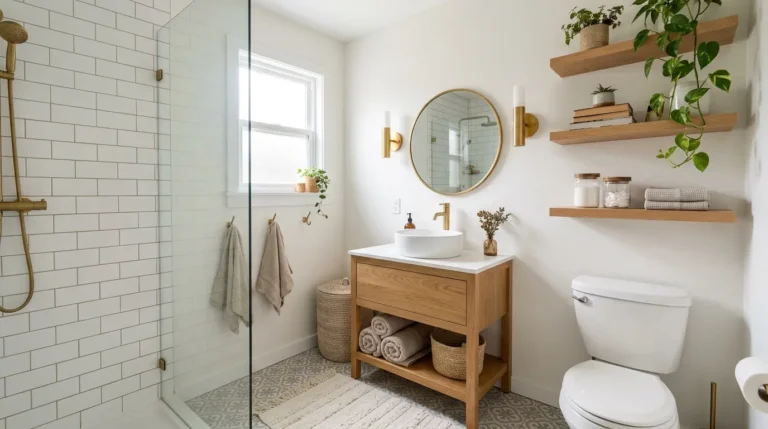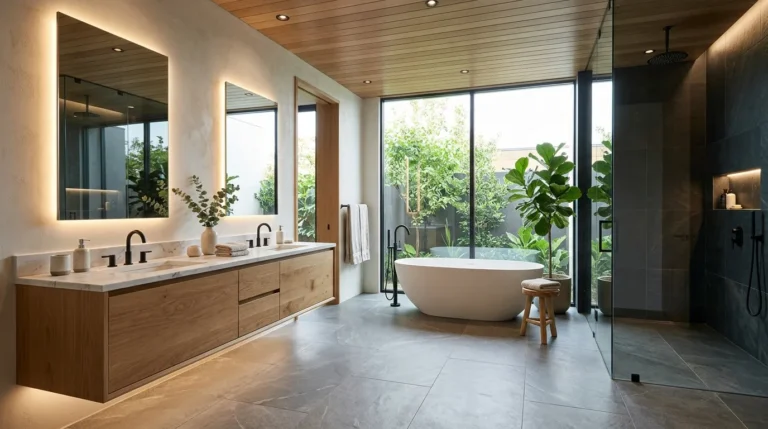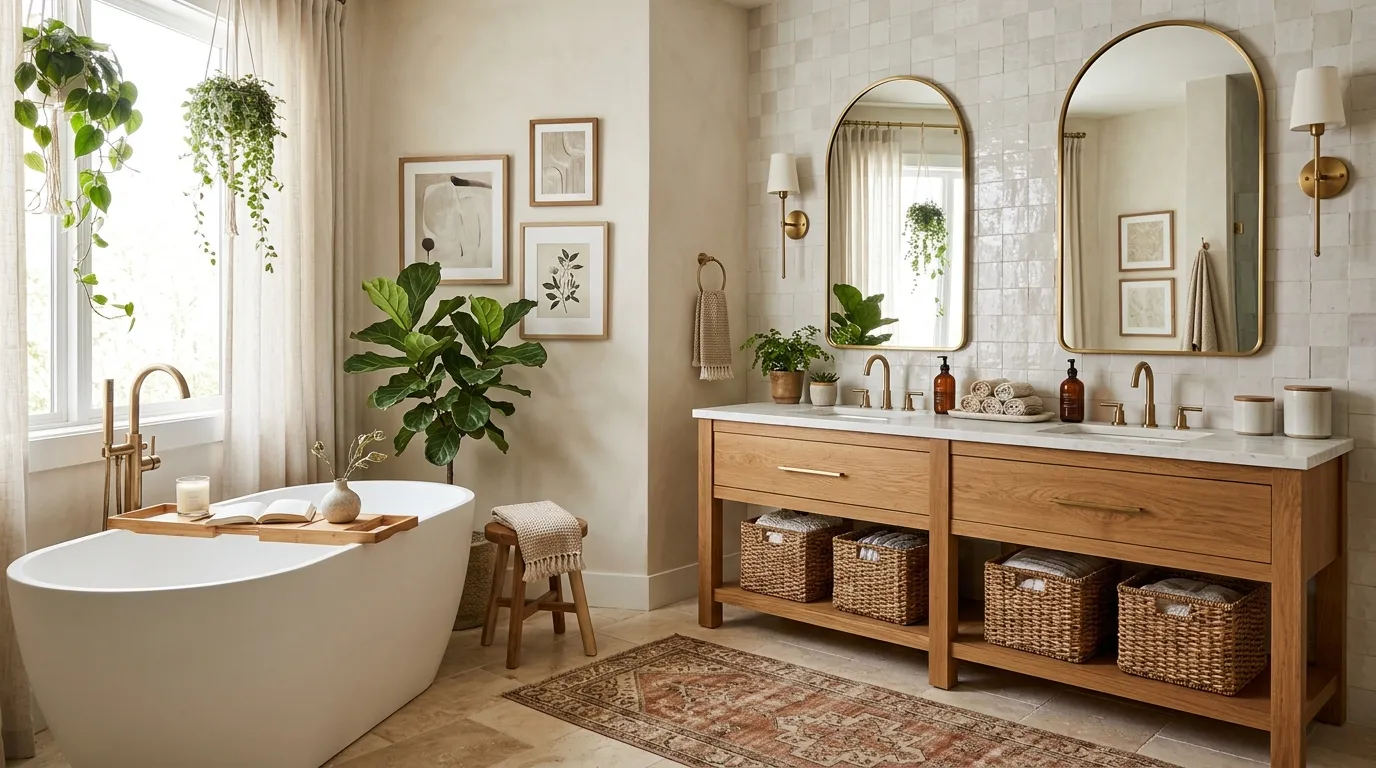
28 Bathroom Decor Ideas That Create a Spa-Worthy Escape
Your bathroom can be more than a place to get ready. With the right colors, textures, lighting and thoughtful details, it can become a peaceful retreat where everyday routines feel a little more relaxing.
These Bathroom Decor Ideas will help you create a spa-inspired space that feels clean, comfortable and inviting without requiring a complete renovation. Whether you’re decorating a small bathroom, updating a rental, or refreshing your home on a budget, simple changes can make a noticeable difference.
From soft white towels and natural wood accents to warm lighting, greenery and organized countertops, each idea offers practical inspiration you can adapt to your space. I’ve noticed that coordinating just a few details often creates a more cohesive look than filling every corner with decorations. Explore these ideas, choose the ones that suit your needs and save your favorites for your next bathroom refresh.
Natural Wood Accents
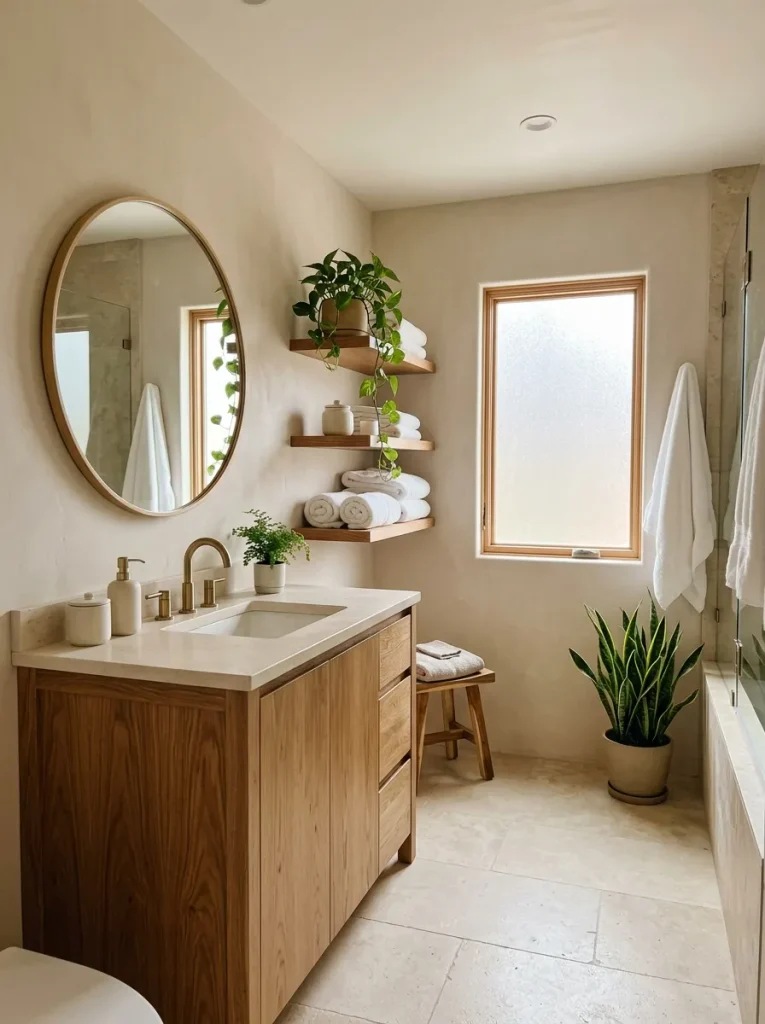
Natural wood accents bring warmth into a bathroom that might otherwise feel cold or clinical. A wooden vanity, floating shelf, or small teak stool adds organic texture while keeping the overall design clean and relaxing. Pair these pieces with white towels, neutral walls and simple ceramic accessories for a balanced look.
For a practical approach, choose moisture-resistant wood or properly sealed finishes designed for bathroom conditions. A small wooden stool beside the bathtub can hold a folded towel or bath essentials without taking up much floor space. Even one carefully chosen wood accent can make the room feel more welcoming.
Layered White Towels
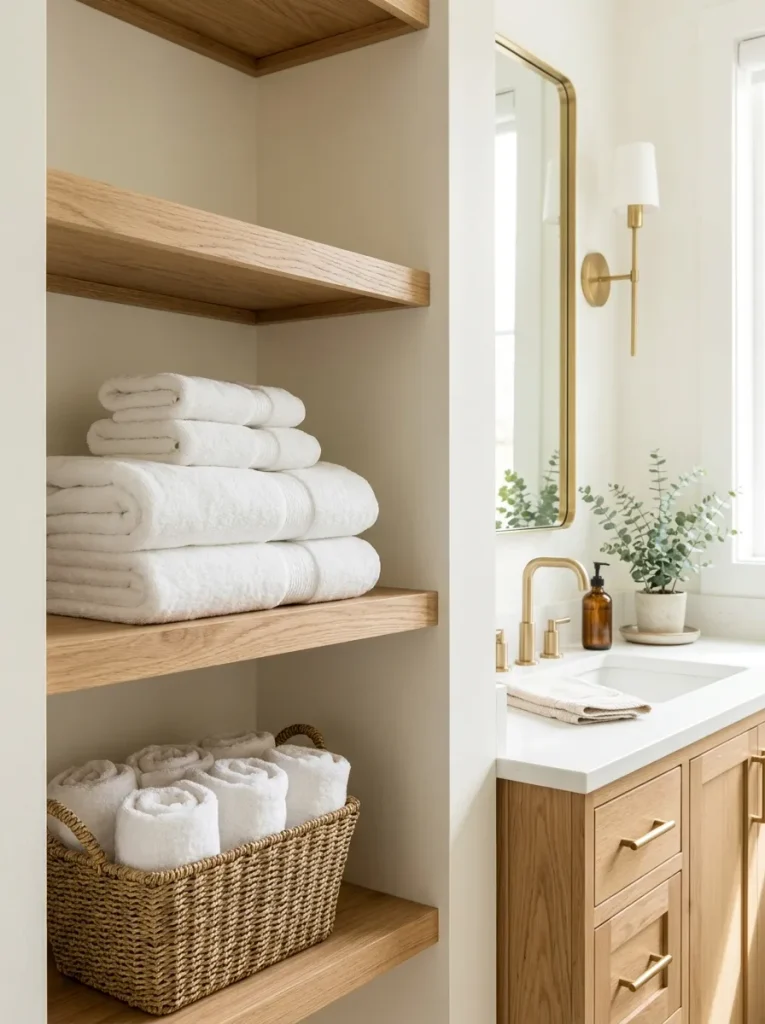
- Choose thick, absorbent cotton towels in white or soft ivory for a fresh, hotel-inspired appearance.
- Fold larger bath towels into neat rectangles and stack them on open shelves.
- Roll hand towels and arrange them in a small woven basket for easy access.
- Keep everyday towels within reach of the sink or shower to make the arrangement practical.
- Repeat the same towel color throughout the room for a coordinated finish.
Layered towels create that familiar spa feeling without requiring expensive renovations. They also help an ordinary bathroom look more organized, especially when toiletries and personal items are stored out of sight. Wash towels regularly, allow them to dry completely and avoid overcrowding shelves so the display stays fresh and functional.
Eucalyptus Shower Bundle
Quick Tip:
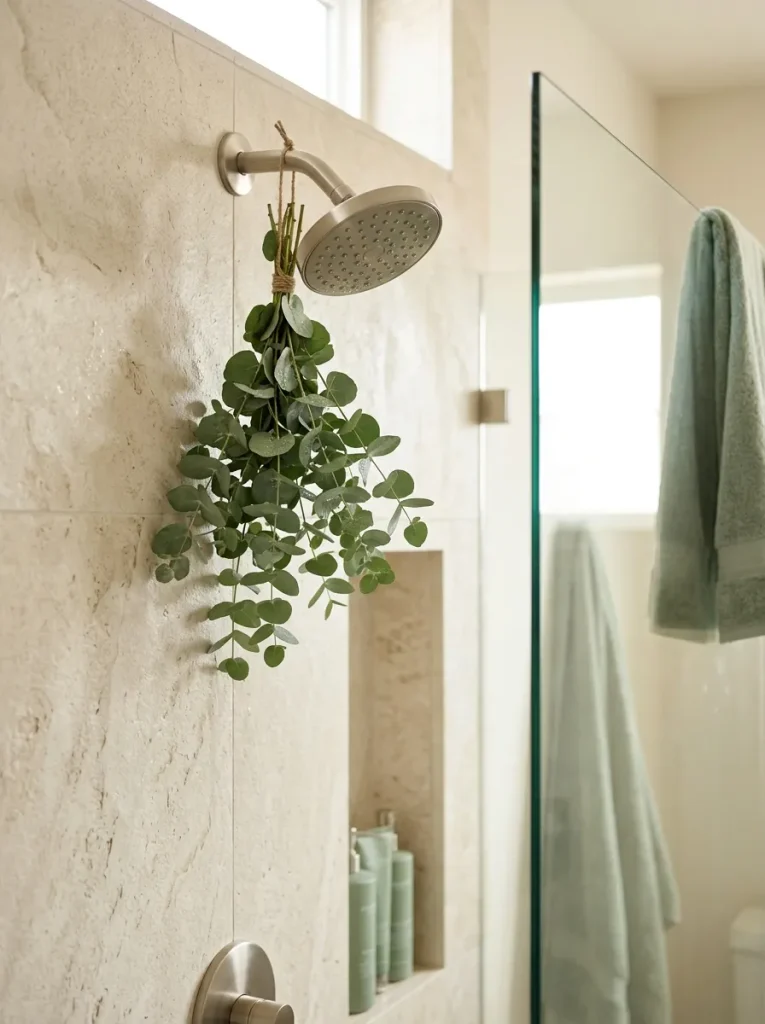
Hang a small eucalyptus bundle high on the showerhead, away from direct contact with your face and body. Replace it when the leaves become dry or brittle and keep it out of reach of children and pets. Skip this decoration if anyone in your household is sensitive to its fragrance.
A eucalyptus bundle adds a simple botanical detail that makes a shower feel more intentional and relaxing. Its fresh scent can mingle with the steam, although the strength of the aroma varies depending on the leaves and ventilation. Pair it with neutral tiles and uncluttered shelves to keep the look understated.
Warm Ambient Lighting
BEFORE
Harsh overhead lighting can make a bathroom feel cold and uninviting, especially during an evening bath or an early morning routine. Bright bulbs may also create unflattering shadows around the mirror.
AFTER
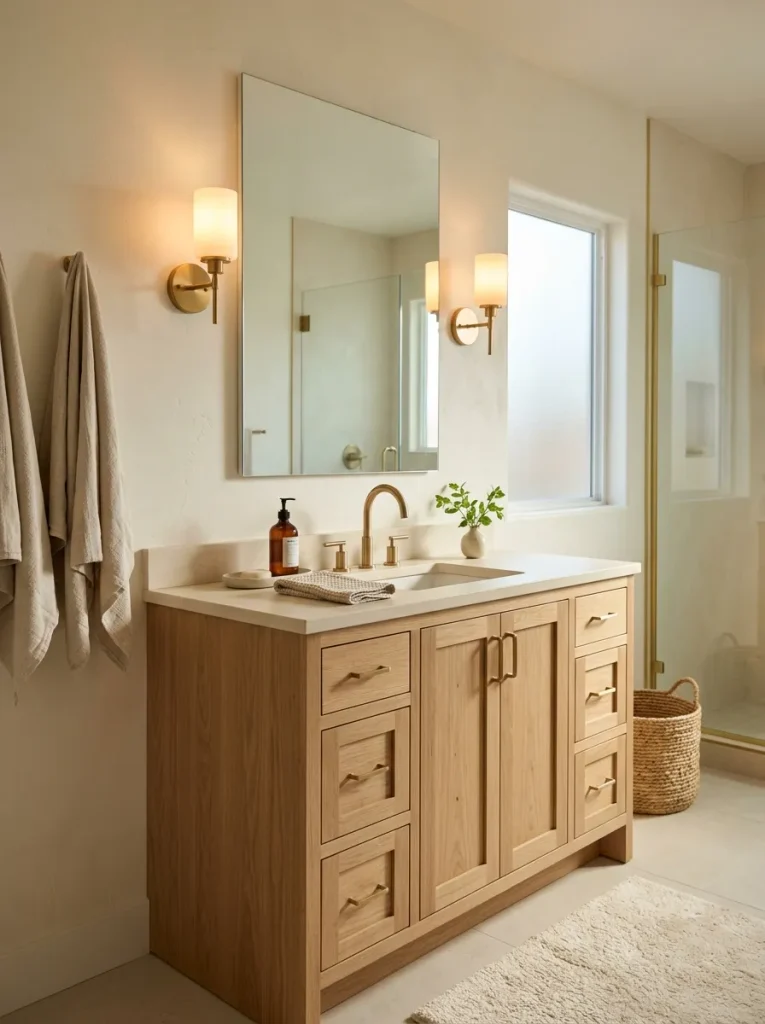
Warm wall sconces and diffused lighting create a softer atmosphere. The vanity feels more welcoming, while the rest of the room takes on a comfortable, spa-inspired appearance.
Choose warm-white bulbs around 2700K to 3000K for a relaxing glow. Keep bright, even lighting near the mirror for grooming and use dimmable fixtures where possible. In bathrooms, select fixtures rated for their installation location and follow local electrical safety requirements. A thoughtful lighting combination makes the room useful throughout the day.
Floating Vanity Shelves
- Choose the location: Find an open wall beside or beneath the vanity where shelves will not obstruct plumbing or movement.
- Measure carefully: Check the available width and depth, leaving enough room for doors, drawers and daily activities.
- Select suitable materials: Use moisture-resistant wood or sealed shelving designed for bathroom conditions.
- Install securely: Anchor the brackets into suitable wall supports using hardware appropriate for the wall construction.
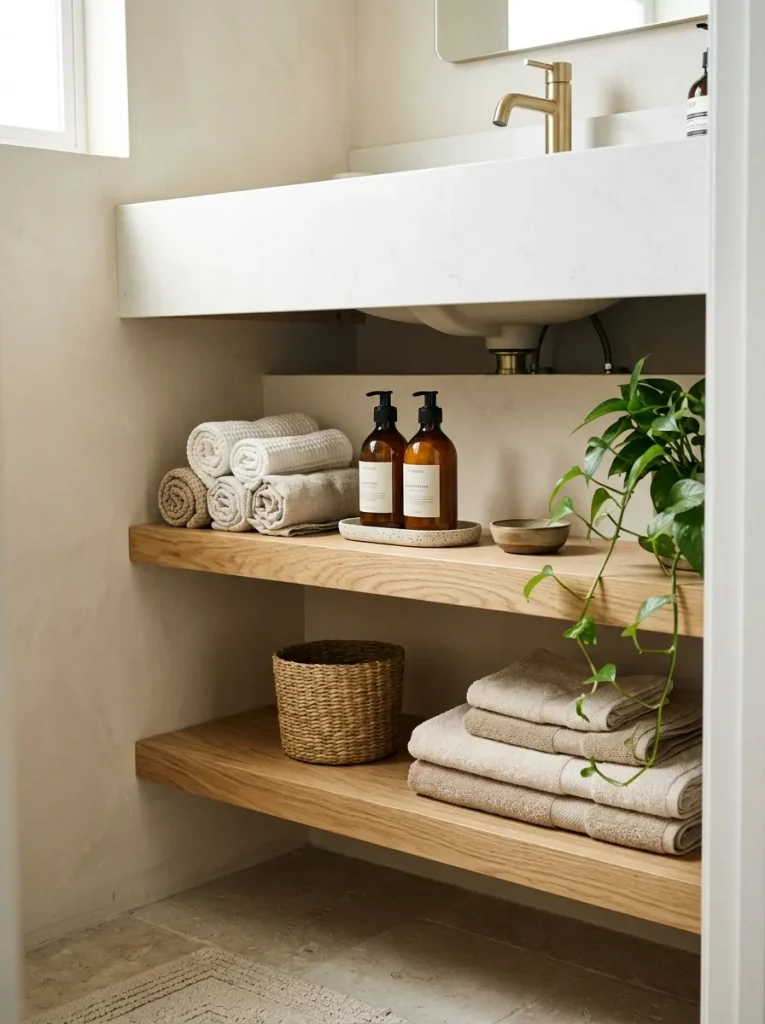
- Style with restraint: Arrange folded towels, a small tray and one decorative object, leaving some shelf space empty.
Floating shelves add useful storage without the visual bulk of a large cabinet. They work particularly well in smaller bathrooms where every inch matters. Keep frequently used items on the lowest shelf and decorative pieces higher up. Avoid placing heavy objects overhead and wipe the shelves regularly to prevent moisture and dust buildup.
Stone Texture Accents
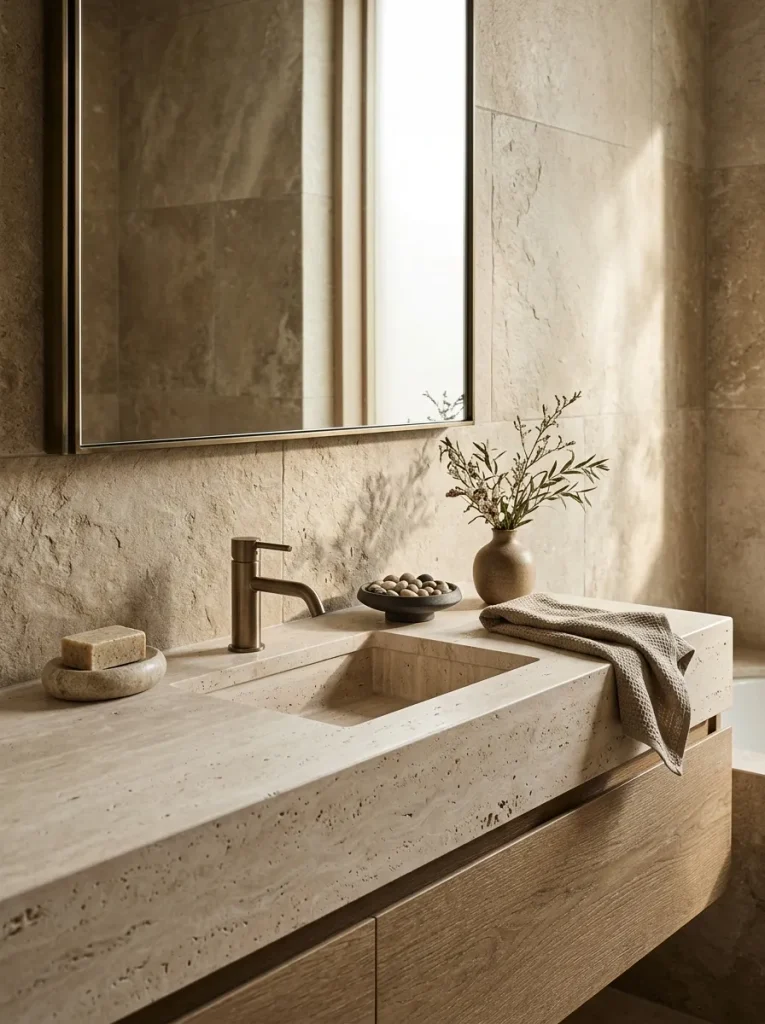
| Design element | Option A: Smooth finishes | Option B: Stone textures |
| Appearance | Sleek and polished | Organic and tactile |
| Color effect | Crisp and uniform | Warm and layered |
| Maintenance | Depends on finish | Depends on stone and sealing |
| Best placement | Contemporary vanities | Countertops, shelves, accent walls |
Stone-inspired details introduce subtle variation without overwhelming the room. A travertine tray, textured soap dish, or stone-look countertop can make everyday bathroom essentials feel more considered. For a budget-friendly update, start with a single accessory rather than replacing tiles. Check cleaning requirements before choosing natural stone, since some varieties need sealing and can be damaged by acidic cleaners.
Woven Storage Baskets
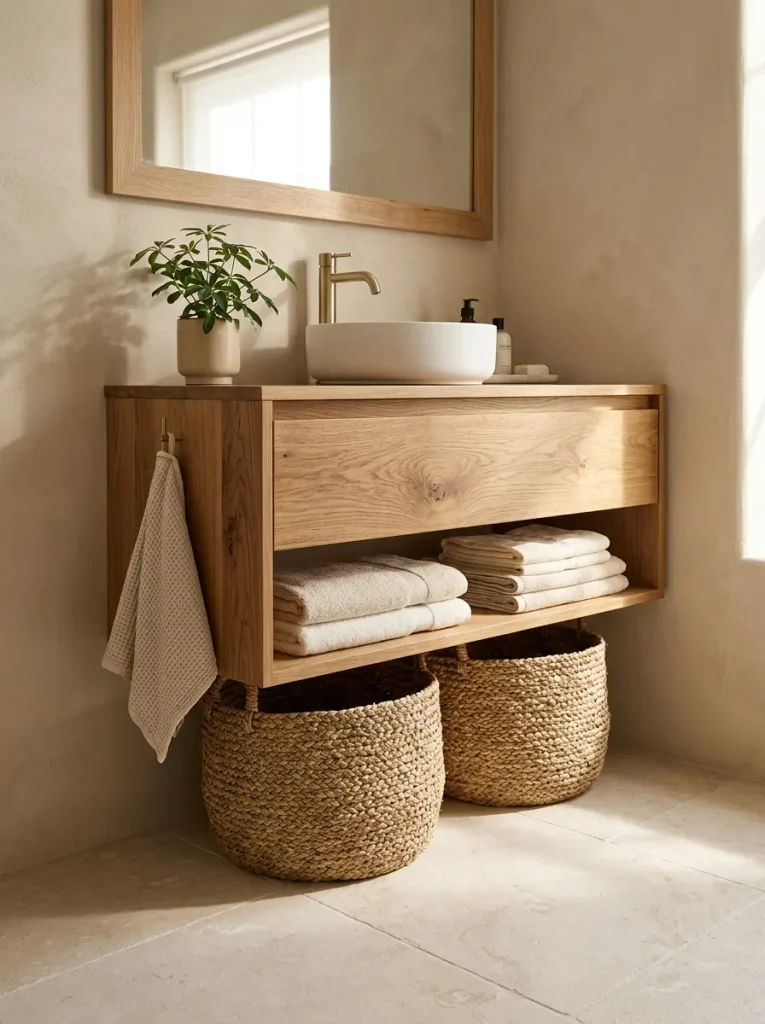
DO
- Store spare towels in a medium woven basket.
- Use a smaller basket for washcloths and bath accessories.
- Choose moisture-resistant materials suitable for bathroom use.
- Keep baskets beneath a vanity or on an open shelf.
DON’T
- Leave damp towels packed inside closed baskets.
- Place untreated natural fibers in consistently wet areas.
- Fill every basket until it looks overcrowded.
- Block access to plumbing or cleaning supplies.
Woven baskets soften the appearance of hard bathroom surfaces while keeping everyday essentials organized. They are particularly useful in rental bathrooms where built-in storage may be limited. I’ve found that assigning one basket to each category, such as towels or toiletries, makes tidying quicker and prevents small items from spreading across the countertop.
Minimalist Countertop Styling
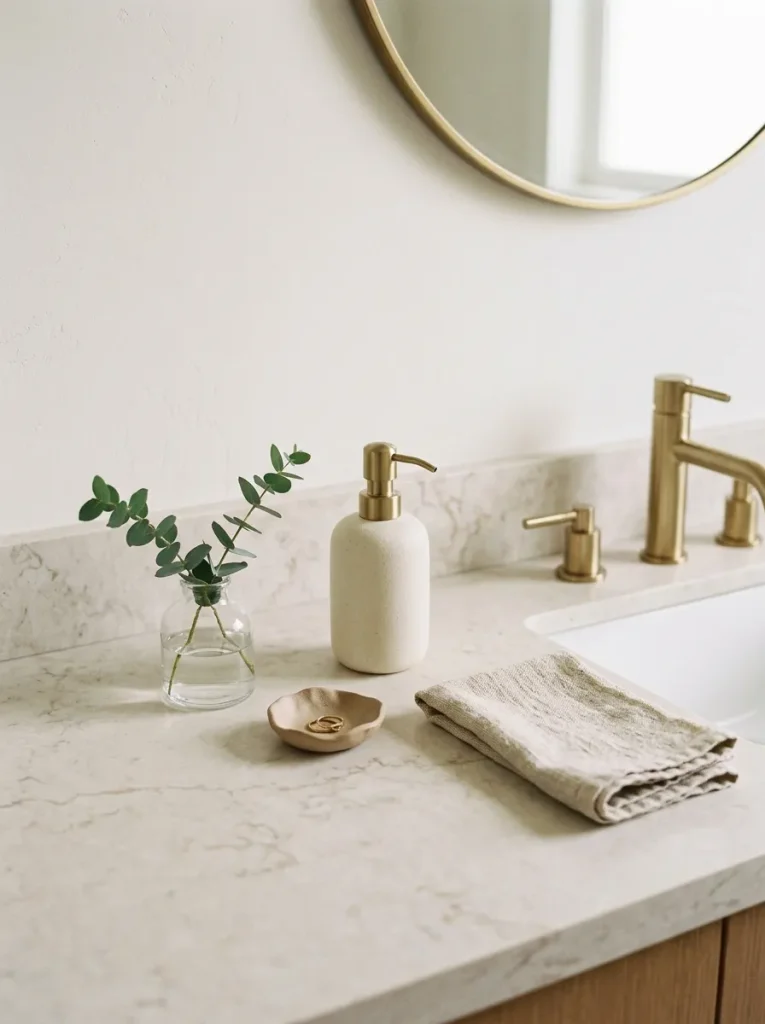
Cost: Low to moderate, depending on accessories
Time: 15 to 30 minutes
Skill Level: Beginner
Best For: Small bathrooms and cluttered vanities
Result: A cleaner, calmer appearance with everyday essentials close at hand
A spacious-looking countertop starts with removing items that rarely get used. Keep only daily necessities visible, then group them on a small tray to create a defined arrangement. Matching containers introduce visual consistency, while a little empty space makes the entire vanity feel more intentional. Store extra products in drawers or cabinets to maintain the effect.
Freestanding Bath Stool
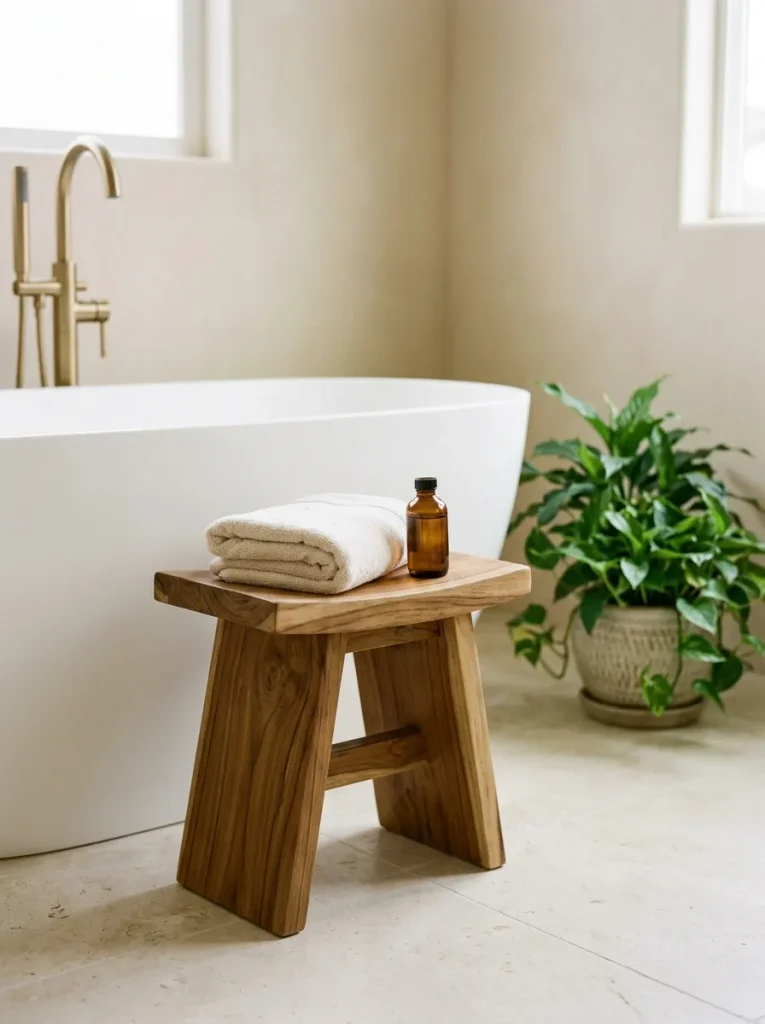
A simple bath stool can make an ordinary bathtub corner feel more thoughtfully designed. Choose a compact teak or properly sealed wooden stool that fits comfortably beside the tub without blocking the walkway.
Use the top for a clean towel or bath essentials and leave the lower area open to keep the room looking light. In a small bathroom, measure the available floor space before buying furniture. Select a stable stool with a suitable finish and keep it away from areas where it could become slippery. A restrained arrangement looks better and remains easier to maintain.
Framed Botanical Prints
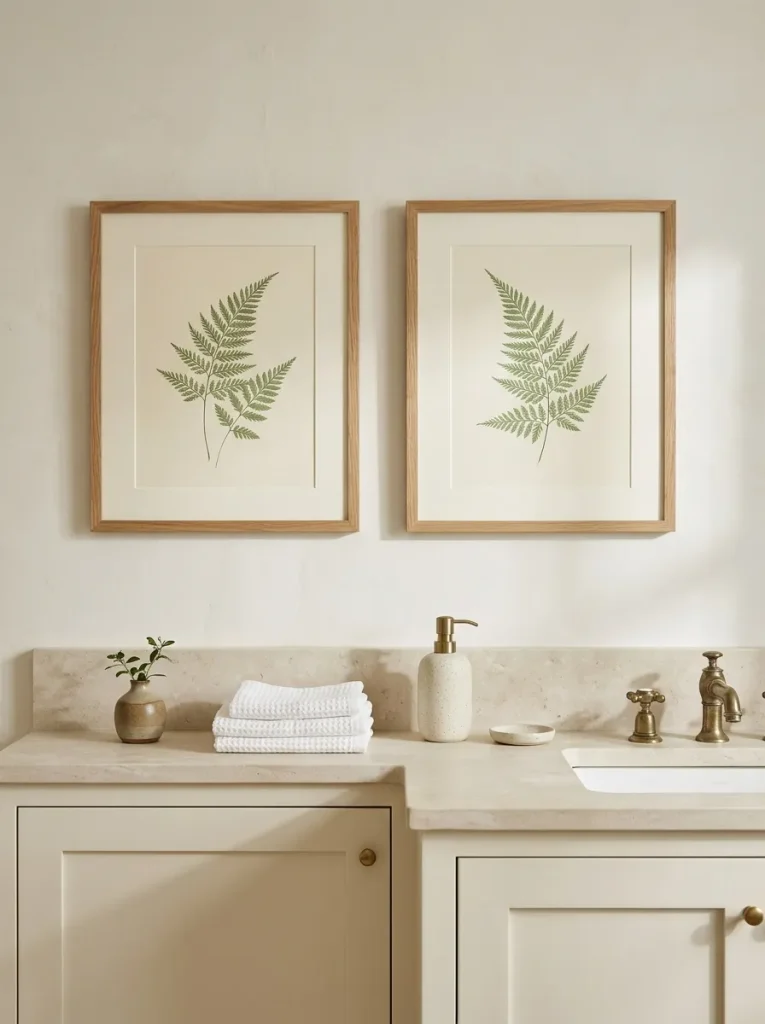
- Select botanical artwork with soft green leaves, ferns, or delicate branches.
- Choose frames in natural wood, matte white, or moisture-resistant metal.
- Hang one larger print or two smaller pieces above a dry wall area.
- Coordinate the artwork with existing towels, plants, or vanity accessories.
- Use glazing and hanging hardware suitable for the bathroom environment.
Botanical prints introduce color and personality without requiring paint or expensive remodeling. They work especially well in bathrooms with white tiles, neutral walls and natural wood accents. Choose artwork that complements the room instead of competing with patterned surfaces. Keep framed pieces away from direct splashes and use secure fixings appropriate for the wall.
Soft Neutral Color Palette
Quick Tip:
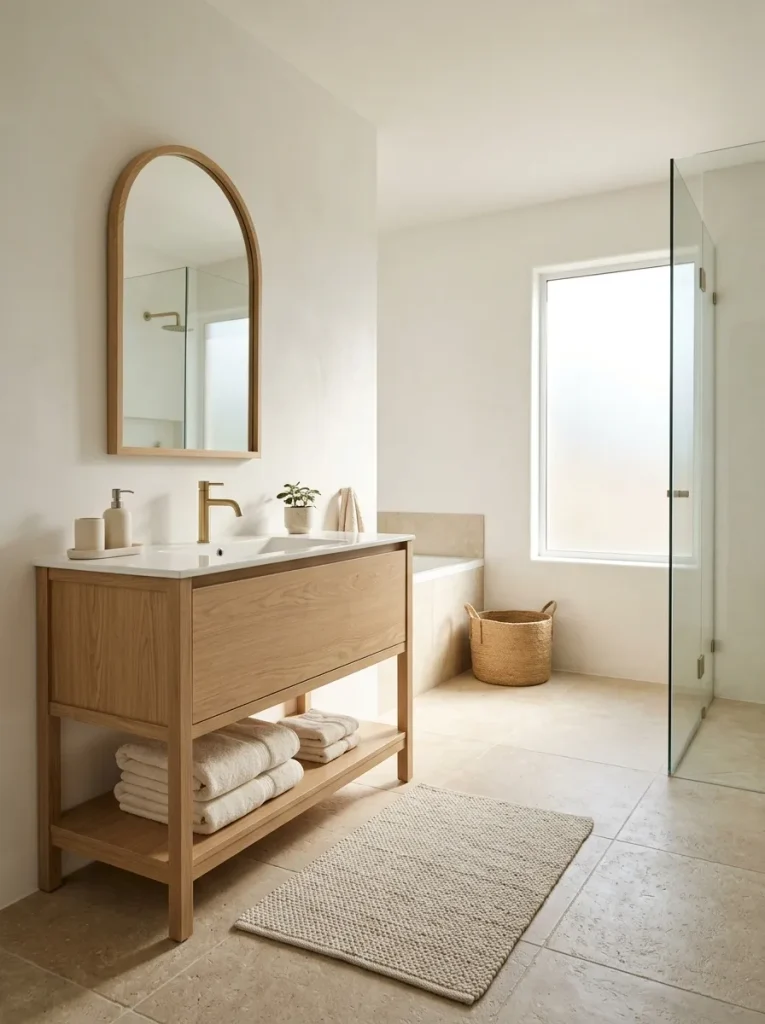
Start with two main neutrals, such as warm white and sandy beige, then introduce one supporting shade through towels or accessories. Test paint samples under both daylight and evening lighting before committing to a wall color.
A coordinated palette helps different bathroom elements feel connected, even when they come from separate stores or were purchased at different times. Warm neutrals work well with wood, stone and brushed brass, while cooler whites pair naturally with chrome and gray tile. Repeat each shade in two or three places to create a consistent finish.
Glass Shower Shelving
BEFORE
Shampoo bottles, soap bars and shower accessories crowd the floor or sit in mismatched plastic organizers. The shower looks busy and cleaning around the products becomes inconvenient.
AFTER
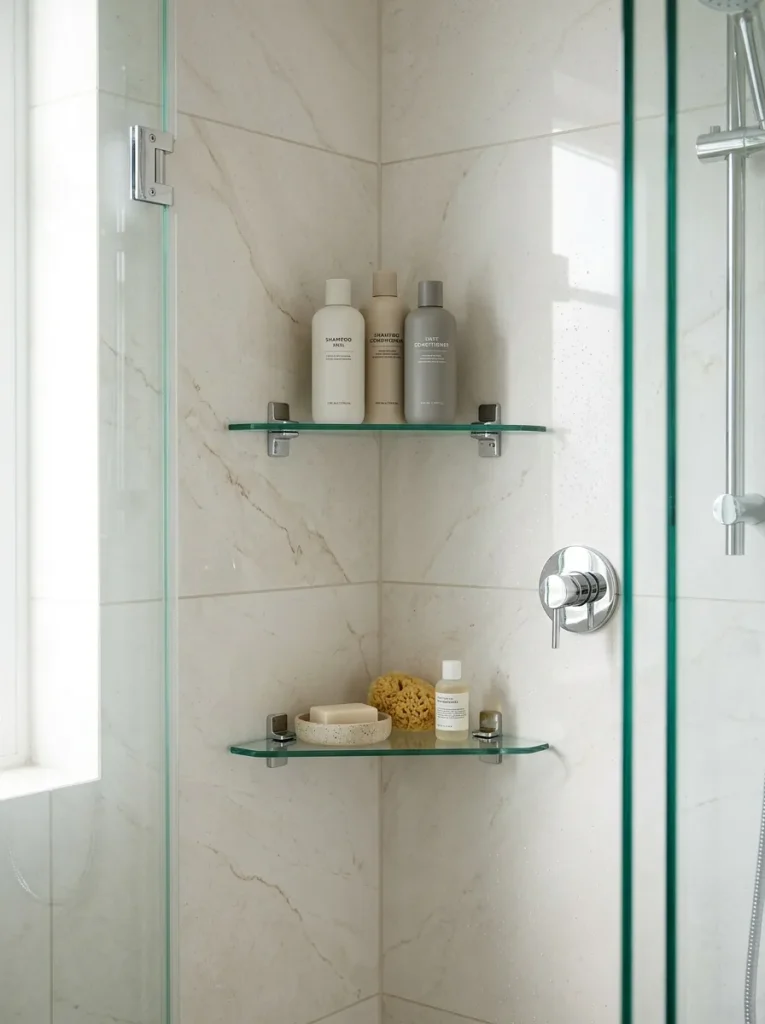
Secure glass shelves lift everyday products off the floor and create a more organized shower area. Clear surfaces maintain an open appearance while keeping essentials within easy reach.
Choose tempered glass shelving designed for wet environments and install it with suitable hardware. Check wall construction before drilling, especially around concealed plumbing. Limit the number of visible bottles and use a small tray to group products neatly. Glass shelves still require regular cleaning to remove water spots and soap residue, but their open design makes the shower easier to organize.
Plush Bath Mat
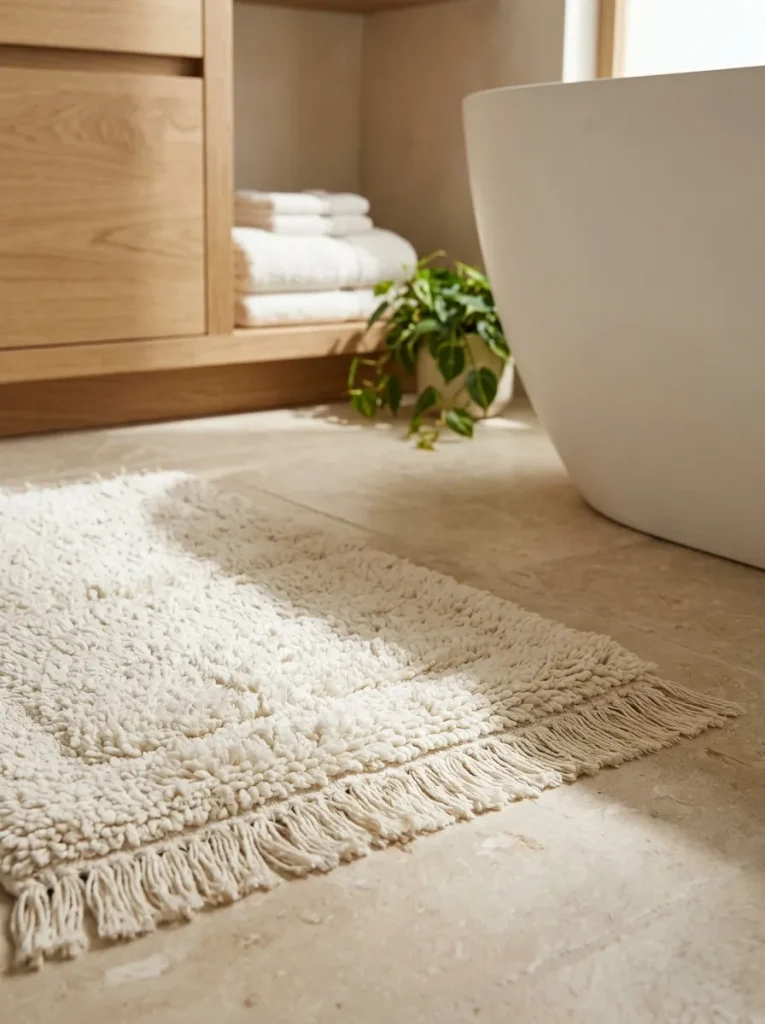
- Measure the floor: Choose a mat that fits beside the shower or bathtub without obstructing doors.
- Pick a suitable material: Select absorbent cotton or a quick-drying material appropriate for your bathroom.
- Coordinate the color: Match the mat to towels or choose a complementary neutral shade.
- Check the backing: Use a slip-resistant backing or a compatible nonslip underlay on smooth floors.
- Maintain freshness: Wash and dry the mat according to its care instructions.
A plush bath mat adds comfort underfoot and visually softens hard tile flooring. For a hotel-inspired finish, choose a simple rectangular shape in ivory, beige, or soft gray. Make sure the mat dries thoroughly between uses, particularly in bathrooms with limited ventilation. A clean, well-fitting mat provides more comfort without making the floor feel crowded.
Brass Bathroom Fixtures
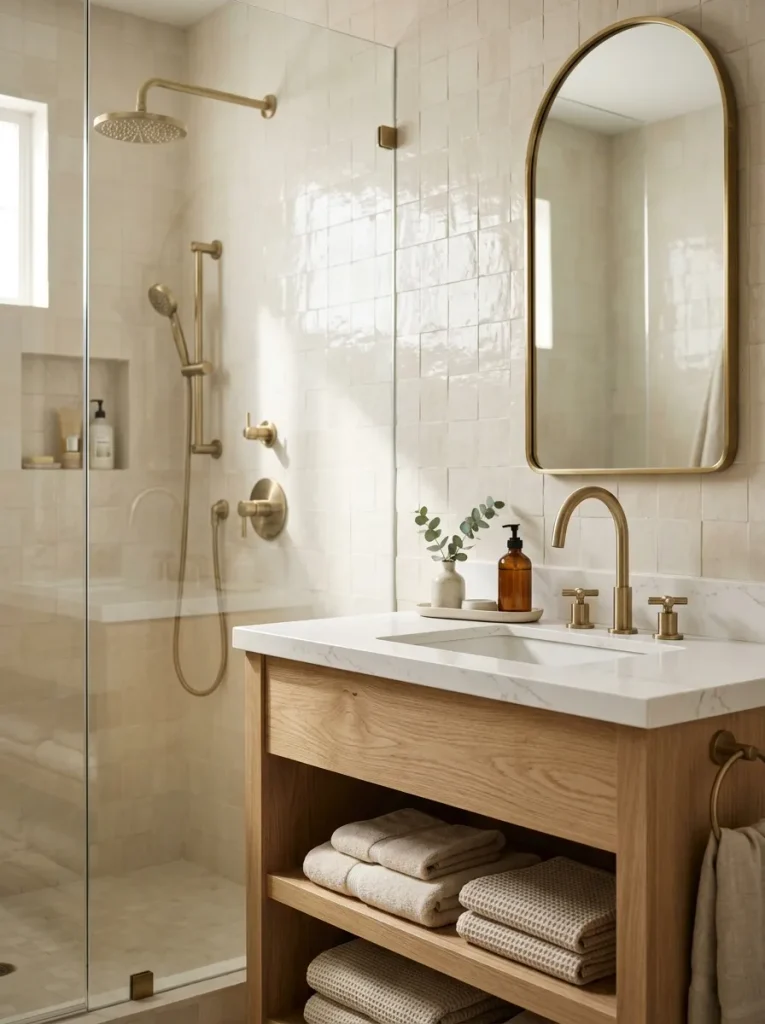
| Design detail | Option A: Chrome fixtures | Option B: Brushed brass fixtures |
| Overall look | Cool and crisp | Warm and inviting |
| Color pairing | White, gray, cool neutrals | Beige, cream, oak |
| Visual effect | Bright and understated | Decorative and refined |
| Cleaning | Wipe away water spots | Follow the manufacturer’s finish-care instructions |
Brushed brass fixtures can add warmth and a subtle decorative touch without introducing bright colors. Start with a faucet, cabinet handles, or mirror frame rather than replacing every fitting. Keep the finish consistent across the main visible details and check compatibility before changing plumbing fixtures. A few coordinated metallic accents can make the vanity feel more polished.
Bathroom Plant Corner
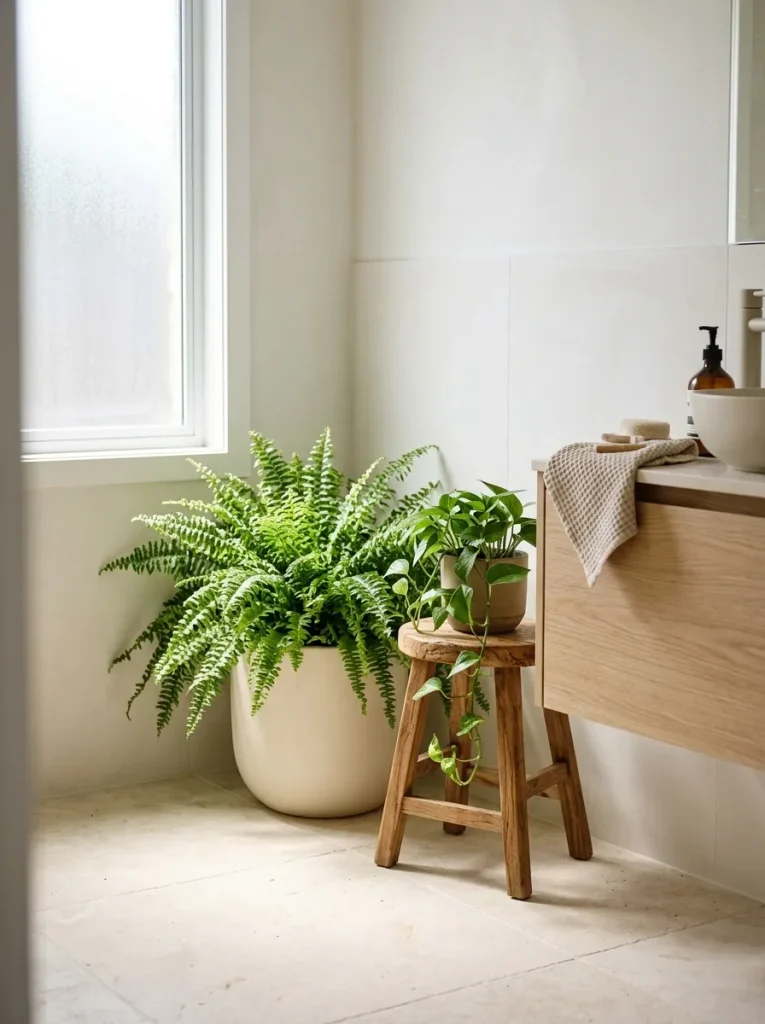
DO
- Choose plants suited to your bathroom’s actual light and humidity.
- Use a planter with drainage and a waterproof saucer.
- Place plants where leaves will not obstruct walkways.
- Check soil moisture before watering.
DON’T
- Assume every bathroom has enough light for tropical plants.
- Leave standing water beneath the planter.
- Position foliage where it touches wet electrical fixtures.
- Keep unsuitable plants within reach of curious pets.
Greenery introduces a natural contrast to white tiles, glass and stone. A fern may work well in a bright, humid bathroom, while a lower-light-tolerant plant may suit a room with a smaller window. If natural light is limited, consider a realistic artificial plant. Choose based on the actual conditions rather than appearance alone.
Matching Soap Dispensers
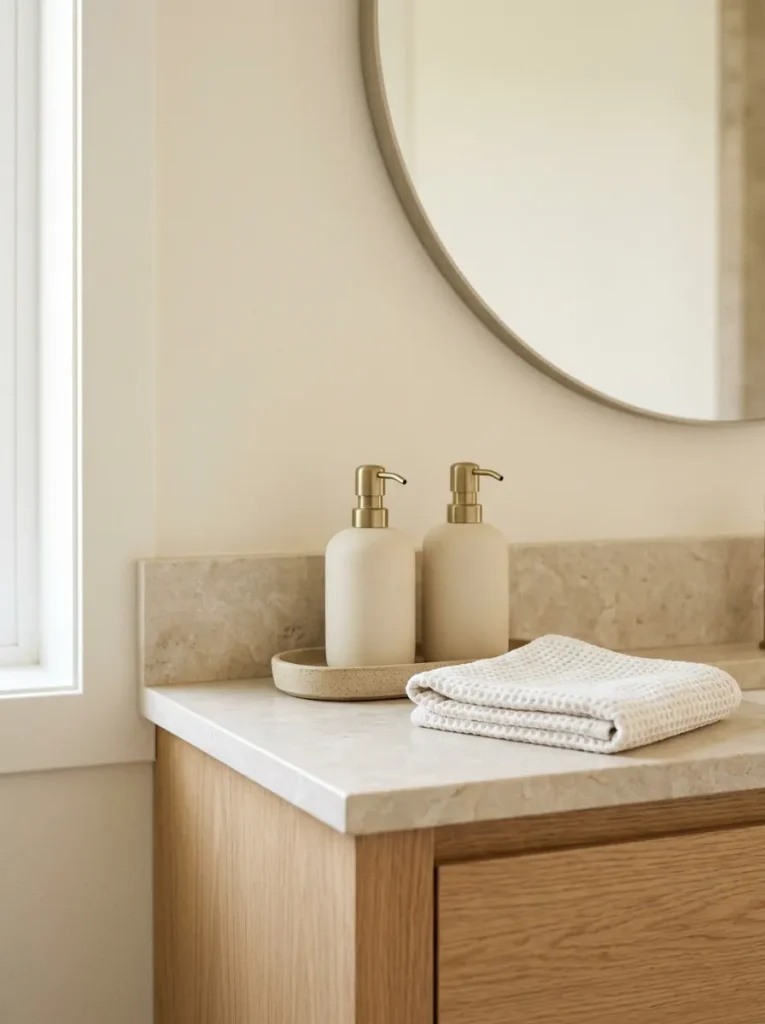
Cost: Low to moderate
Time: 10 to 20 minutes
Skill Level: Beginner
Best For: Busy vanity countertops
Result: A coordinated look with fewer distracting product labels
Matching dispensers make everyday handwashing supplies look more organized. Choose ceramic, glass, or durable coated bottles in a finish that complements your faucet and countertop. Label containers discreetly if they hold different products and select refillable designs that are easy to clean. Keep the number of bottles limited so the vanity remains practical rather than decorative clutter.
Large Statement Mirror
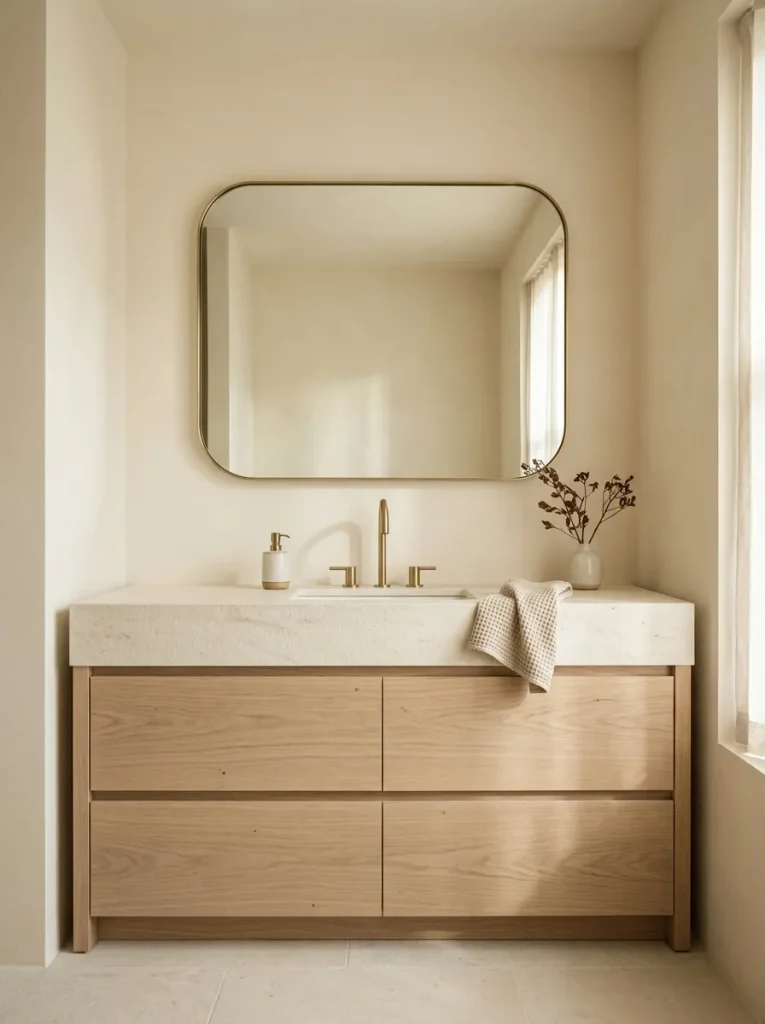
A generously sized mirror can make a compact bathroom feel brighter and more open. Choose a shape that suits the vanity: a wide rectangular mirror creates a clean, structured look, while a rounded design softens angular tiles and cabinetry.
Measure the vanity width and available wall height before choosing the mirror. Leave enough clearance for faucets, lights and cabinets and secure the mirror with hardware suitable for its weight. A mirror that reflects a window or a well-lit part of the room can distribute existing light more effectively. Keep the surrounding wall simple so the mirror remains the main feature.
Hidden Vanity Storage
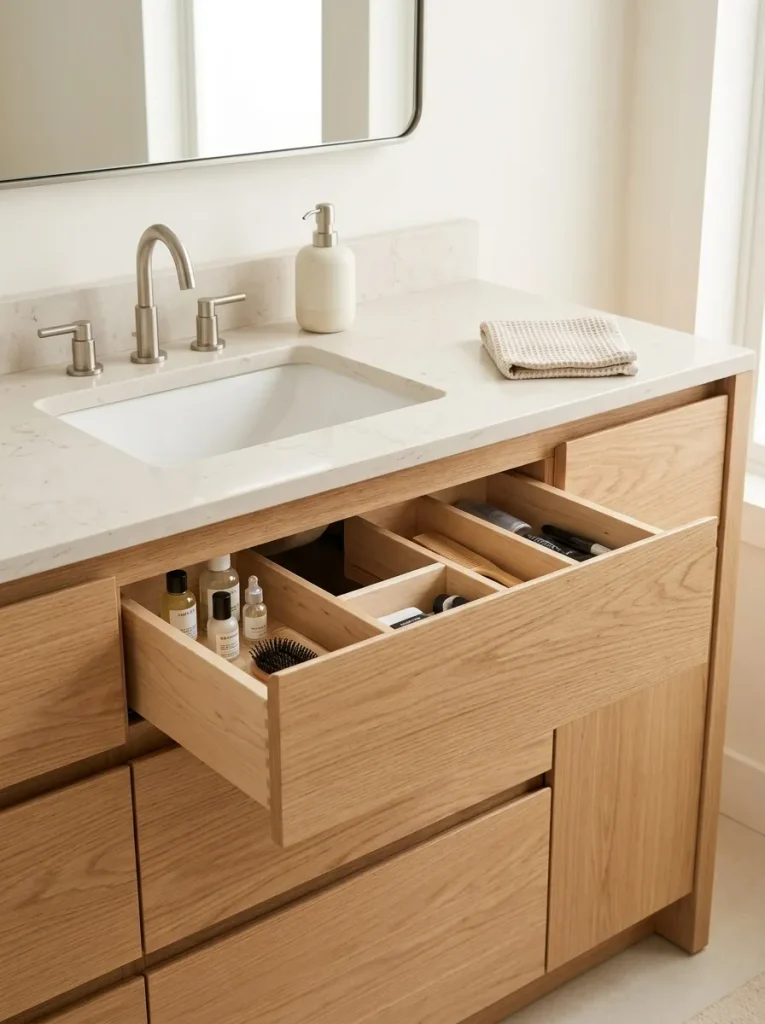
- Store daily skincare products in a shallow top drawer.
- Use adjustable dividers to separate makeup, grooming tools and small accessories.
- Keep spare toiletries together in a designated lower drawer.
- Place cleaning supplies in a separate, secure location away from personal-care items.
- Leave the countertop clear except for a few frequently used essentials.
Hidden storage helps maintain a peaceful bathroom appearance even when several people share the space. Drawer dividers prevent small items from becoming mixed together, while closed cabinets conceal packaging that can make a vanity look crowded. Before purchasing organizers, measure the drawer interior and account for plumbing beneath the sink. Practical storage should make everyday routines easier, not add more containers to manage.
Relaxing Candle Display
Quick Tip:
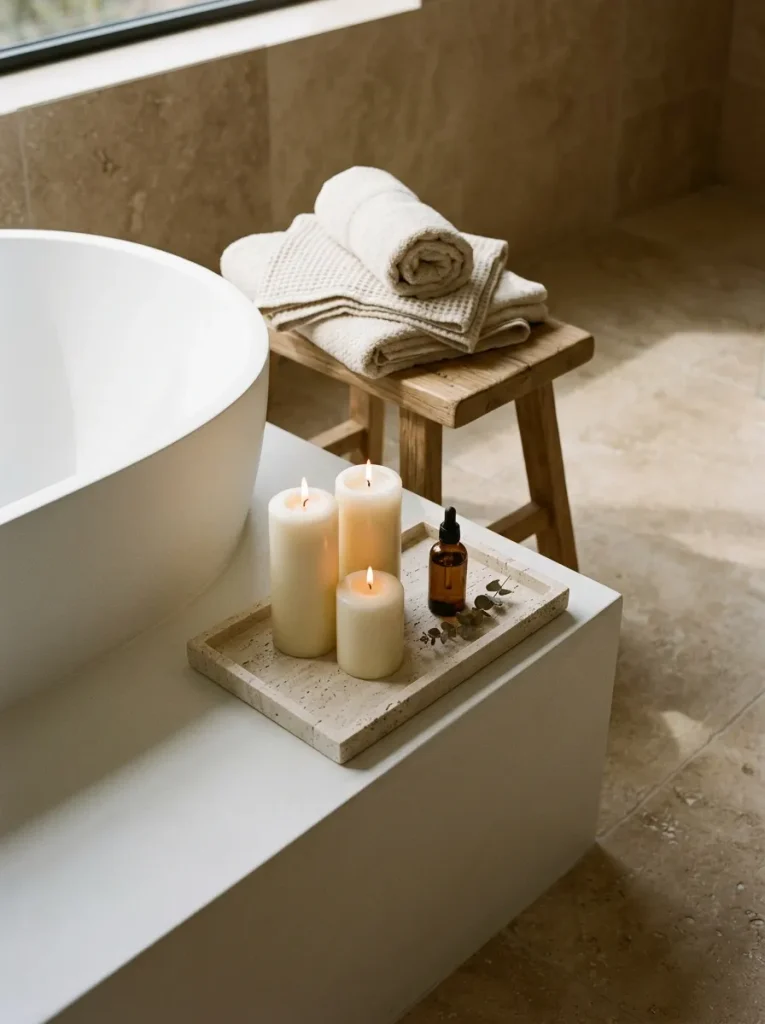
Arrange candles in different heights on a stable, heat-resistant tray, but keep them away from towels, curtains, toiletries and other flammable materials. Never leave burning candles unattended. For a safer everyday display, use realistic flameless candles with a warm glow.
A candle arrangement introduces a softer visual mood, particularly during an evening bath. Choose unscented candles if strong fragrances bother anyone in your household, or use flameless versions for a similar decorative effect. Keep the arrangement small and away from water splashes. The goal is a peaceful focal point that does not interfere with normal bathroom use.
Shower Curtain Upgrade
BEFORE
A faded, overly patterned, or poorly fitting shower curtain can make an otherwise tidy bathroom feel dated. The fabric may also hang unevenly, making the bathtub area look smaller and less organized.
AFTER
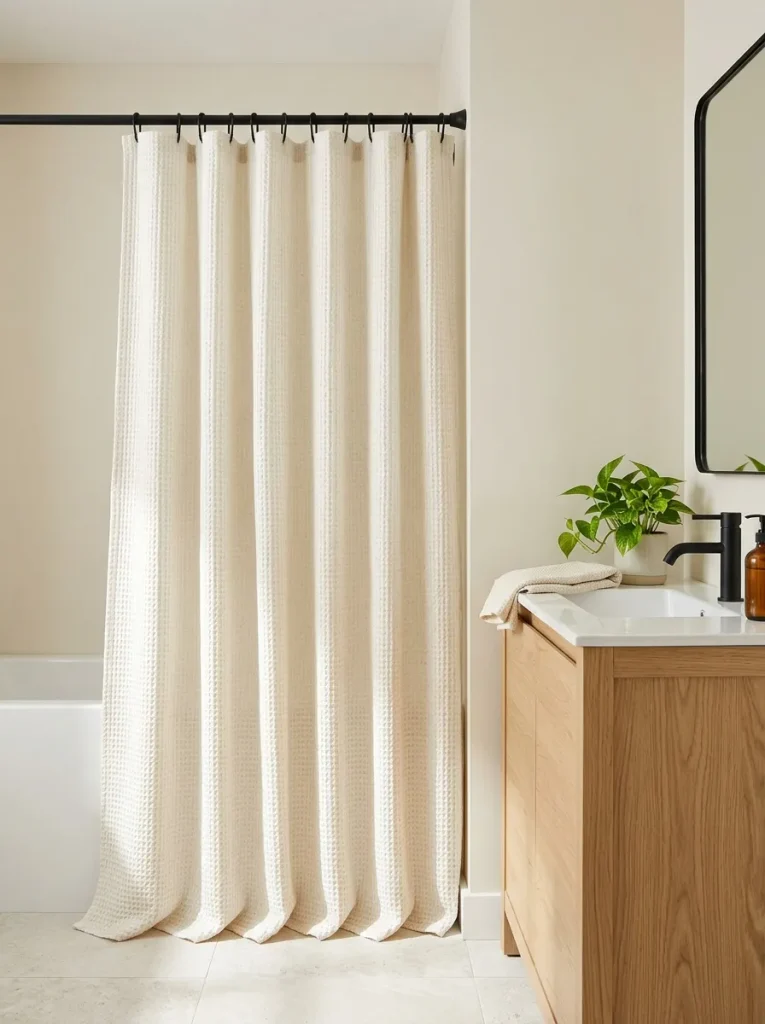
A fresh curtain in ivory, soft beige, or muted sage creates a calmer backdrop. A suitable length and simple texture help the bathroom feel more cohesive without changing the tiles or bathtub.
Choose a washable curtain or liner suited to your bathroom’s moisture levels. Measure the rod height and bathtub width before buying and make sure the curtain provides adequate coverage. A subtle waffle weave adds texture without competing with the rest of the decor. Wash or replace the curtain as needed to prevent mildew and keep the room feeling fresh.
Wooden Bath Tray
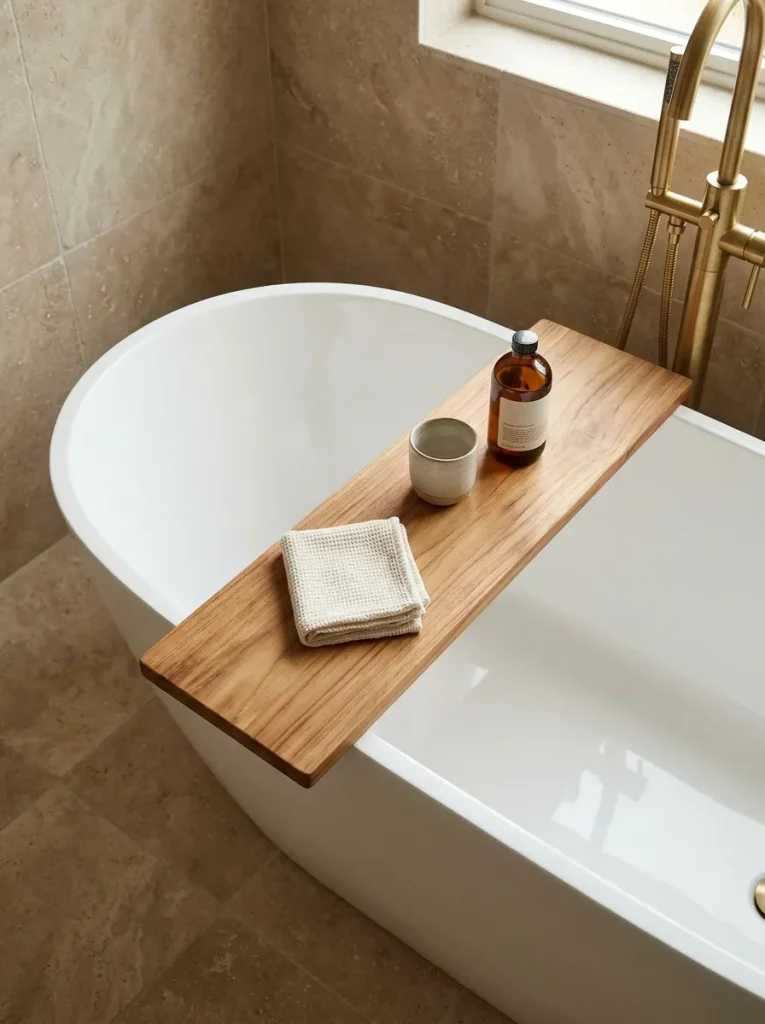
- Measure the tub: Check the width across the rim to find a tray that fits securely.
- Choose the material: Select teak or another bathroom-suitable material with a moisture-resistant finish.
- Check the supports: Look for adjustable, nonslip ends that fit your bathtub design.
- Keep it simple: Add a washcloth and one or two lightweight accessories.
- Maintain the surface: Follow the manufacturer’s cleaning and drying instructions.
A bath tray gives everyday bathing essentials a designated place and adds a natural wood detail to the tub area. Avoid overloading it with heavy objects, glass containers, or electronics. Remove the tray when the bathtub is in use if it becomes unstable or obstructs movement. A well-fitting design provides a decorative accent without compromising safety.
Textured Accent Wall
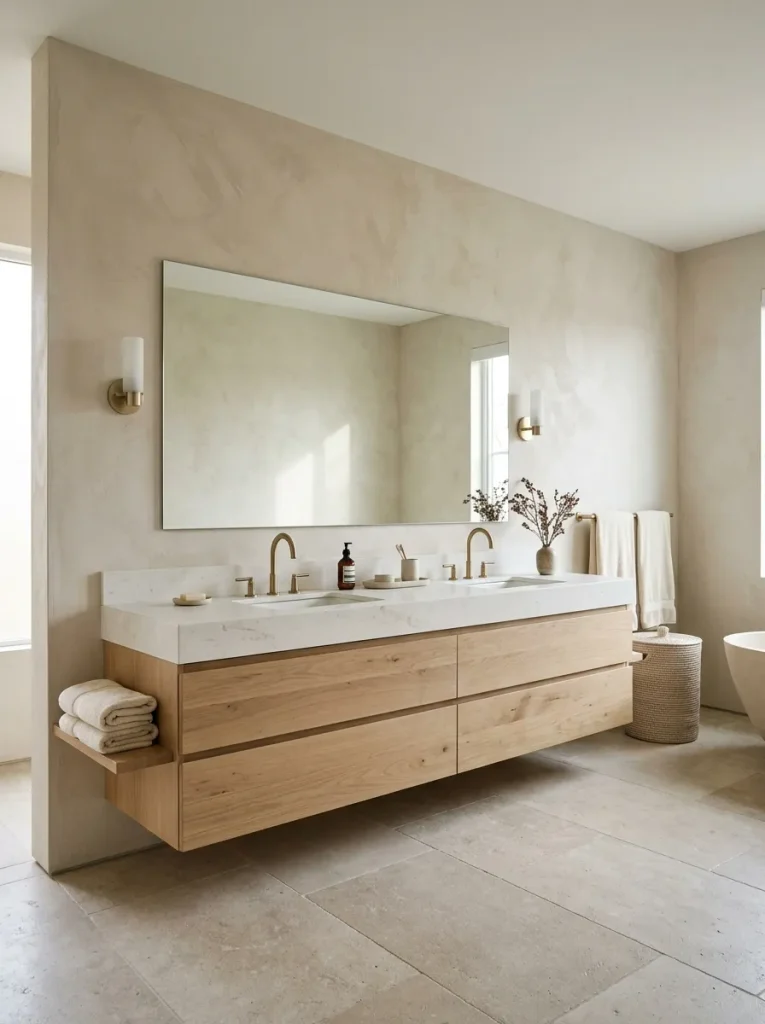
| Design element | Option A: Flat painted wall | Option B: Textured accent wall |
| Visual effect | Smooth and understated | Layered and tactile |
| Installation | Usually straightforward | Depends on the material |
| Budget | Often lower | Varies by finish and preparation |
| Maintenance | Depends on paint type | Depends on texture and moisture resistance |
A textured wall adds depth without requiring bold colors or busy patterns. Consider a subtle plaster-inspired finish or suitable textured wall covering in a dry area away from direct shower spray. For wet zones, choose materials specifically rated for that environment. Test samples against your existing tile and vanity before committing to a larger project.
Coordinated Towel Hooks
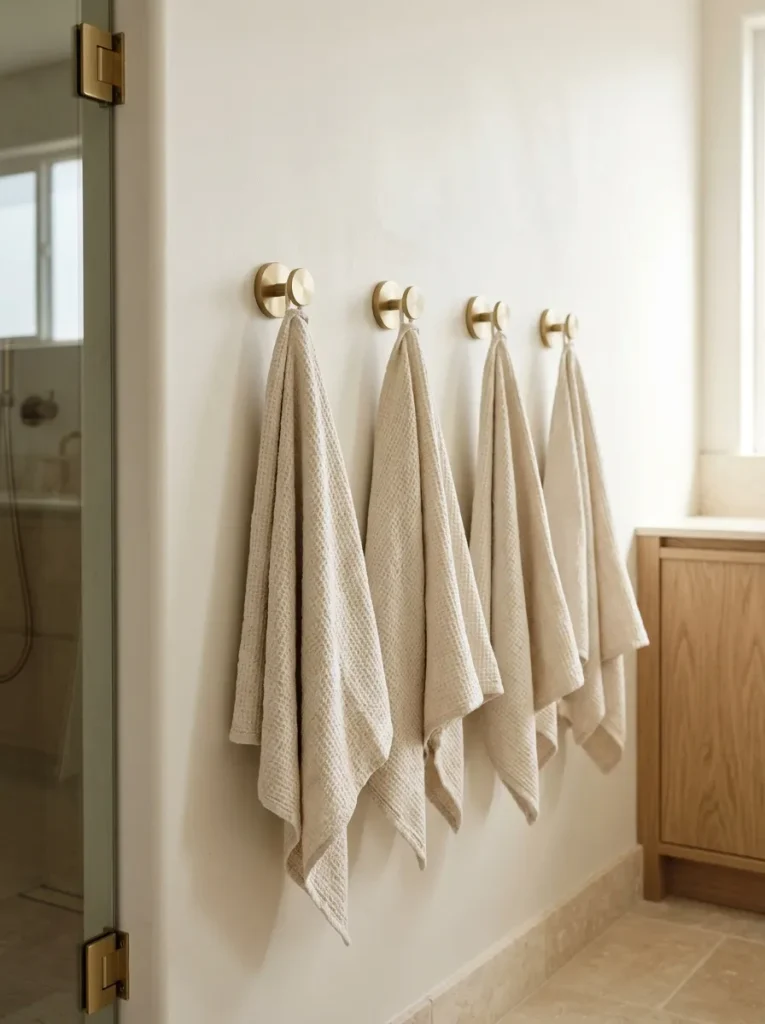
DO
- Install hooks at comfortable heights for the people using the bathroom.
- Match the finish to the main faucet or cabinet hardware.
- Space hooks so towels can hang freely.
- Choose corrosion-resistant hardware suitable for humid conditions.
DON’T
- Hang wet towels tightly against one another.
- Mount hooks where doors or drawers will hit them.
- Use adhesive hooks beyond their rated weight or moisture conditions.
- Drill without checking for concealed pipes and wiring.
Coordinated hooks keep towels accessible while freeing up shelf and countertop space. They are especially helpful in shared bathrooms where several people need separate places for their towels. Choose a location with enough airflow for drying and clean the hooks periodically to prevent residue buildup. A small hardware update can improve both the appearance and daily function of the room.
Built-In Shower Niche
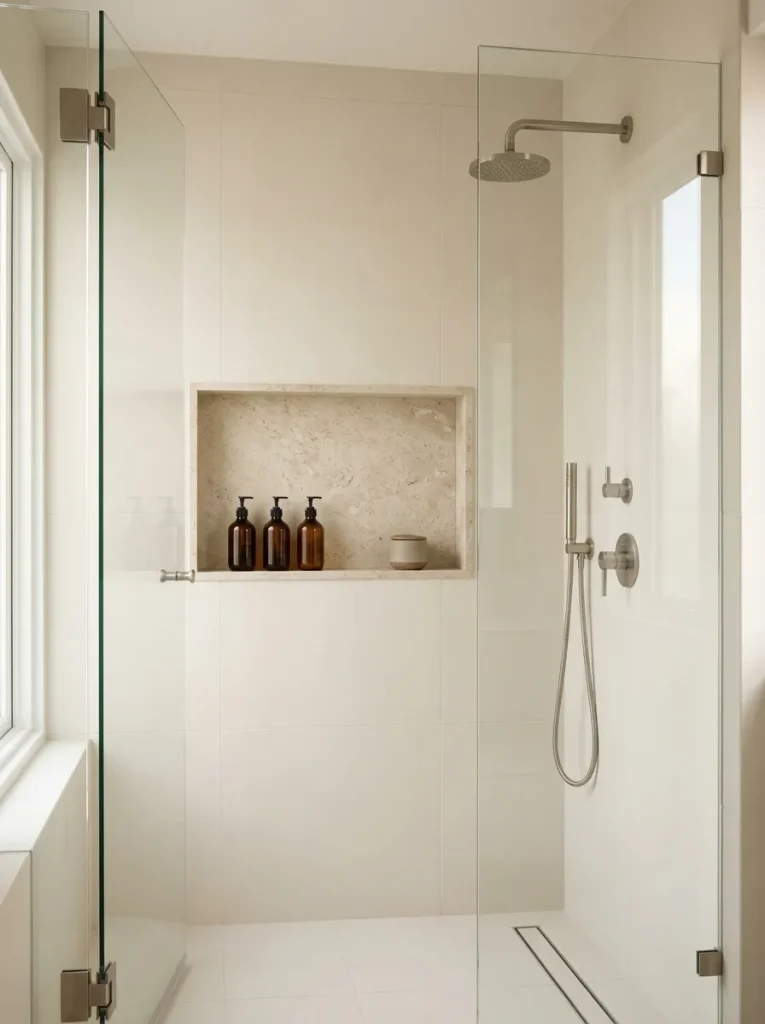
Cost: Moderate to high, depending on construction
Time: Varies with installation and waterproofing work
Skill Level: Professional installation recommended for new recessed niches
Best For: Walk-in showers and planned bathroom renovations
Result: Storage that keeps bottles off the floor and reduces visual clutter
A built-in niche offers convenient storage without projecting into the shower area. Position it where products are easy to reach, taking the height of household members into account. Waterproofing is essential, particularly where the niche meets the surrounding wall. For an existing bathroom, a properly installed surface-mounted shower organizer may provide a simpler alternative without opening the wall.
Curved Bathroom Accessories
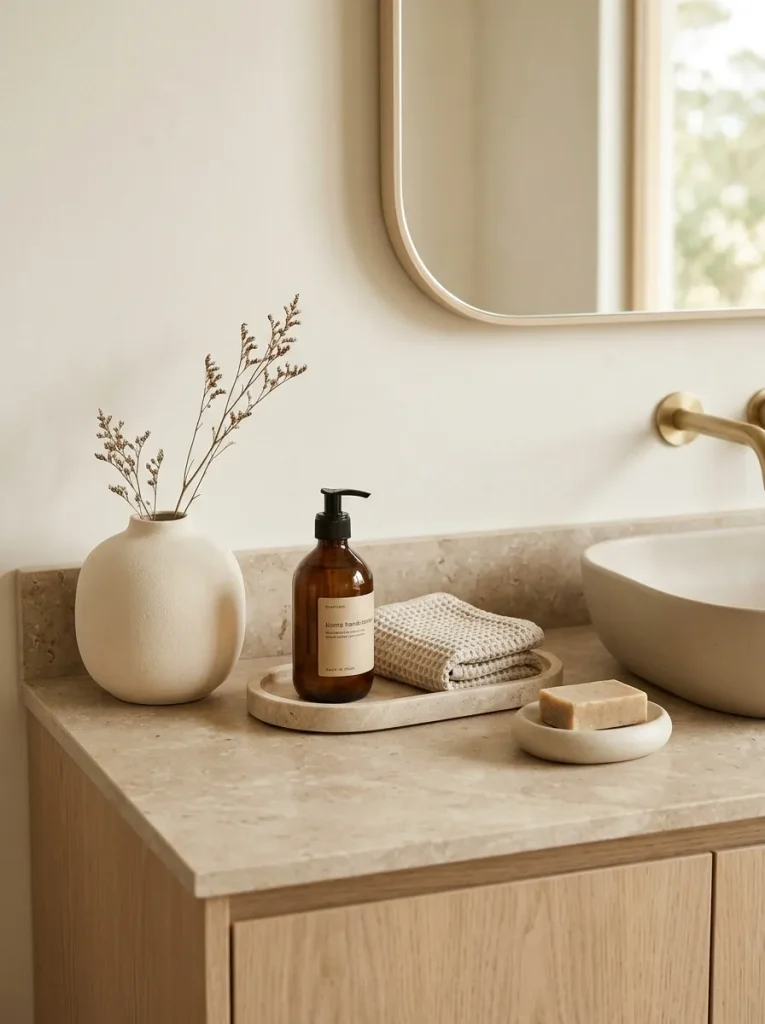
Curved accessories can soften the straight lines of rectangular tiles, cabinets and shower enclosures. Start with an oval tray, rounded soap dish, or circular mirror to introduce a gentler shape without changing the room’s layout.
Keep the color palette consistent so the different forms feel connected. Cream ceramic pieces pair naturally with light wood and sandy stone, while darker accessories can create contrast in a pale bathroom. Avoid mixing too many unrelated shapes and finishes. Two or three rounded details are usually enough to create a balanced look while keeping the countertop easy to clean.
Decorative Glass Jars
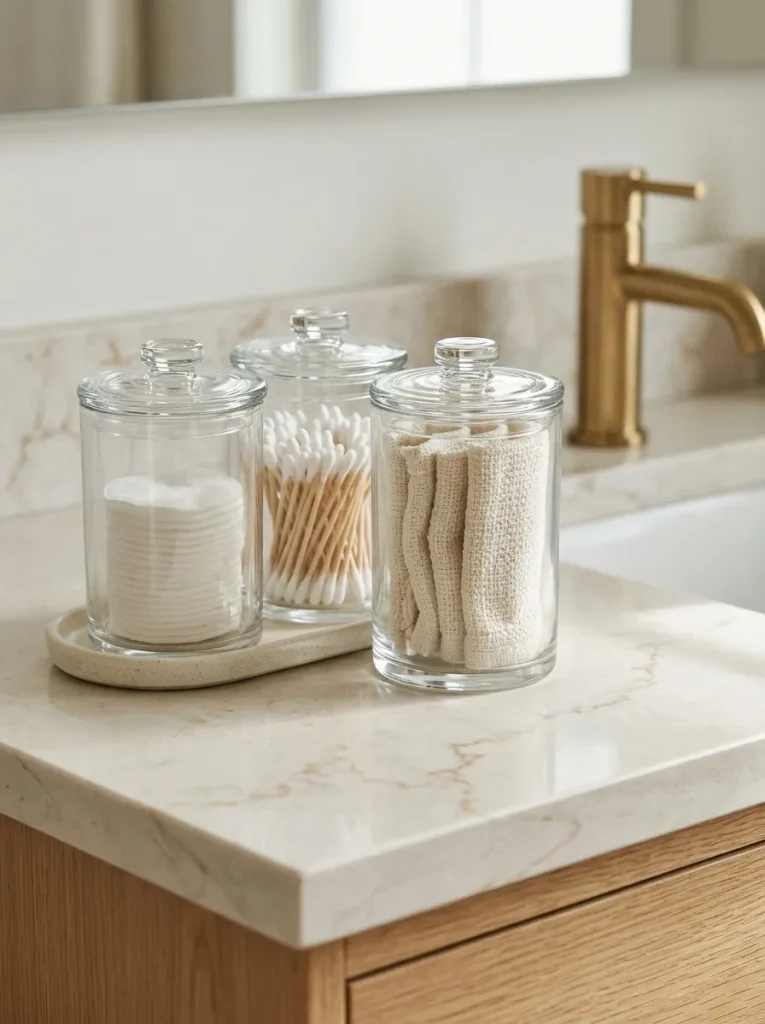
- Use a small jar for cotton pads or reusable cleansing rounds.
- Store cotton swabs in a covered container to keep them clean.
- Choose jars with wide openings for easy access and refilling.
- Group containers on a tray to simplify countertop cleaning.
- Keep medications and hazardous products in secure storage away from children.
Glass jars provide a simple way to organize small bathroom essentials while reducing the visual clutter of disposable packaging. Clear containers make it easy to see when supplies are running low and matching lids create a more coordinated appearance. Choose sturdy jars that are easy to wash and place them away from sink edges where they could fall.
Soft Sage Green Accents
Quick Tip:
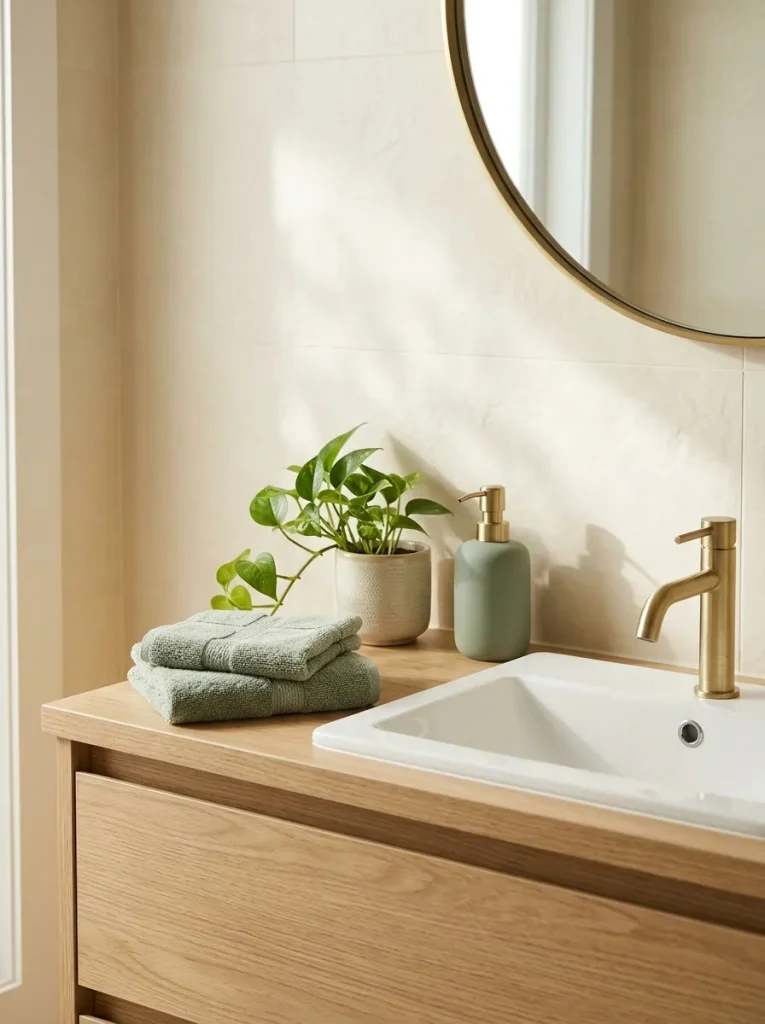
Introduce sage green through towels, a soap dispenser, or a small accessory before painting the walls. Check the shade in both natural and artificial light, since muted greens can look grayer or more yellow depending on their surroundings.
Sage green brings a subtle botanical quality to a bathroom without making the palette feel too colorful. It pairs particularly well with natural wood, cream stone, white ceramics and warm metallic finishes. Repeat the shade in two or three small places for a coordinated appearance. If you prefer seasonal changes, keep the larger surfaces neutral and switch the green accessories whenever you want a fresh look.
Hotel-Style Vanity Setup
BEFORE
The vanity holds assorted toiletries, loose cosmetics, mismatched containers, and several items that rarely get used. The countertop feels crowded, and the mirror area lacks a clear visual focus.
AFTER
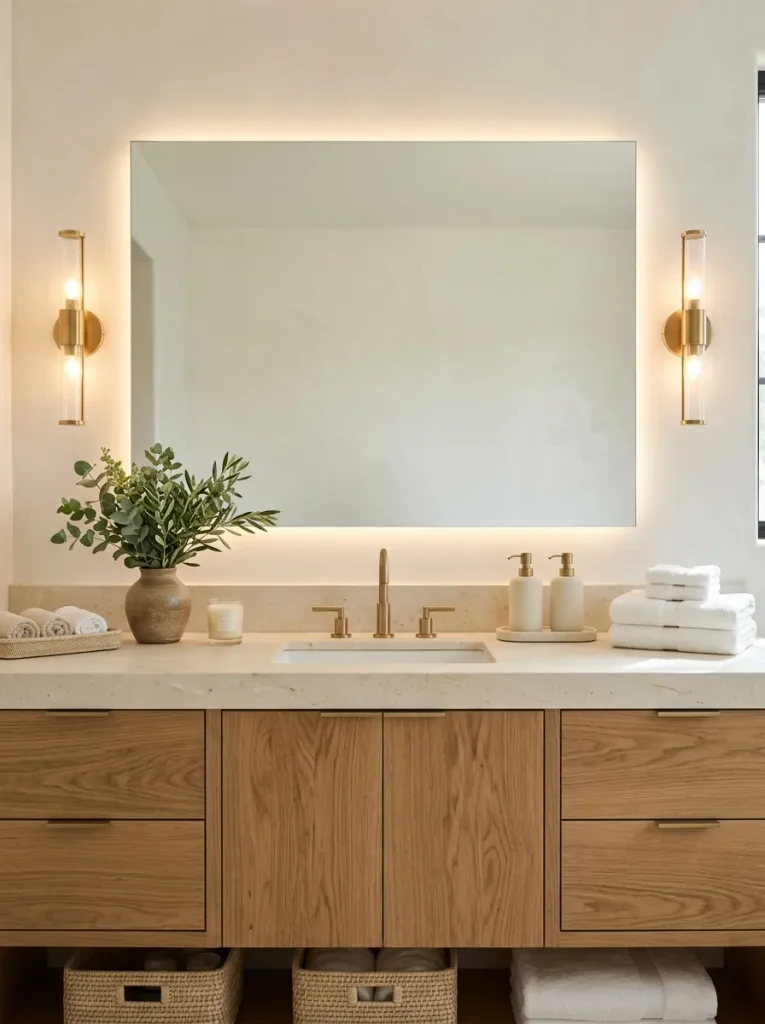
Daily essentials sit neatly on a small tray, matching dispensers create visual consistency, and folded towels provide a simple finishing detail. The mirror and countertop become the main features rather than the clutter around them.
Start by removing unused products and cleaning the entire vanity. Group daily essentials together, store backups in a drawer and place fresh hand towels within easy reach. Add one small decorative accent, such as a vase or ceramic dish, rather than filling every available space. This approach creates a polished hotel-inspired appearance while keeping your everyday routine convenient.
Conclusion
Creating a spa-worthy bathroom doesn’t have to mean spending a fortune or starting a major renovation. Small changes, such as adding plush towels, introducing natural textures, improving storage, or choosing softer lighting, can make your space feel more peaceful and welcoming.
These Bathroom Decor Ideas offer inspiration for different styles, room sizes and budgets. Start with one update that solves a practical problem, then add complementary details as your time and budget allow. Save this article on Pinterest so you can revisit your favorite designs, try an idea that suits your home and share it with someone planning a bathroom makeover. Your relaxing retreat can begin with one simple change.